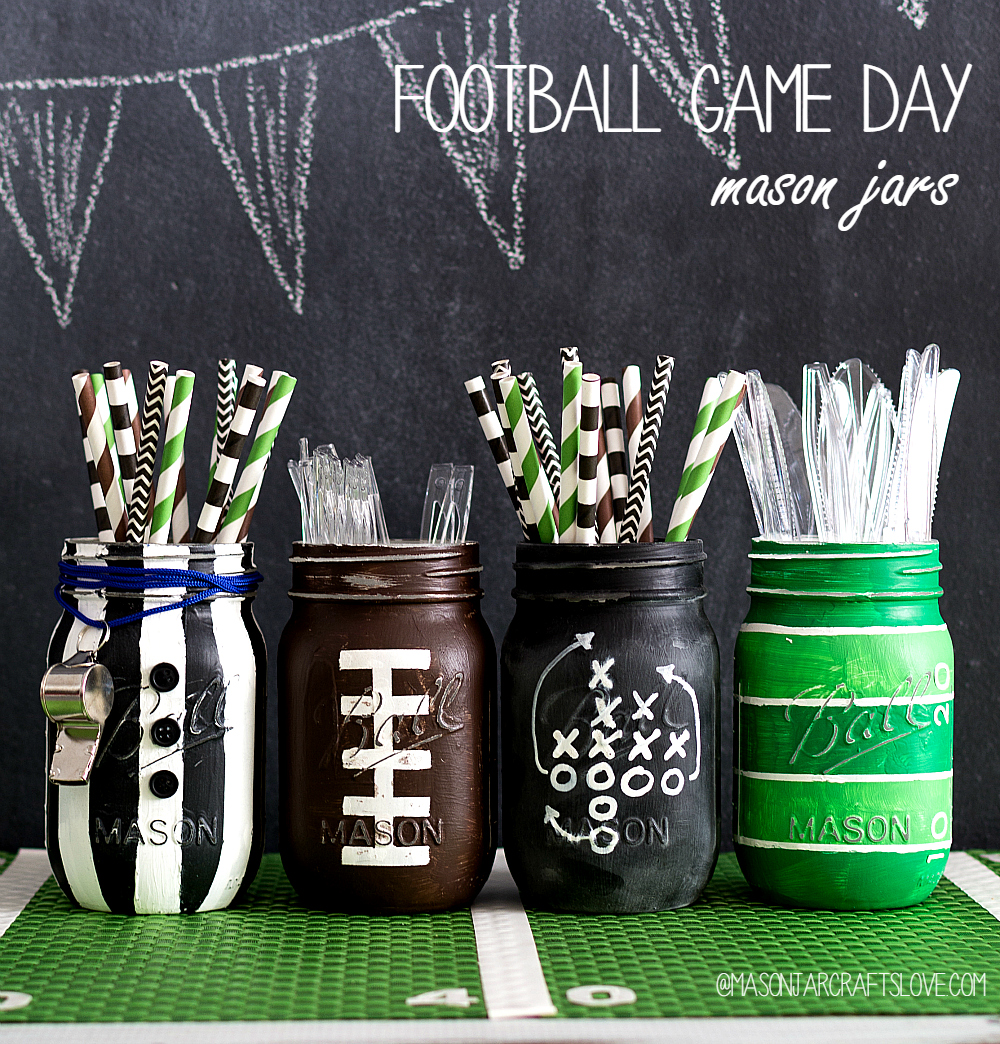
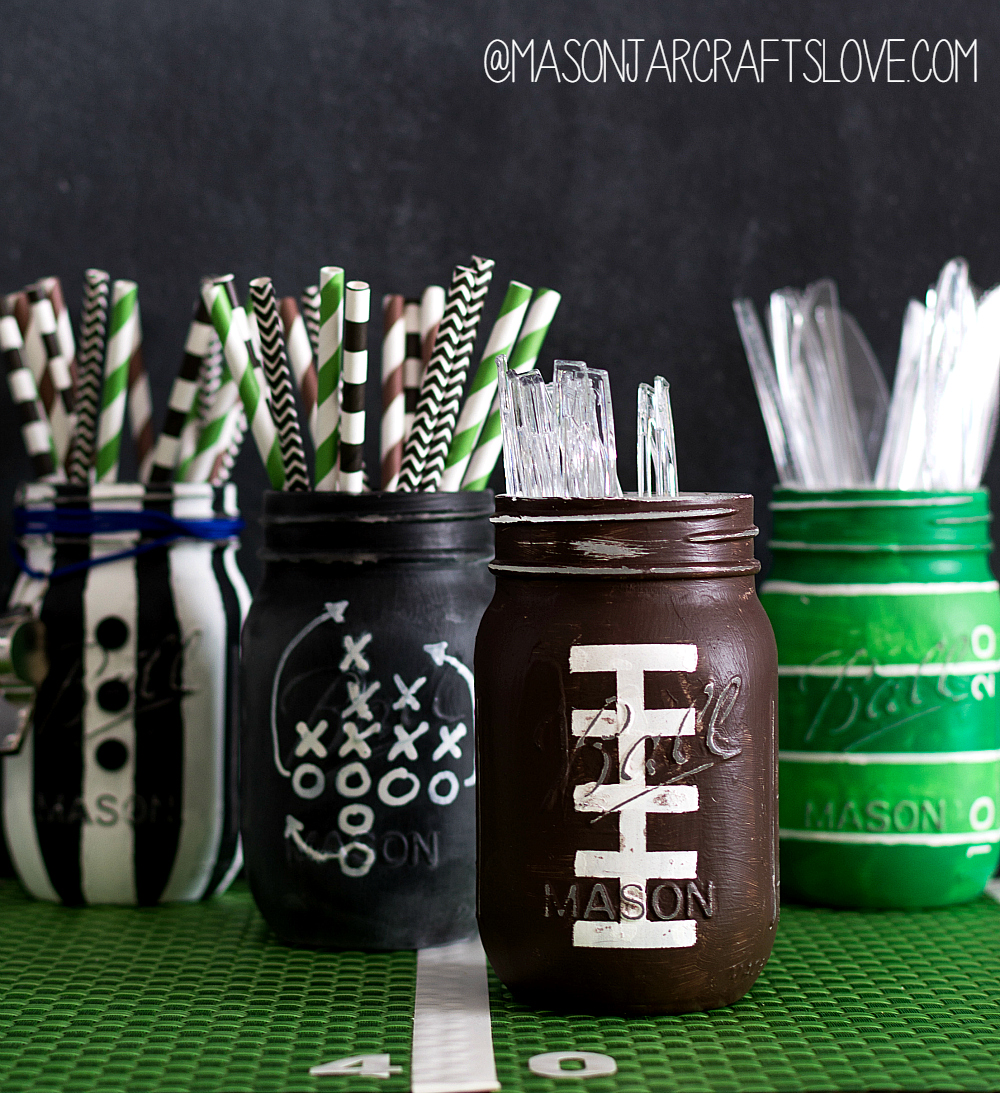
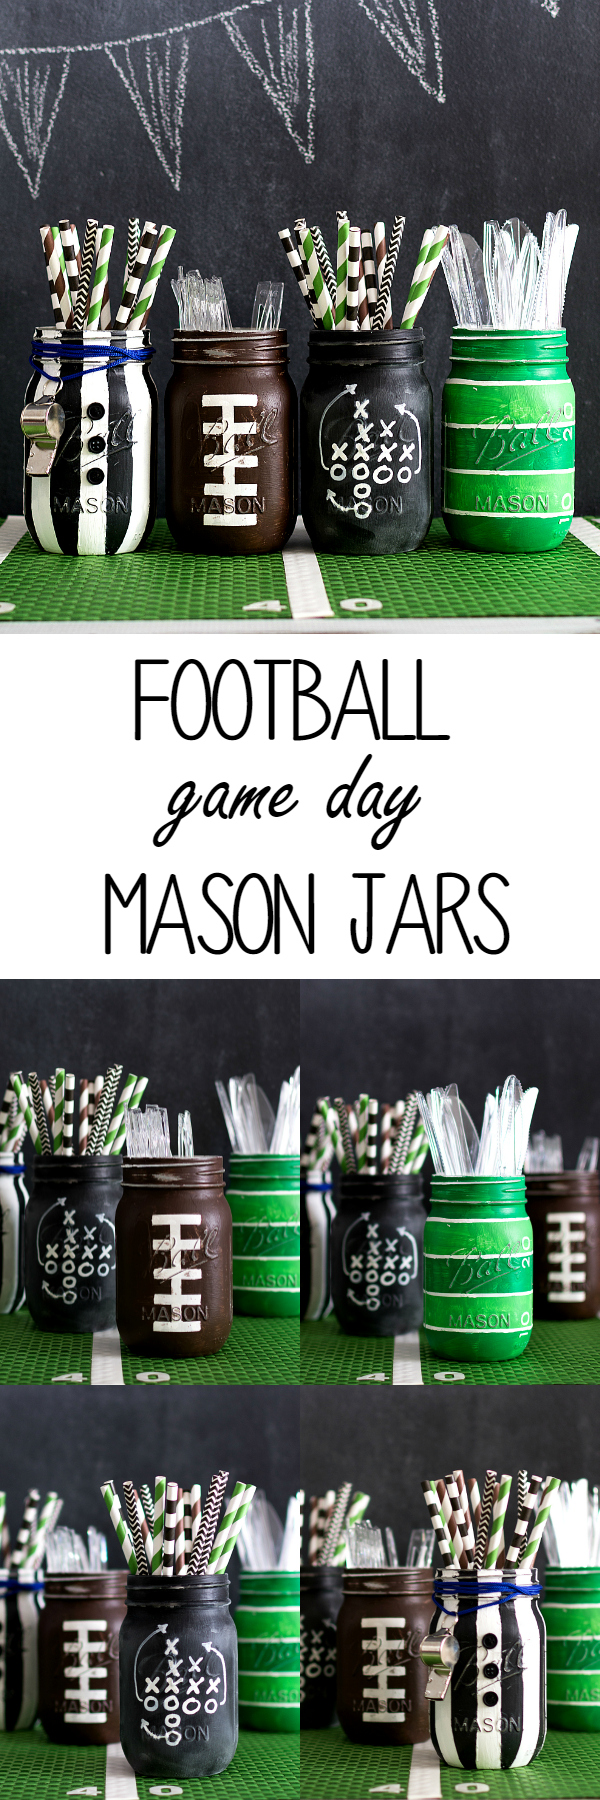
Football Party Mason Jars – Football Party Ideas with Mason Jars.
Can we talk Super Bowl? Or, more accurately, Super Bowl parties …
I’ll admit I’m not much for game watching. However, I do enjoy the ad watching. And the half time show antics and mishaps (can you say left shark?). And then there’s the food. Definitely worth all the game day hype.
Now, if we left it up to the guys it would be paper plates and paper towel napkins. But us women? Yeah, we like to throw a Super Bowl party with a real theme …
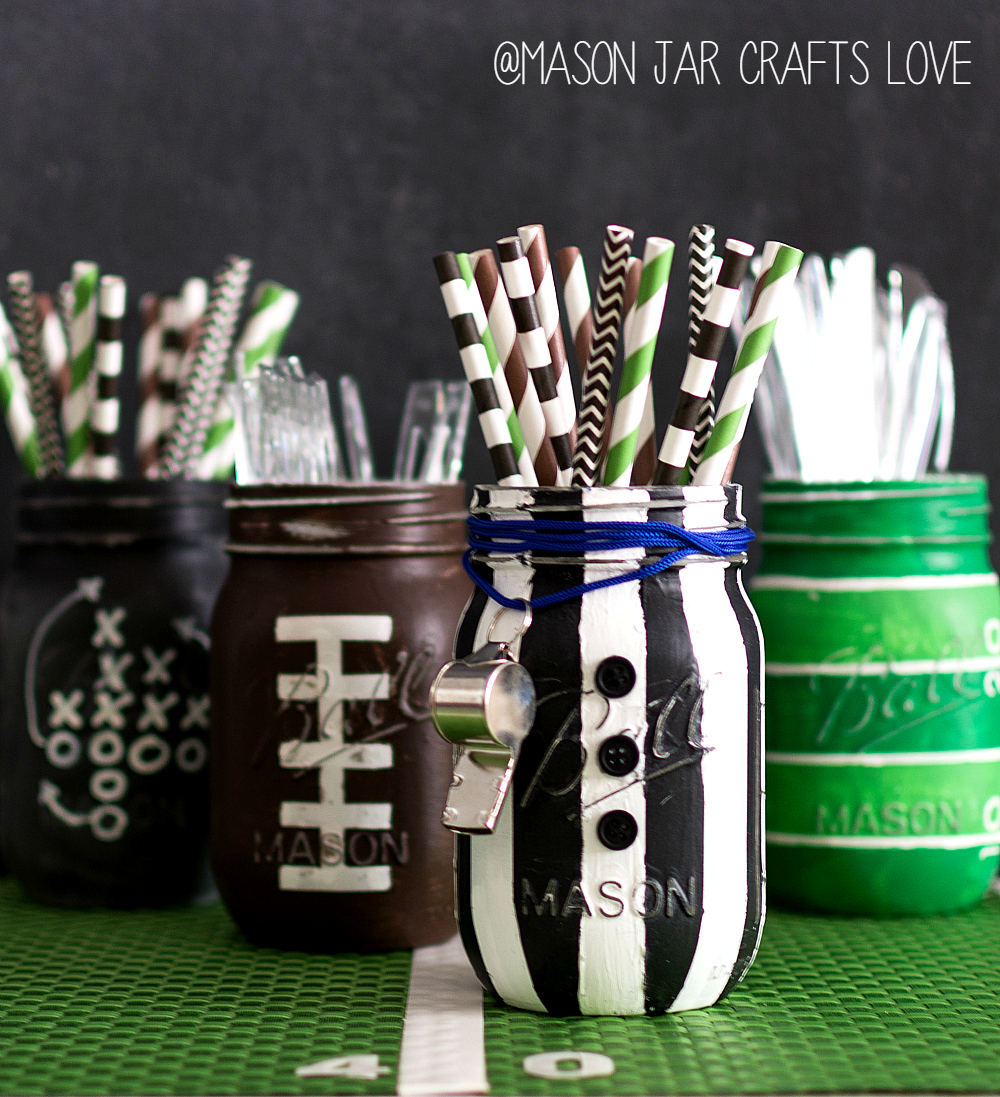
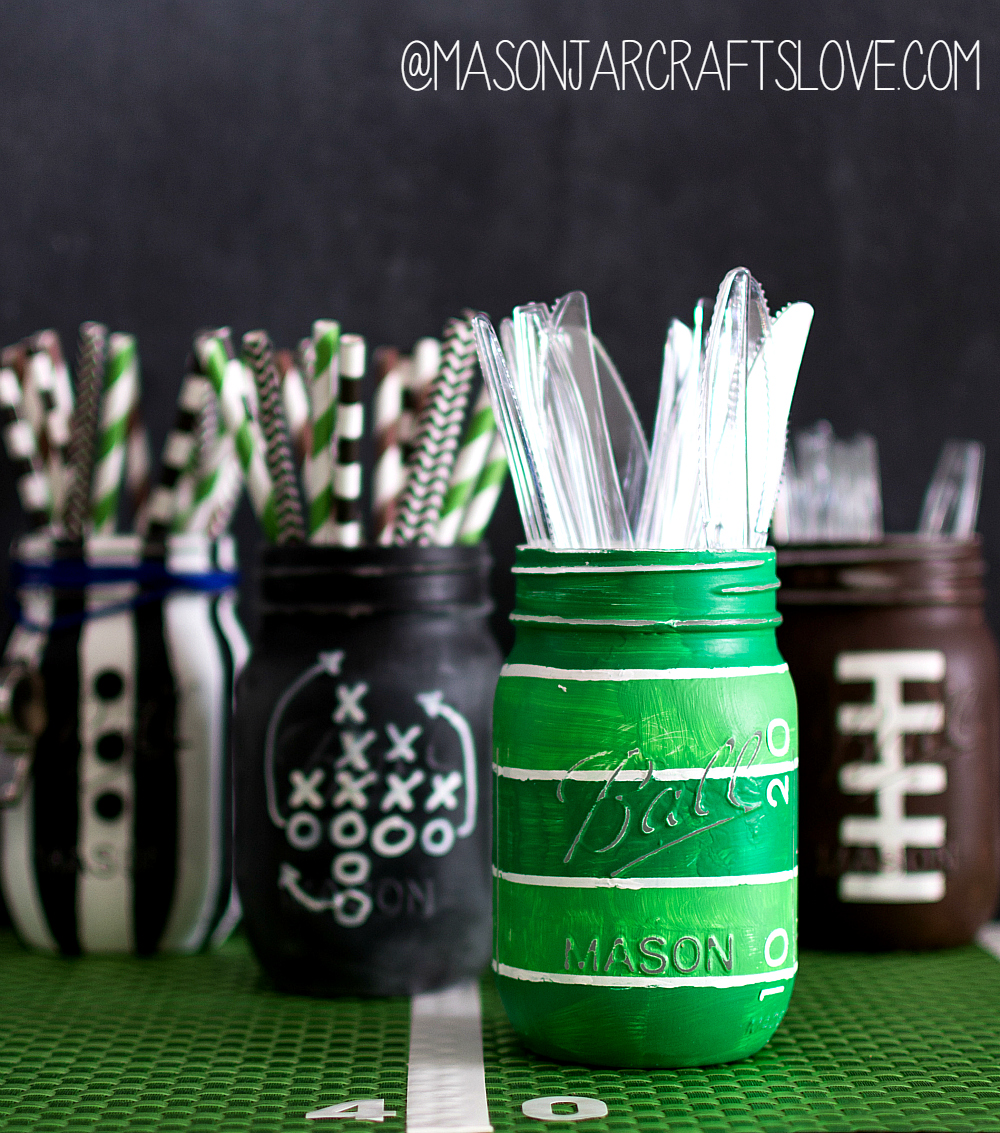
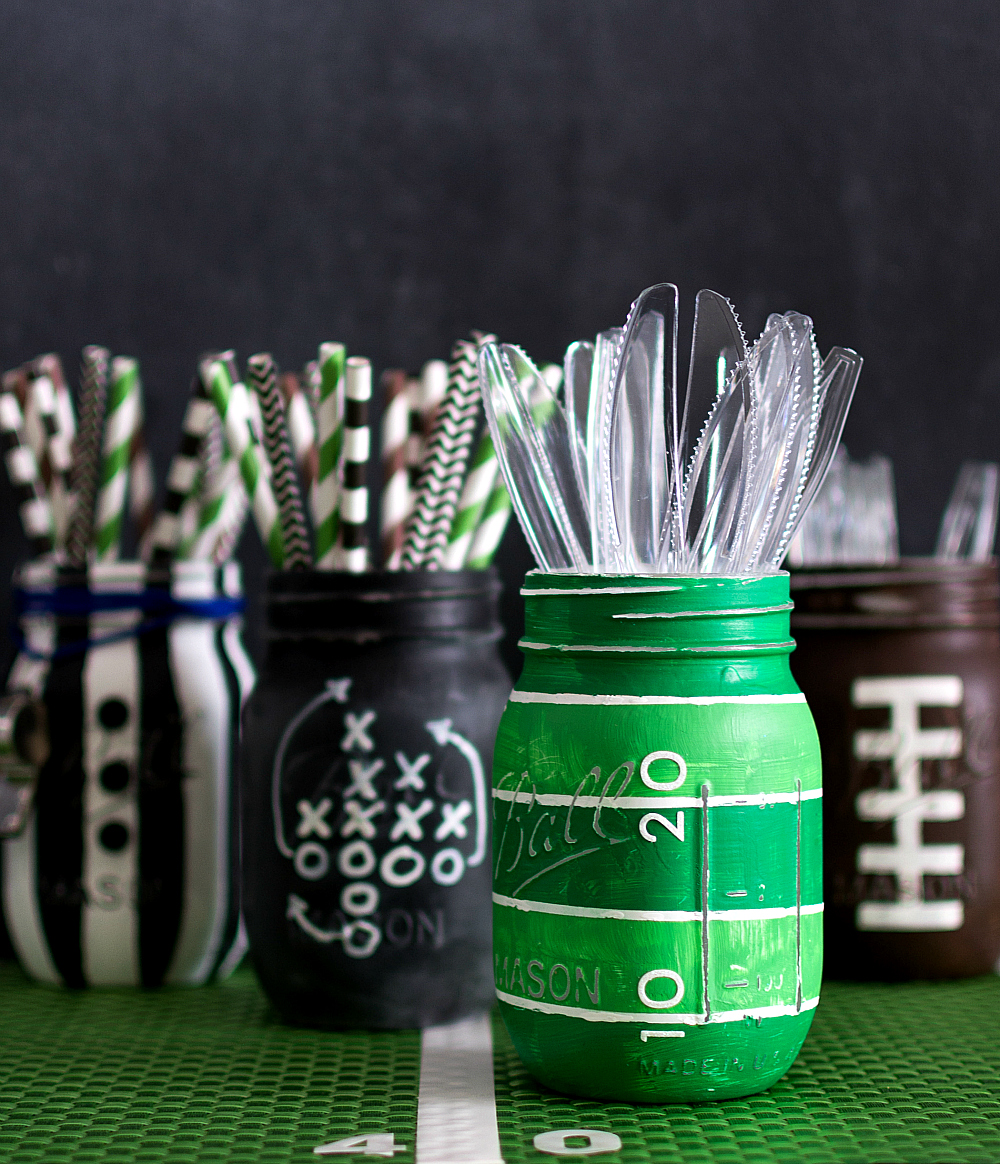
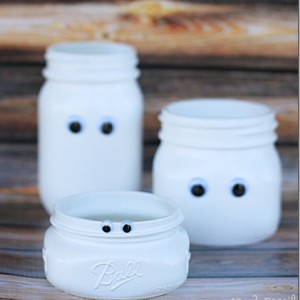
with themed crafts to decorate that game day table. Like these adorable football party mason jars. Painted and distressed and ready to decorate any football game day party table!
And here’s the tutorial on how to make your own.Oh, and it’s along one!
How To Make Football Party Mason Jars
Materials*
Paint Brushes
Kilz Primer
Folk Art Acrylic Green Paint
Folk Art Acrylic Burnt Umber Paint
Craft Smart Paint Pen – White
Scrapbook Number Stickers (I found mine at Michaels)
Clear Coat Sealant in Matte Finish
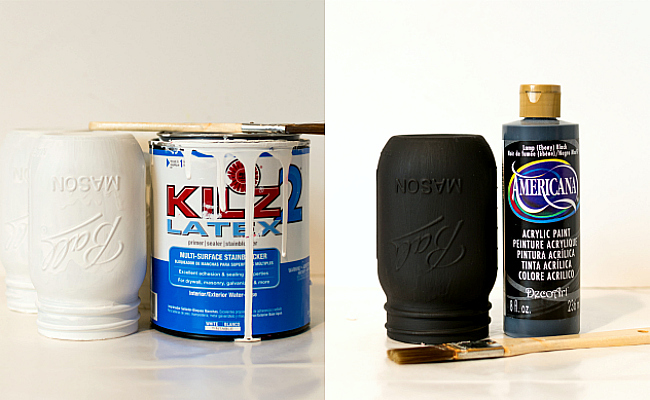
Start with your base coat. Paint three jars in primer white. Give it two coats of paint and let dry overnight in between coats. For the football game plan chalkboard jar, give it two coats of black acrylic paint. Let dry overnight between coats.
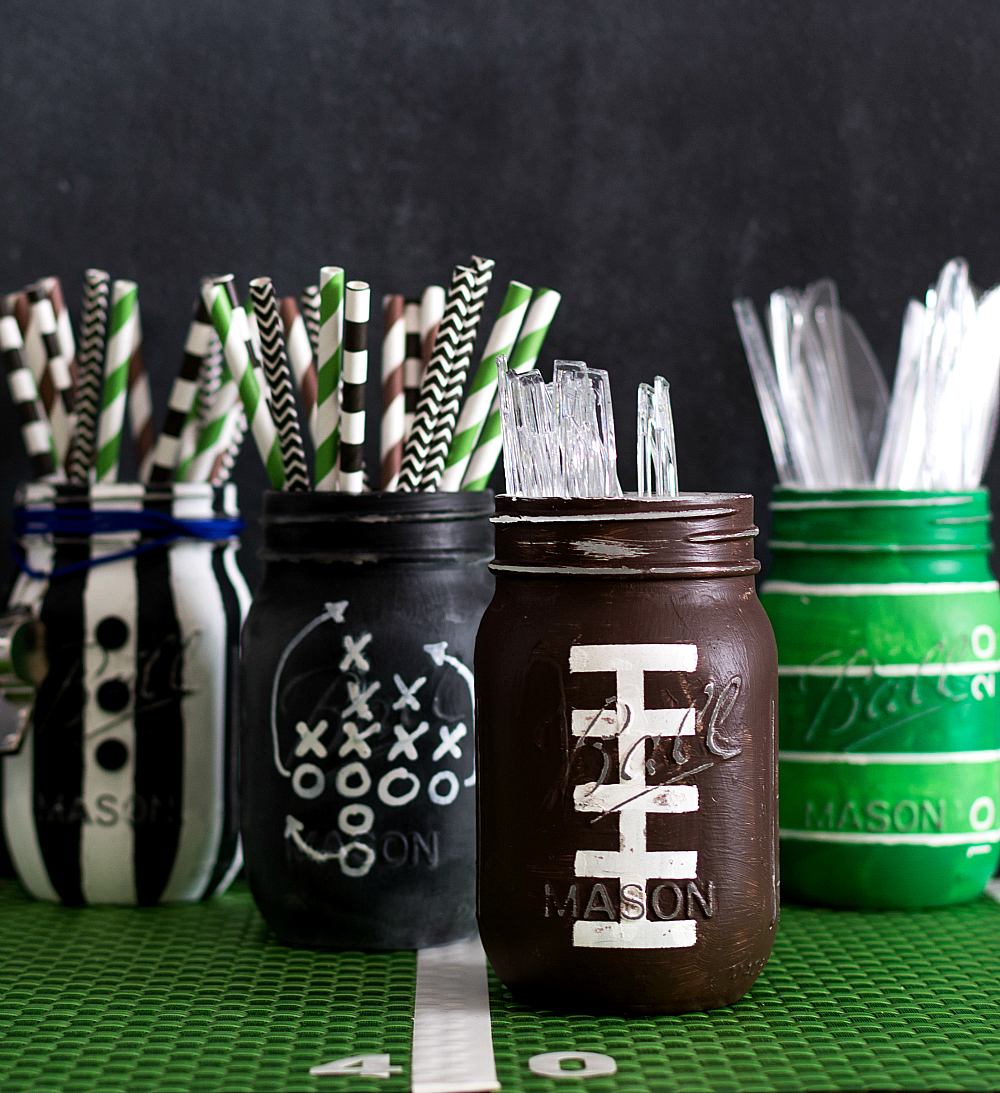
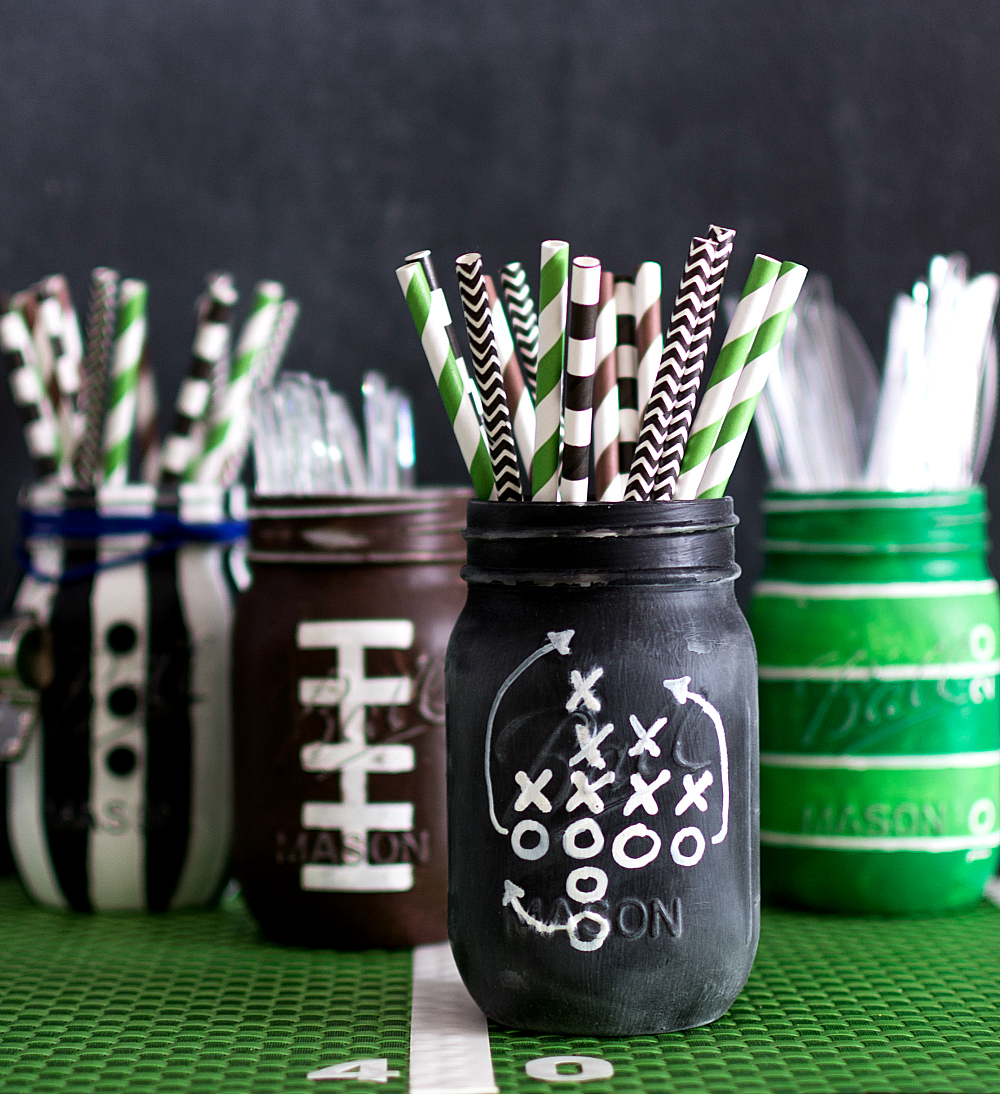
Football Game Plan Chalkboard Mason Jar Tutorial

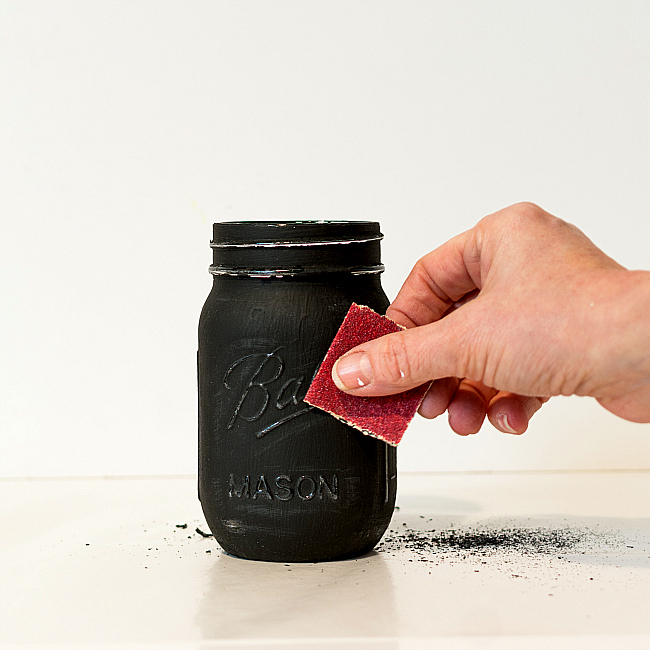
Using 80 grit sandpaper, give the jars a distressing along the raised areas.

Using a white paint marker, draw on your x’s and o’s and arrows. Let dry overnight.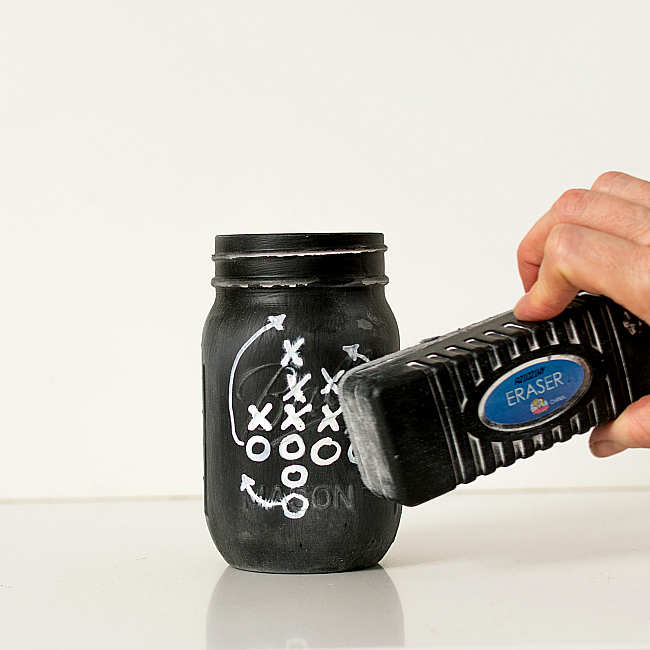
After sealing with a clear spray sealant (see below), use an eraser to give it a chalkboard look.
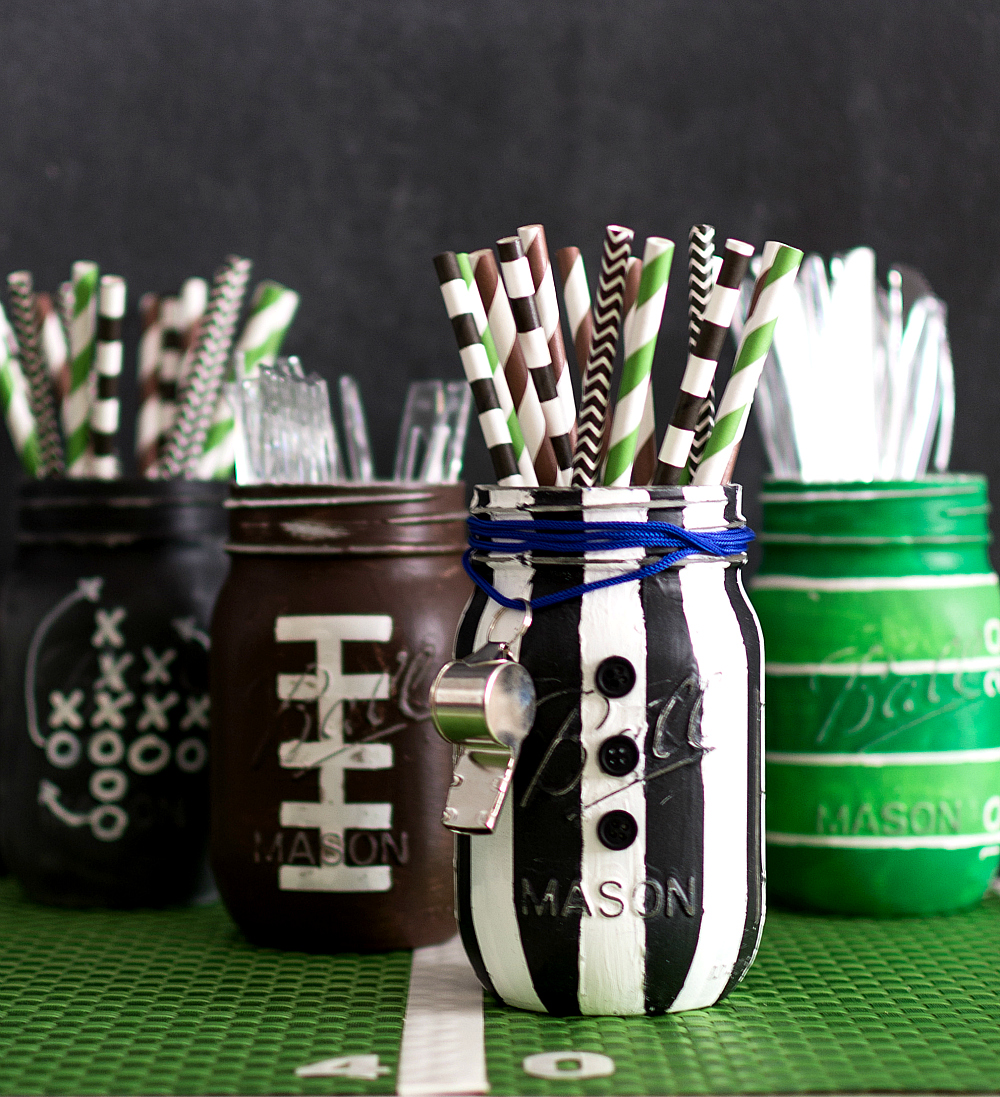
Referee Mason Jar Tutorial

Tape vertical stripes on jar. I used washi tape (can be found at any craft store) because I like the width. You can also use painter’s tape.
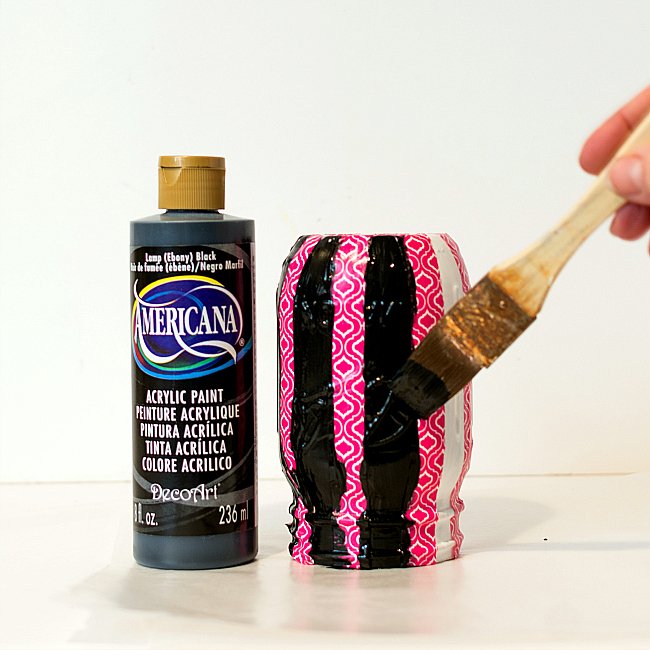
Paint with black paint. Just one coat. Let dry overnight.
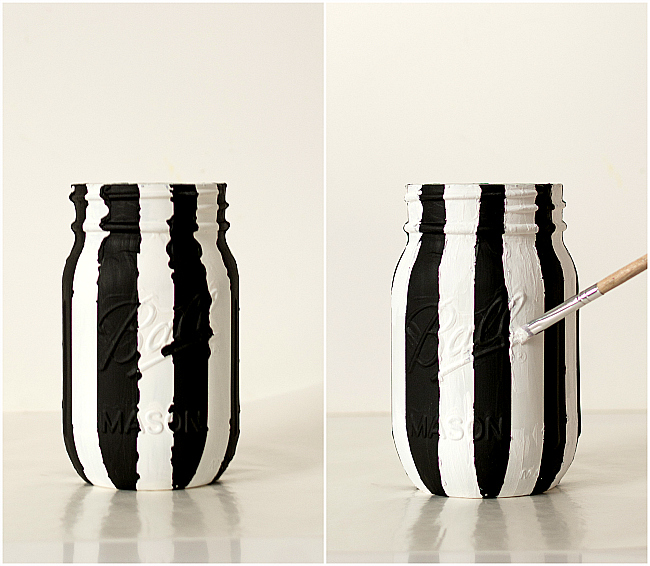
Remove tape and touch up. Let dry overnight.
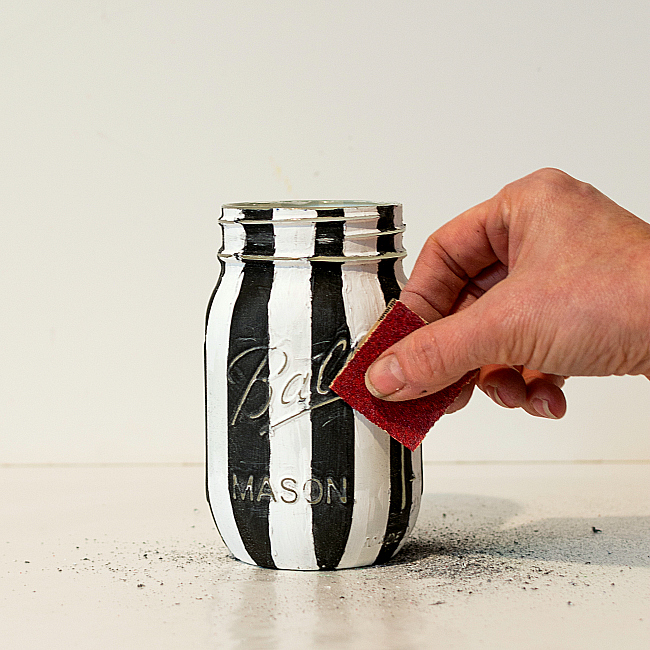
Distress along raised edges with 80 grit sandpaper.
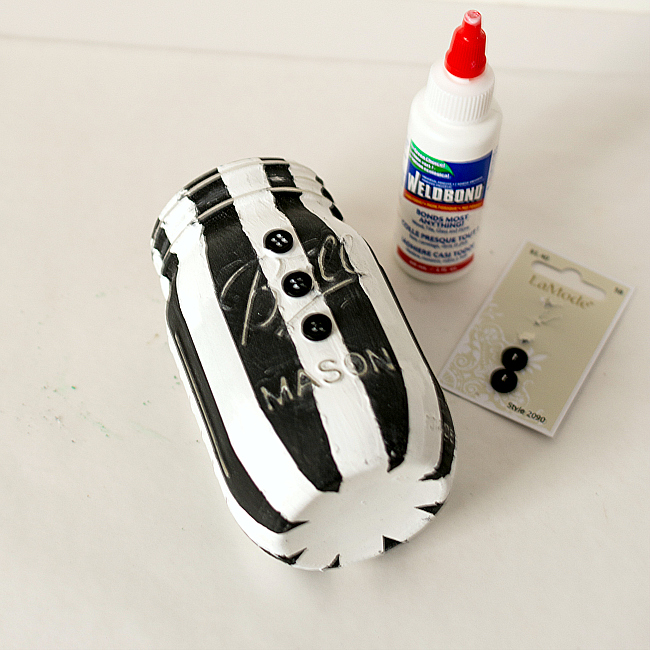
Add buttons using glue. I used Wellbond glue (found at craft store).
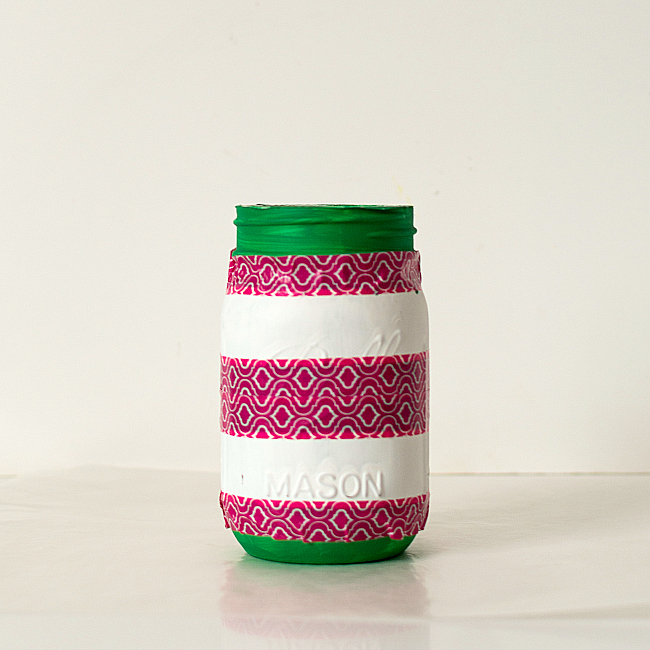
Football Field Mason Jar Tutorial
Tape off vertical lines.
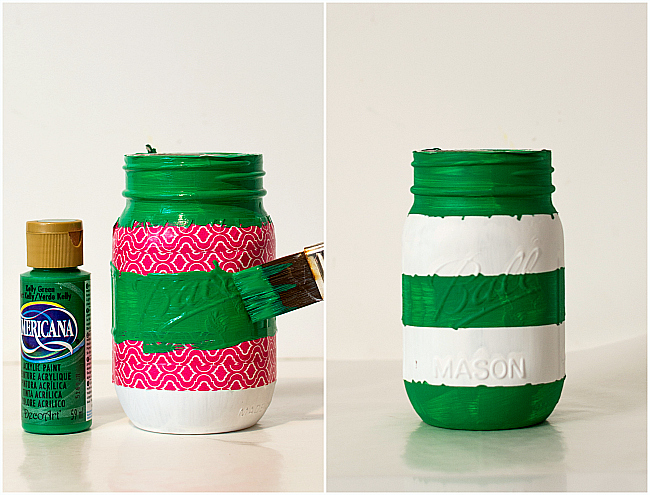
Paint one coat of green between tape lines. Let dry overnight & remove tape.
Tape off for lighter green stripes. Overlap tape slightly on white to create grid lines.
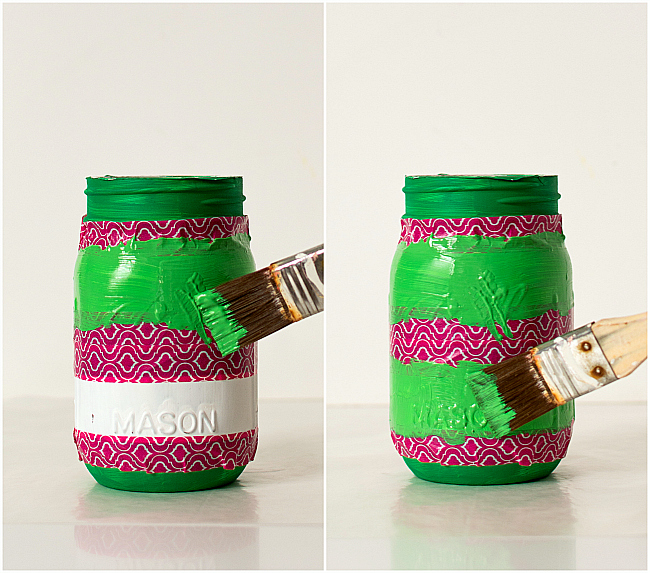
Paint one coat of lighter shade of green. Let dry overnight.
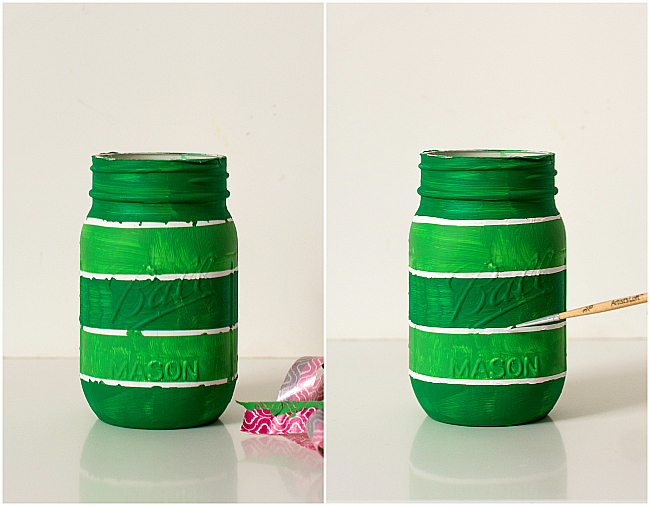
Remove tape and touch up paint.
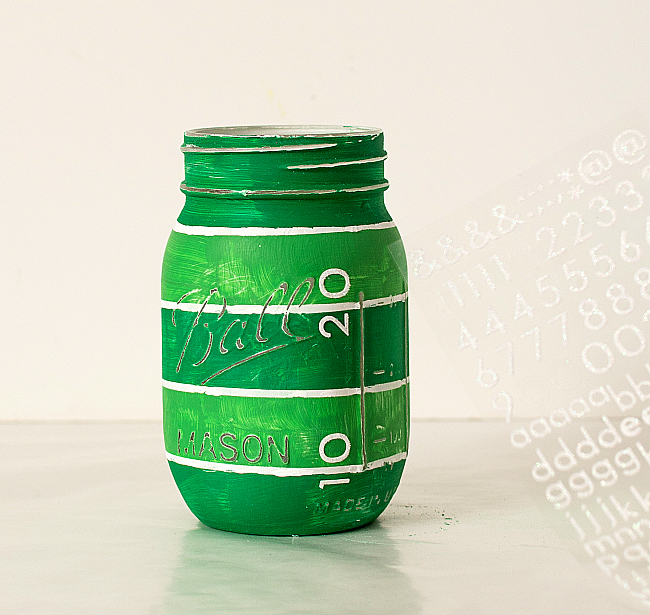
Add numbers to grid lines. I used scrapbook numbers found at the craft store.
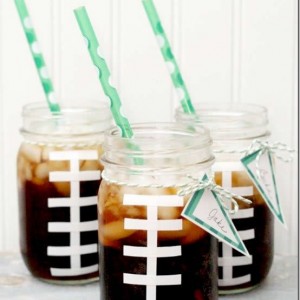
Football Mason Jar Tutorial
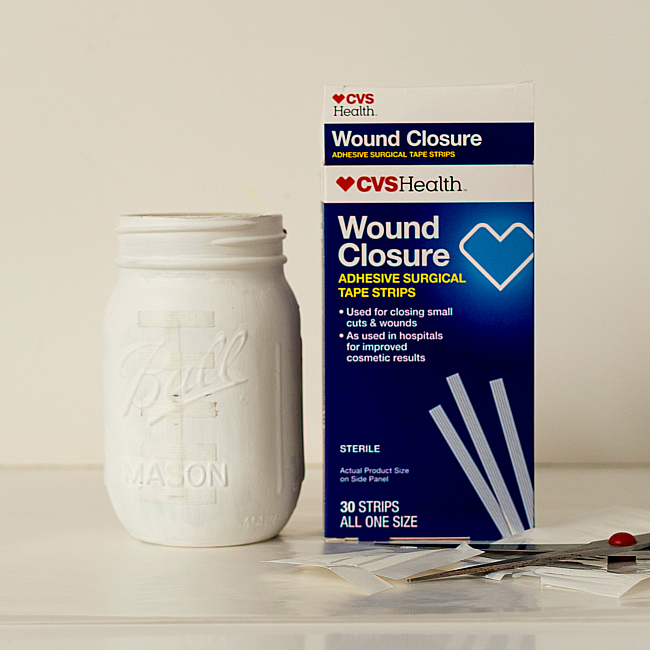
Tape off thread lines. I used these 1/4″ wound closure strips. You could always cut painter’s tape or washi tape to size.
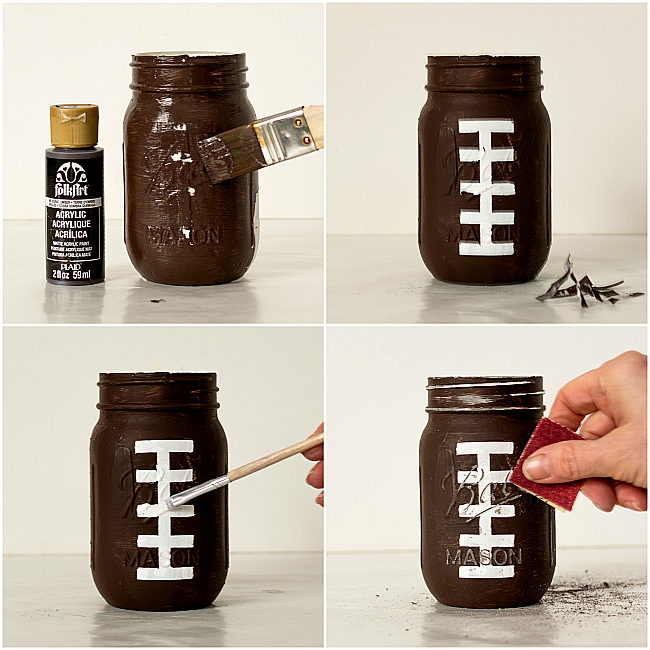
Then I painted one coat of brown and let dry overnight. Once the tape was removed, I touched up the paint. Once dry (overnight) I distressed with 80 grit sandpaper.
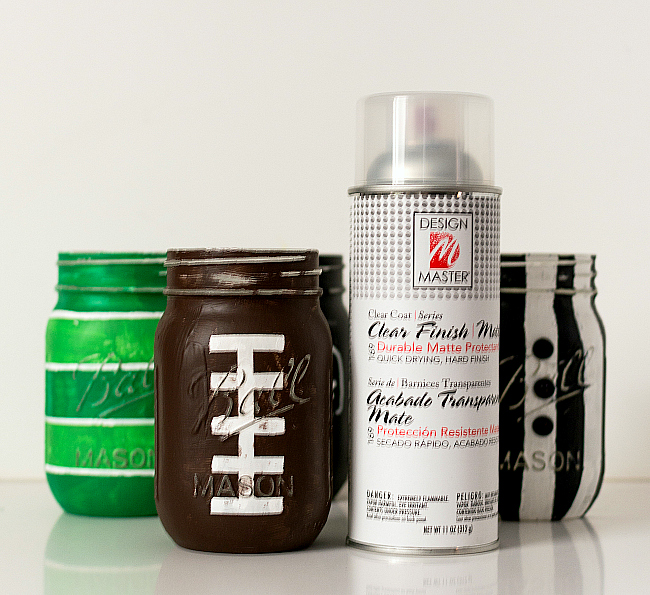
Finish them all with a clear coat sealant.
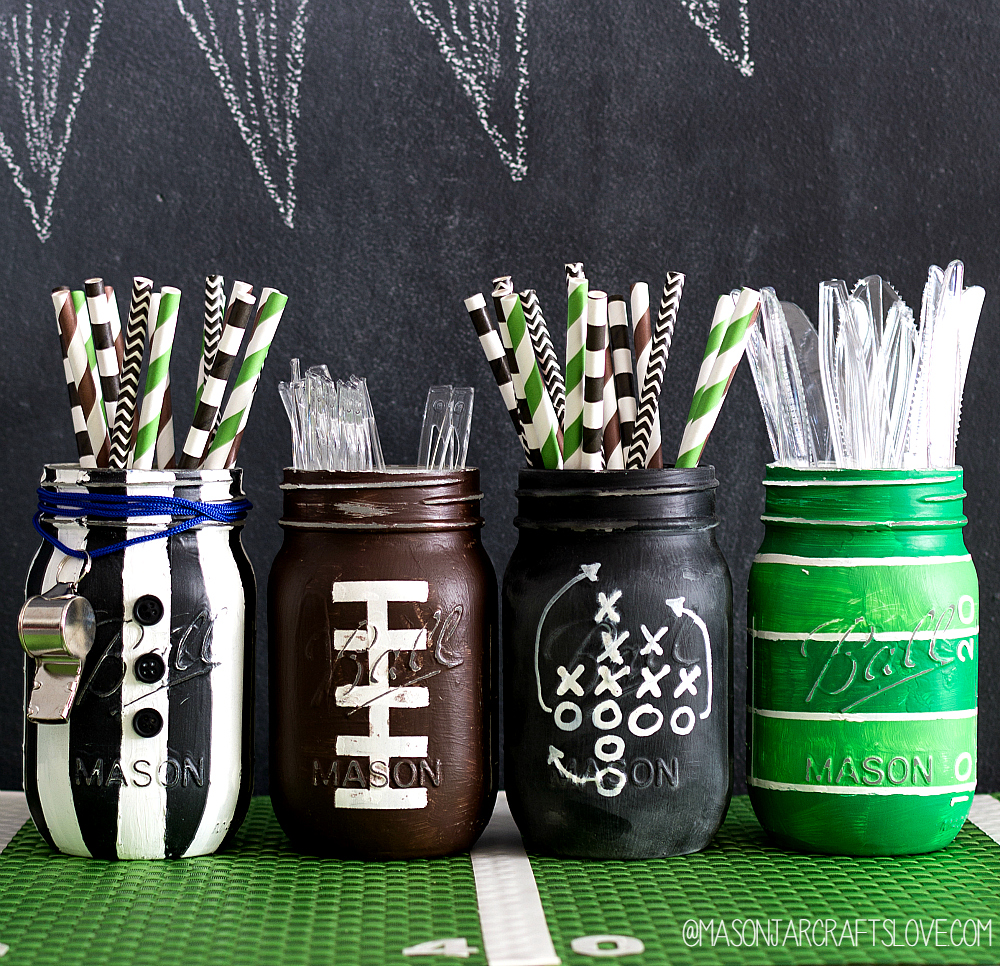
And that’s it. They make great holders for straws and utensils – or fill with flowers or pennants and used as a centerpiece!
I also sell these jars at my Etsy shop:*

Click here for listing for set of 4 football game day mason jars
Click here for single football mason jar
Click here for single chalkboard game play mason jar
Click here for single referee mason jar (whistle included!)
Click here for football field with grid lines mason jar
Custom orders in terms of configuration of jars and/or quantities of single jars are welcome!
*affiliate links included.


You have creatively combined 2 of my most favorite things into something absolutely spectacular! Mason jars…well what can I say…I can’t live without them! Football…its a religion in my house! These football mason jars are perfect! I spotted this on Pinterest and it’s a must pin!
Thank you! They’ve become quite popular at my Etsy shop! I make at least one or two sets a week! 🙂
Love love this thank you! Where did you get the straws from?
They’re from an Etsy shop. Just search either football straws or game day straws.
Love these! I don’t have much experience with Mason jars…did the jars you used have an ornate design on the back side and measurement numbers on each side? Not sure I bought the right ones or if a smaller version (I got the quart sized ones) won’t have the extra “stuff” on it. Thanks!
I actually use the smaller (pints) with all the “stuff” on them. I like that you can see that and I use sandpaper and distress the areas where the “stuff” is to give them a rustic look. It also helps to forgive some painting mistakes too! 🙂
These are so cute!!
Thanks! They’re a big hit at my Etsy shop! 🙂
Trying get these and my paint seems a lot thinner than the paint you used. Did you do multiple coats of primer and acrylic paint?
I definitely used two think coats of primer on the jars. As for the thickness of the paint, I do find that sometimes the paint can be thinner or thicker depending on the brand used (Folk Art tends to be thicker). I also don’t mind some brush marks on the jars because I think they give them a more folksy, handmade look. But you can add a second coat if you want a thicker look. It’s all personal preference! 🙂
So creative and so adorable! I appreciate the links for each item too. The link for the Folk Art Acrylic Green Paint isn’t working. Are you able to tell me the specific green you used? Thank you!
Monica
Here are the two greens used: Americana Kelly Green Paint & Folk Art Acrylic Green Paint
Hi! Did the Kilz primer work ok with these? I read to not use on glass.
Thanks!
Sorry for the late response. Yes, Kilz works. I also seal all the jars when I’m finished.