Painted Valentine Mason Jar with Clay Heart Tag – Blush Pink Valentine Mason Jar – How to Paint and Distress Mason Jars – How To Make Homemade Clay Heart Tag
Sooooo ….
it’s been awhile.
Three-and-a-half years awhile. To be exact.
Yikes!
Honestly, it started as a little break. Which turned into an extended break. Which turned into years and years of a break.
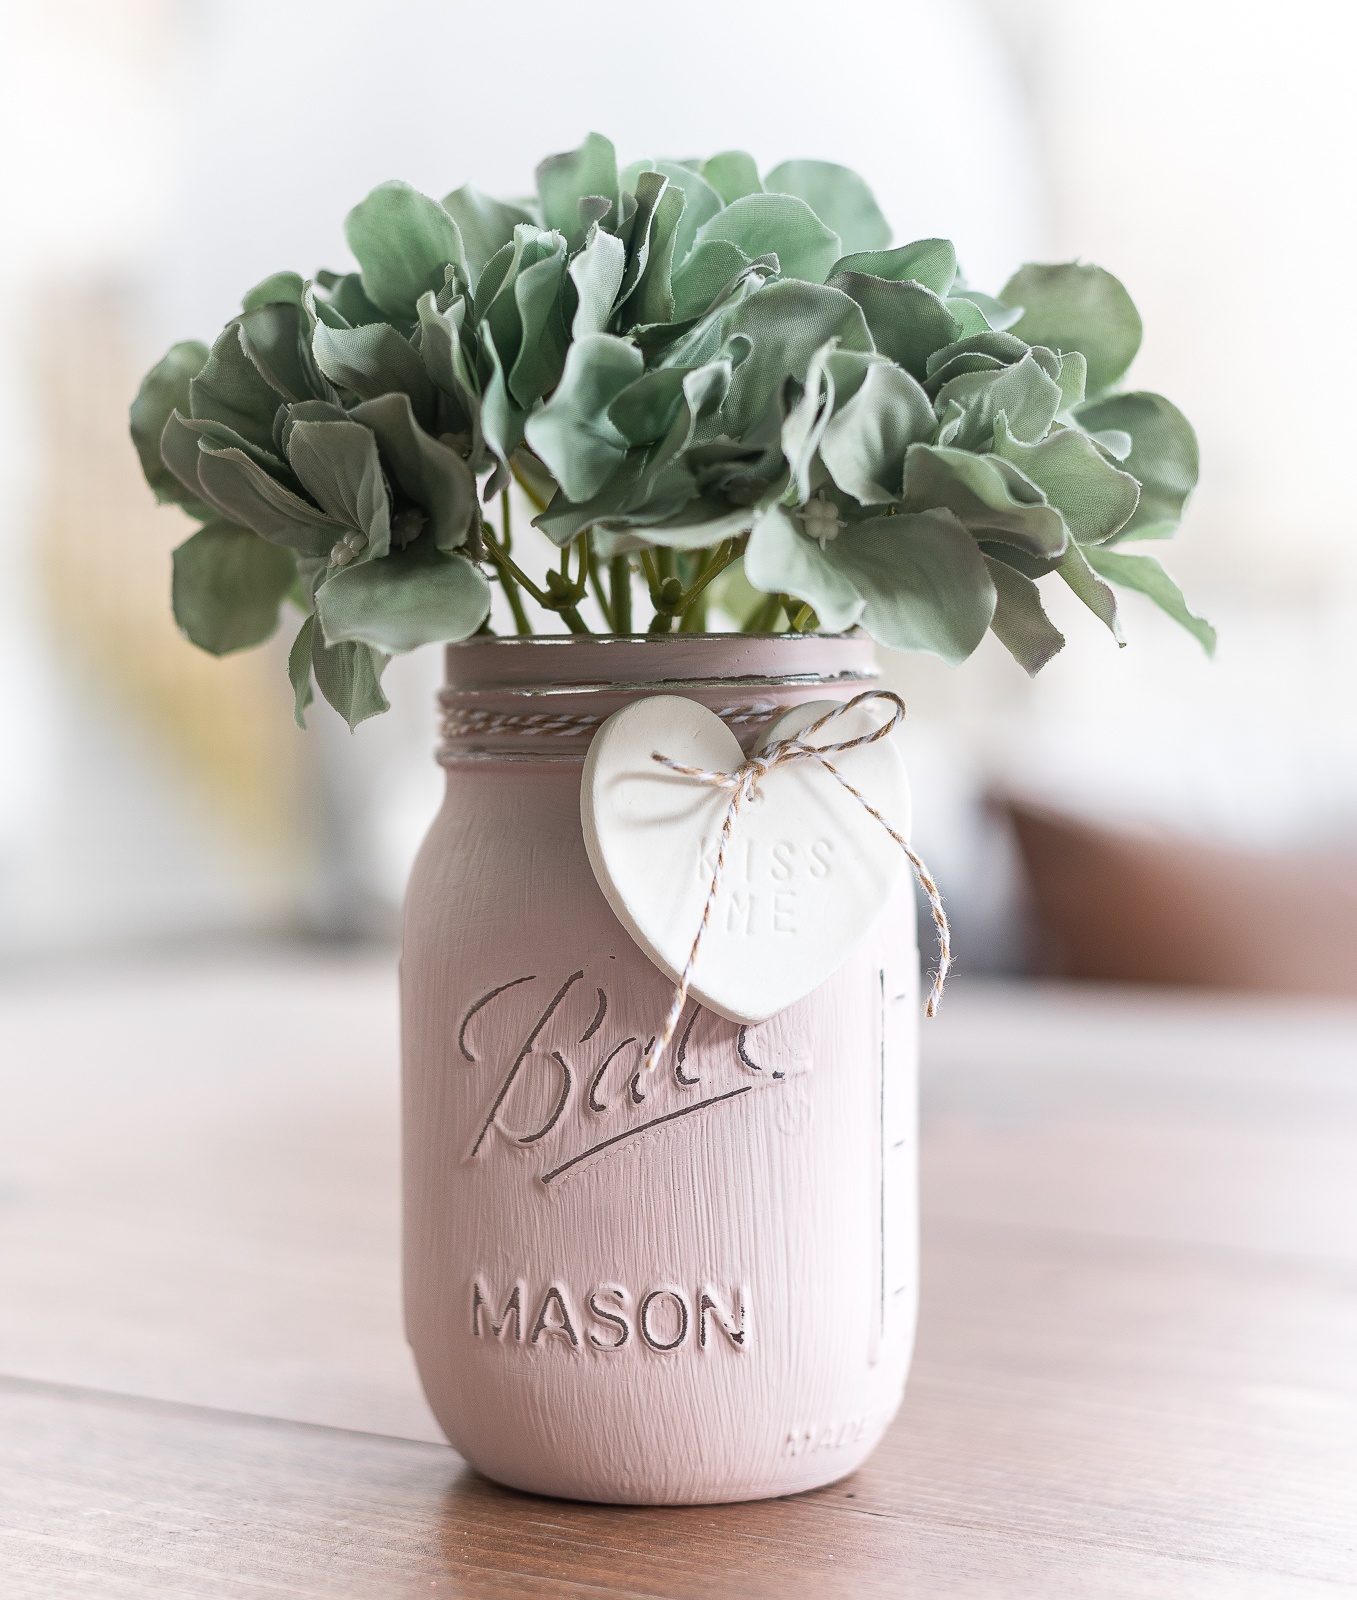
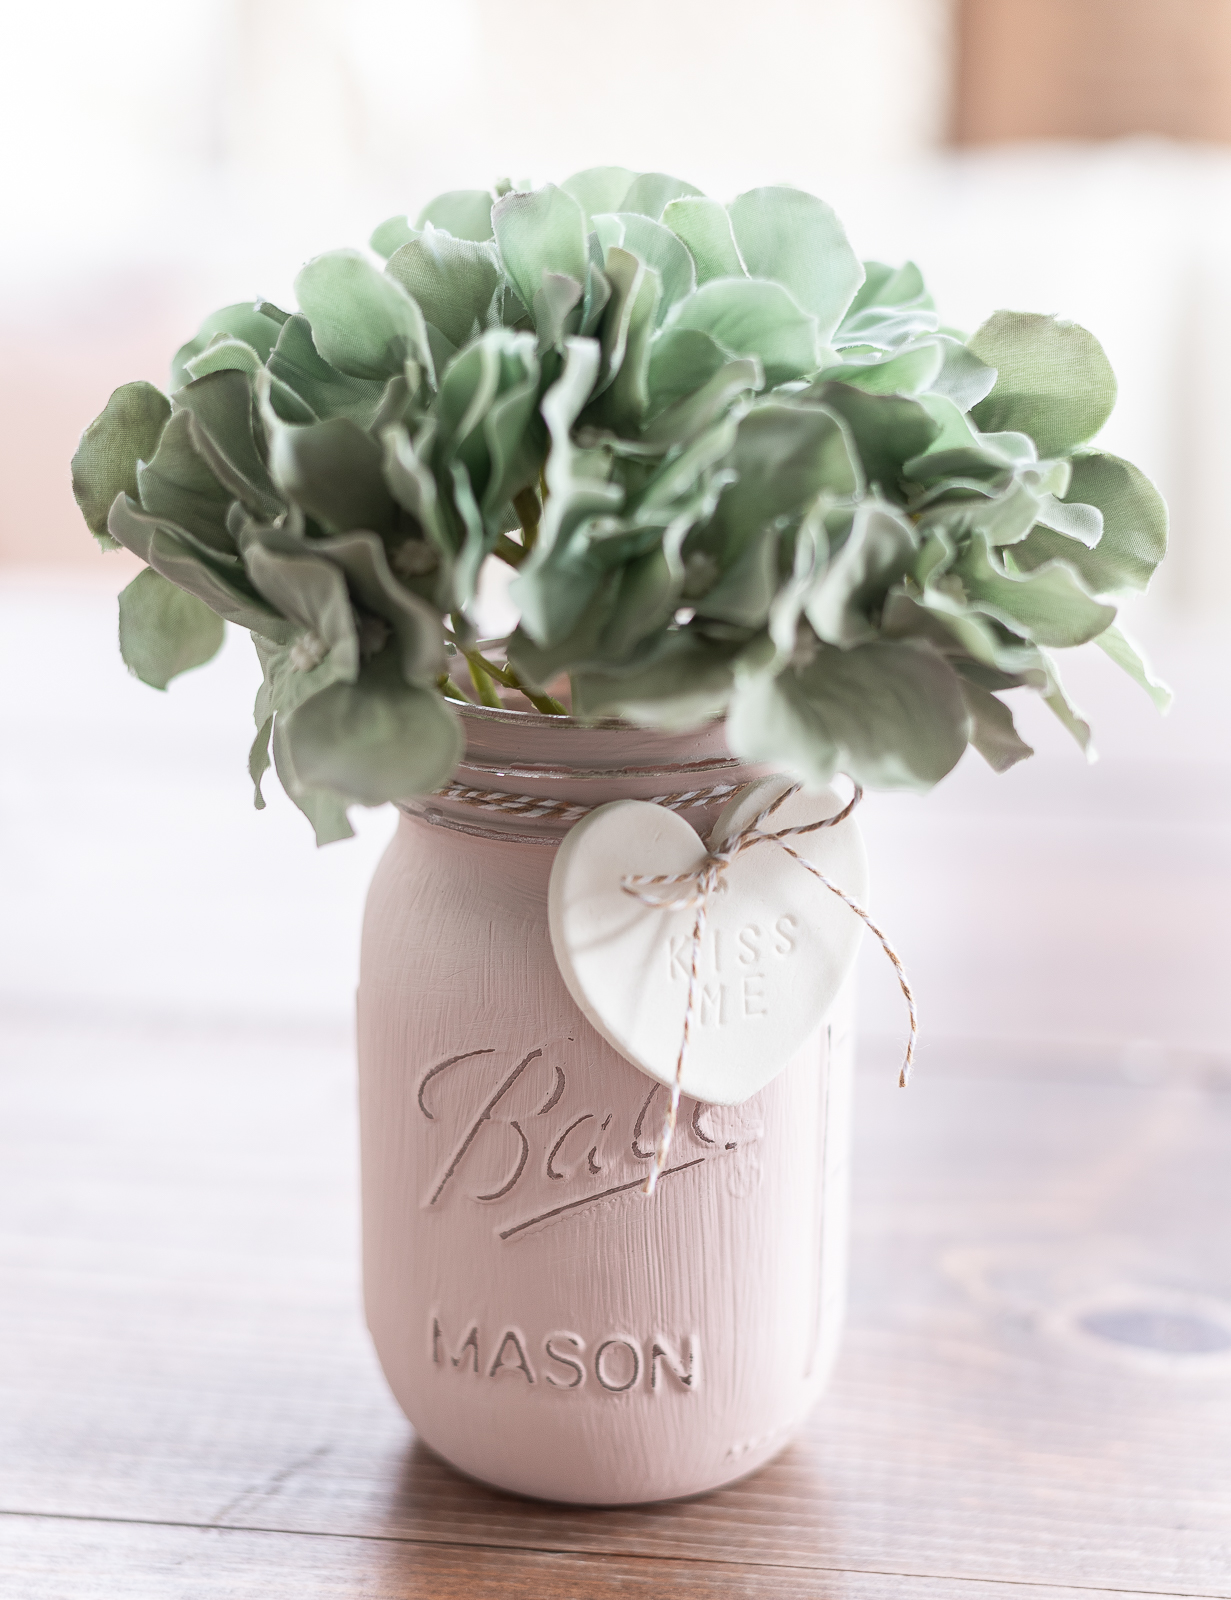
But I think it’s time for me to get back at it. Easing in with a pink blush painted Valentine mason jar with a homemade clay conversation heart tag.
How To Make A Painted Valentine Mason Jar with Clay Heart Tag
Materials*
Mason jar (16 oz. regular mouth pint)
Rustoleum Chalked Paint in blush pink
Paint brush
Clear matte sealant (this is my favorite)
1/2 cup corn starch
1 cup baking soda
3/4 cup water
Cookie cutter (heart shaped)
Alphabet cookie stamps (1/4″)
Rolling pin
Wax paper (optional)
*includes affiliate links.
Instructions
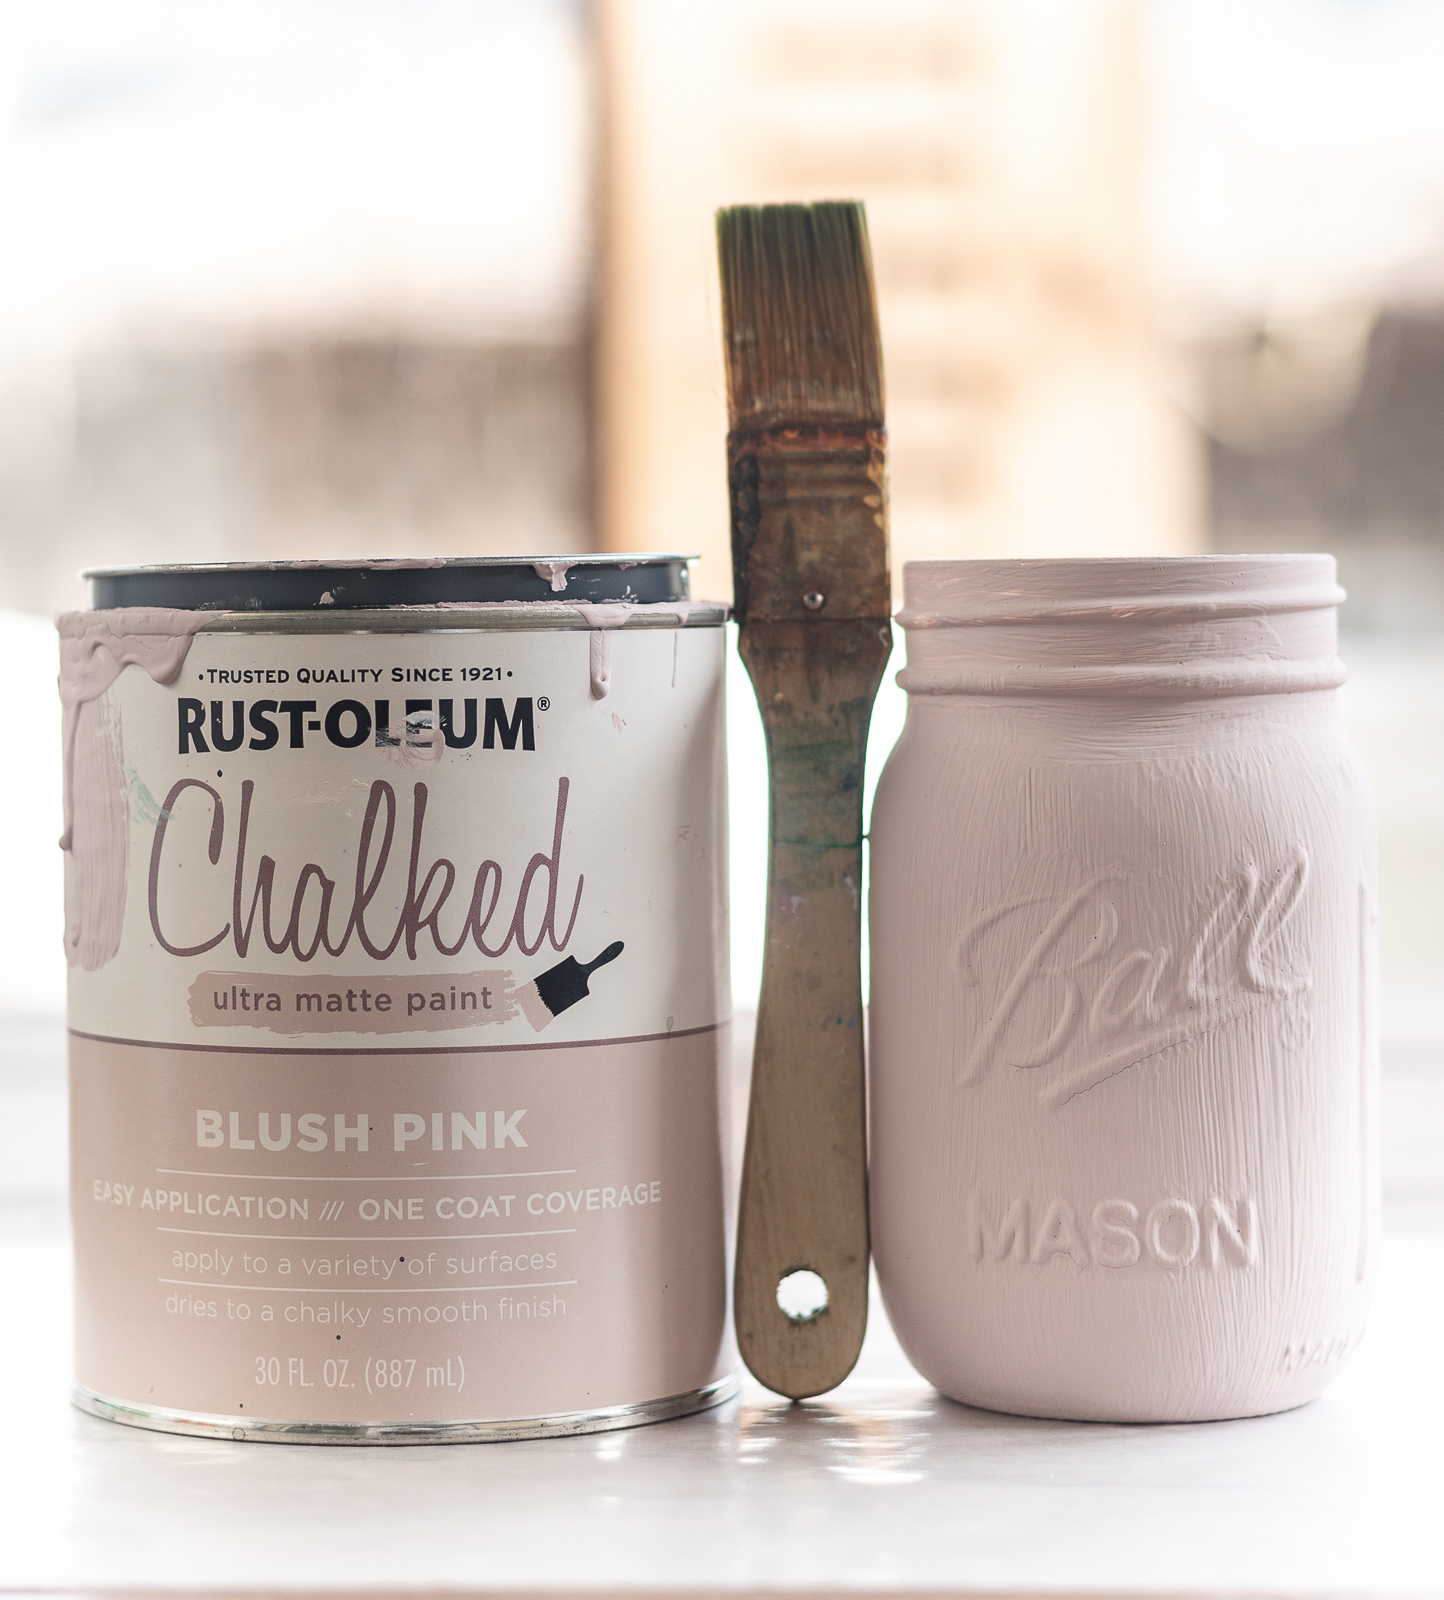
Start by painting your jar. I gave mine two coats and let dry in between coats overnight.
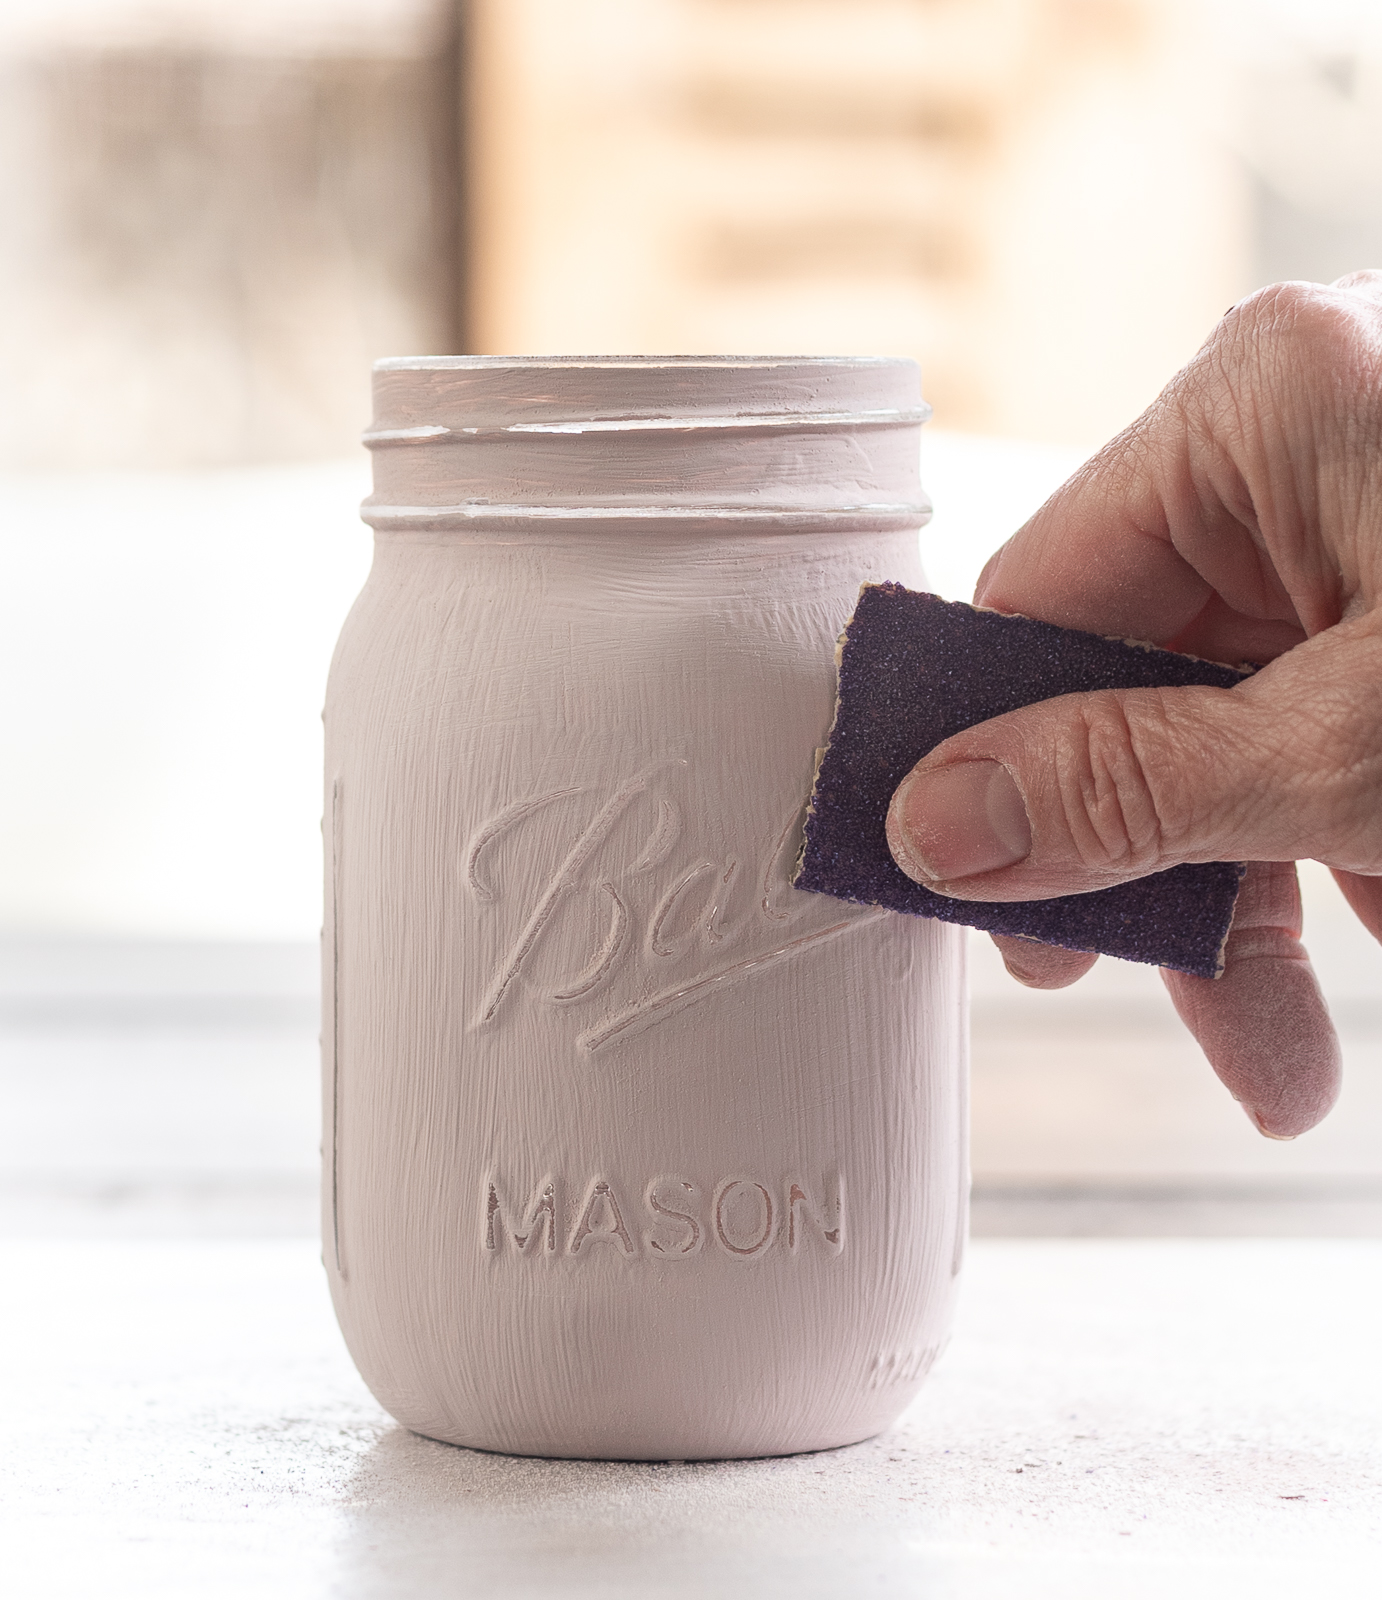
Once second coat is completely dry, distress using 80 grit sandpaper focusing on raised areas. Seal jars using a matte spray sealant (this* is my current favorite)
Now it’s time to make the clay!
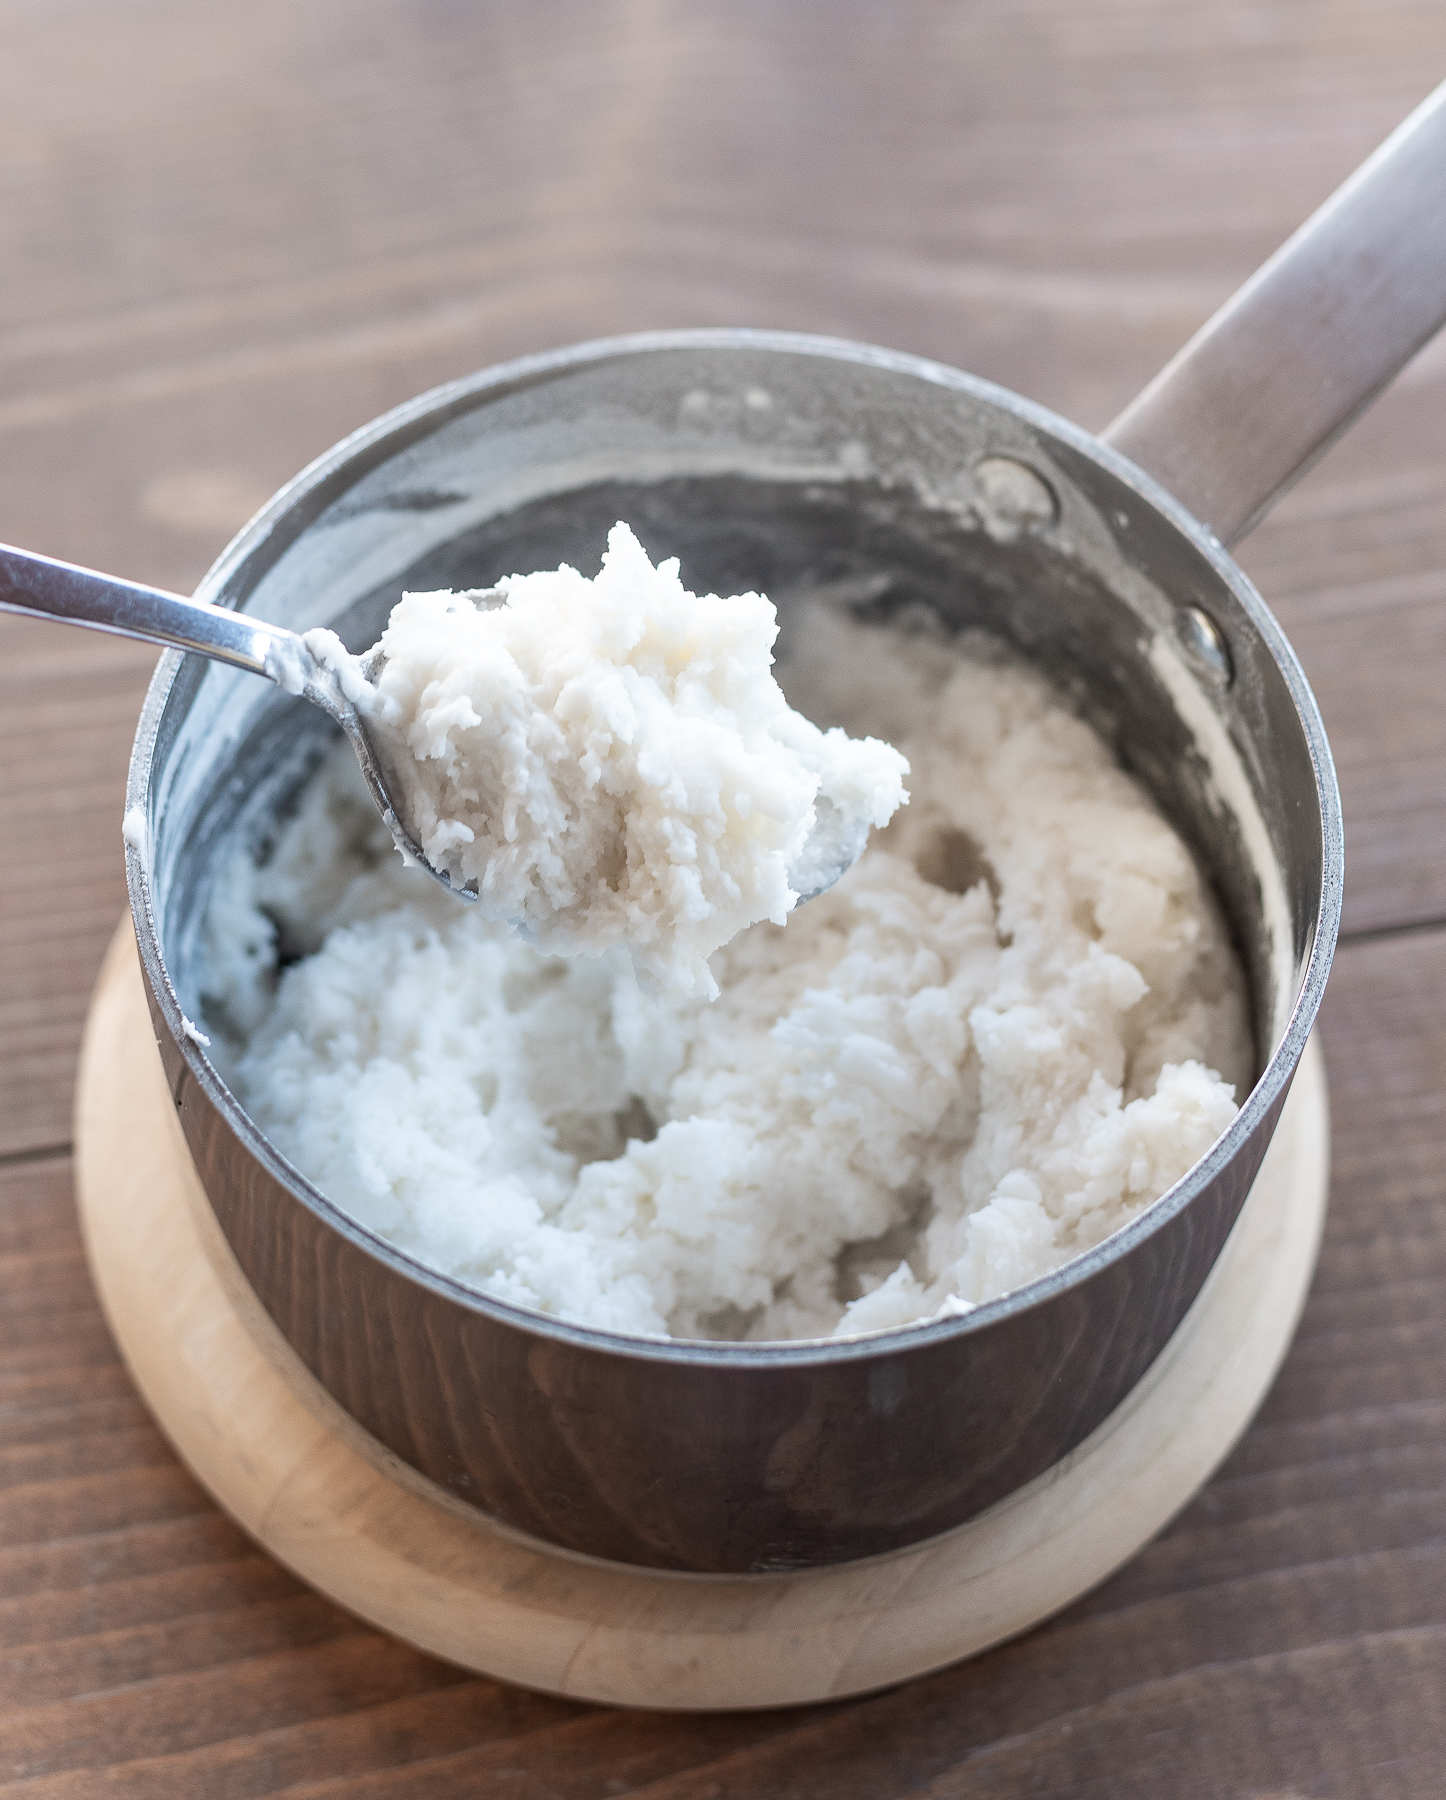
Combine the water, baking soda and corn starch in a sauce pan. Cook over medium-low heat until it forms a mashed potato consistency. Transfer to a bowl and let it cool down.
Once cool, knead the starch-baking soda mixture until smooth. Form into two balls.
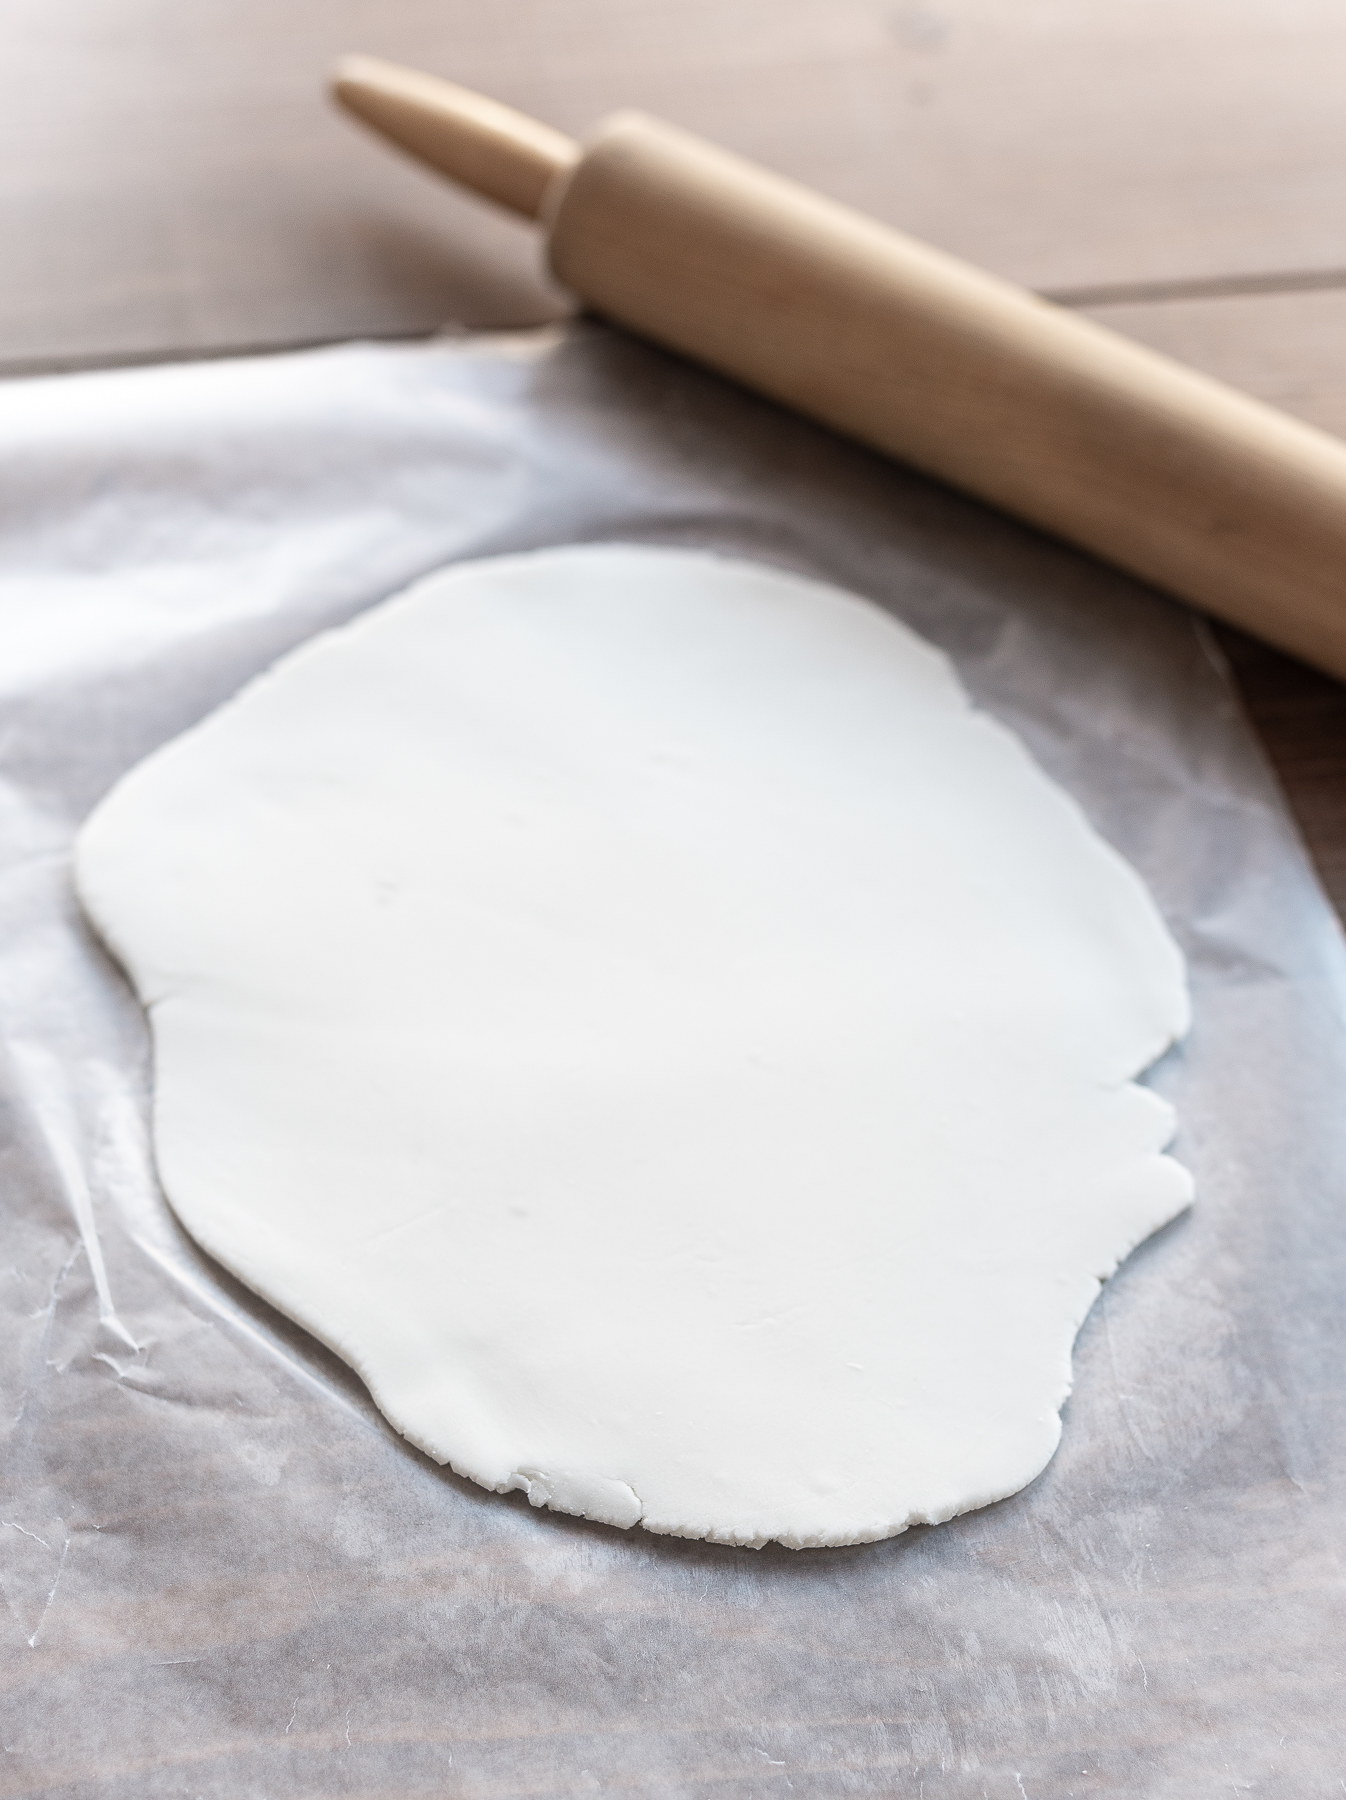
Using a rolling pin, roll out one of the balls to about 1/4″ inch. (You can store the remaining mixture in a Tupperware container for up to 2 weeks).
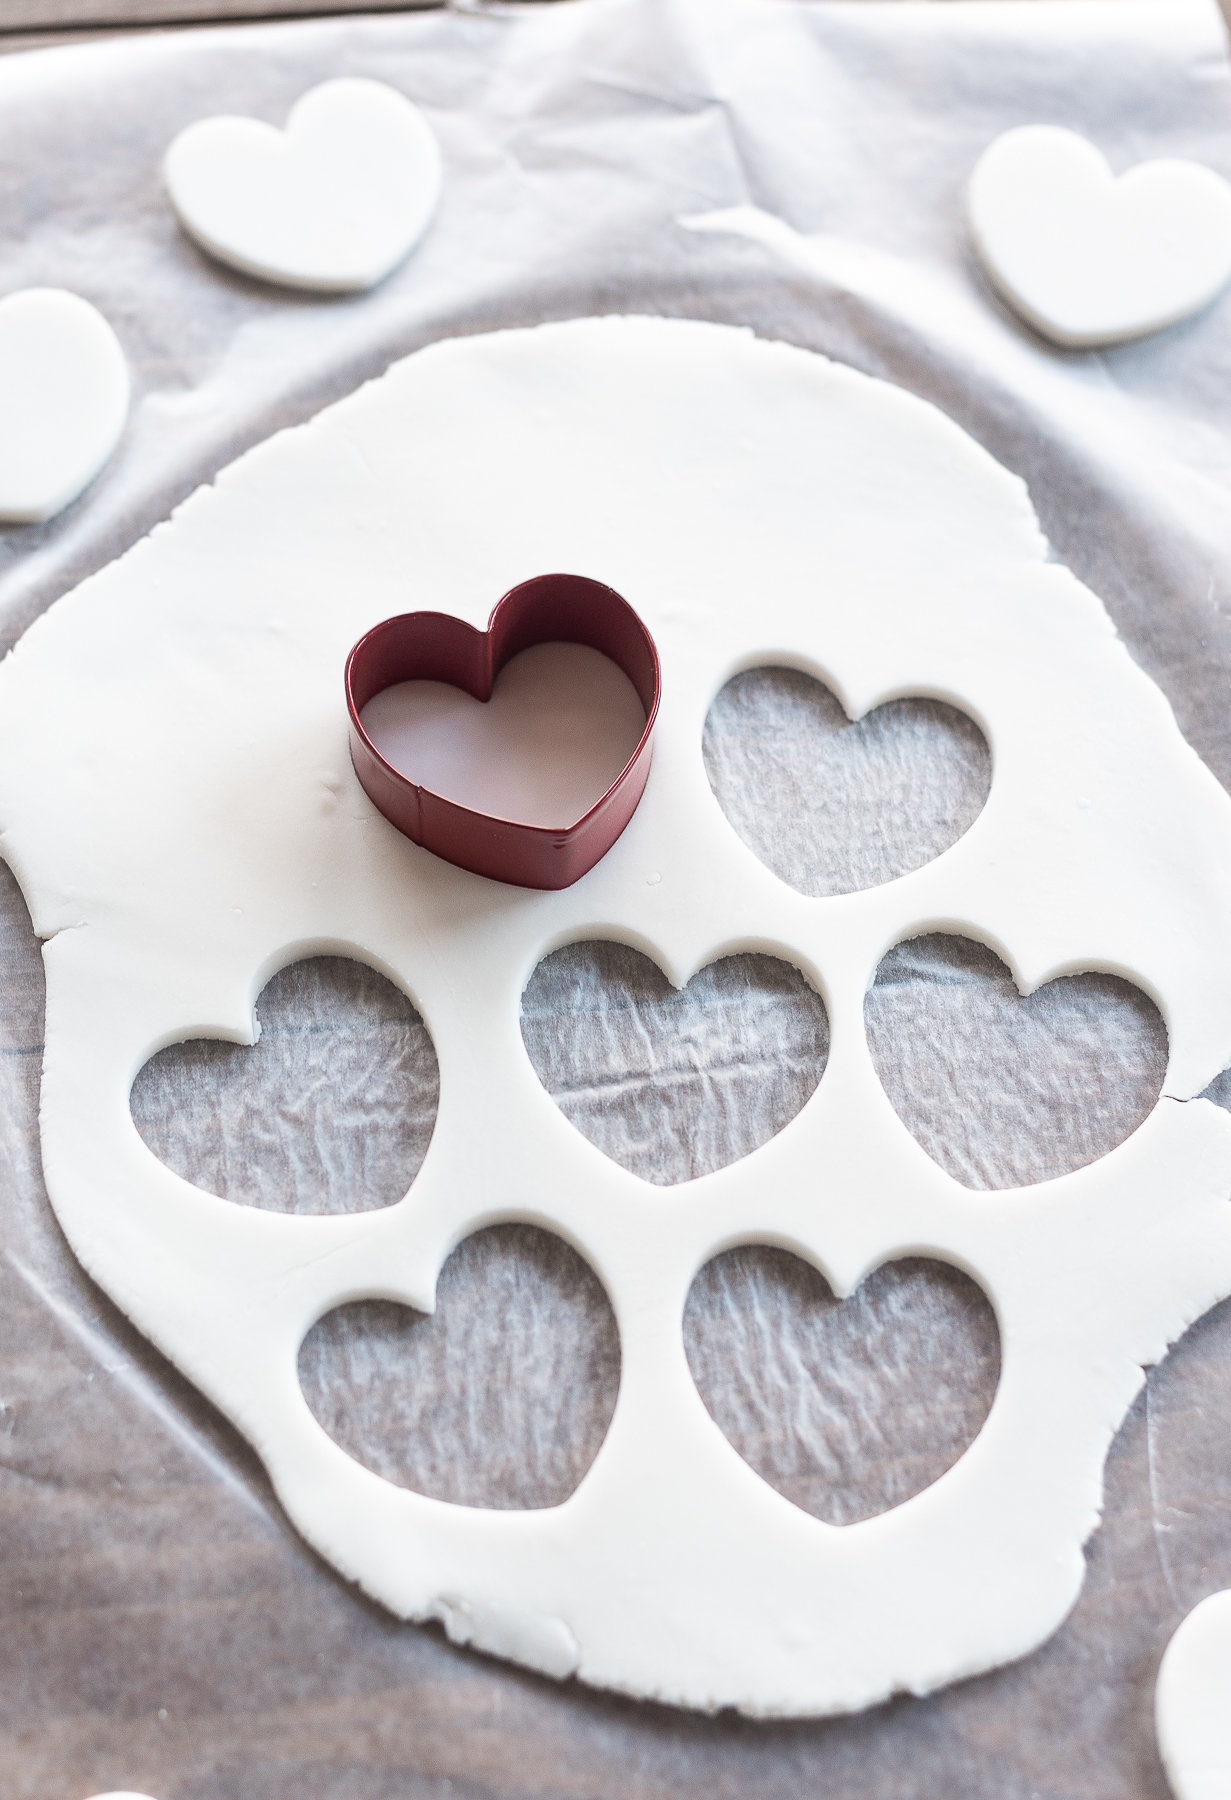
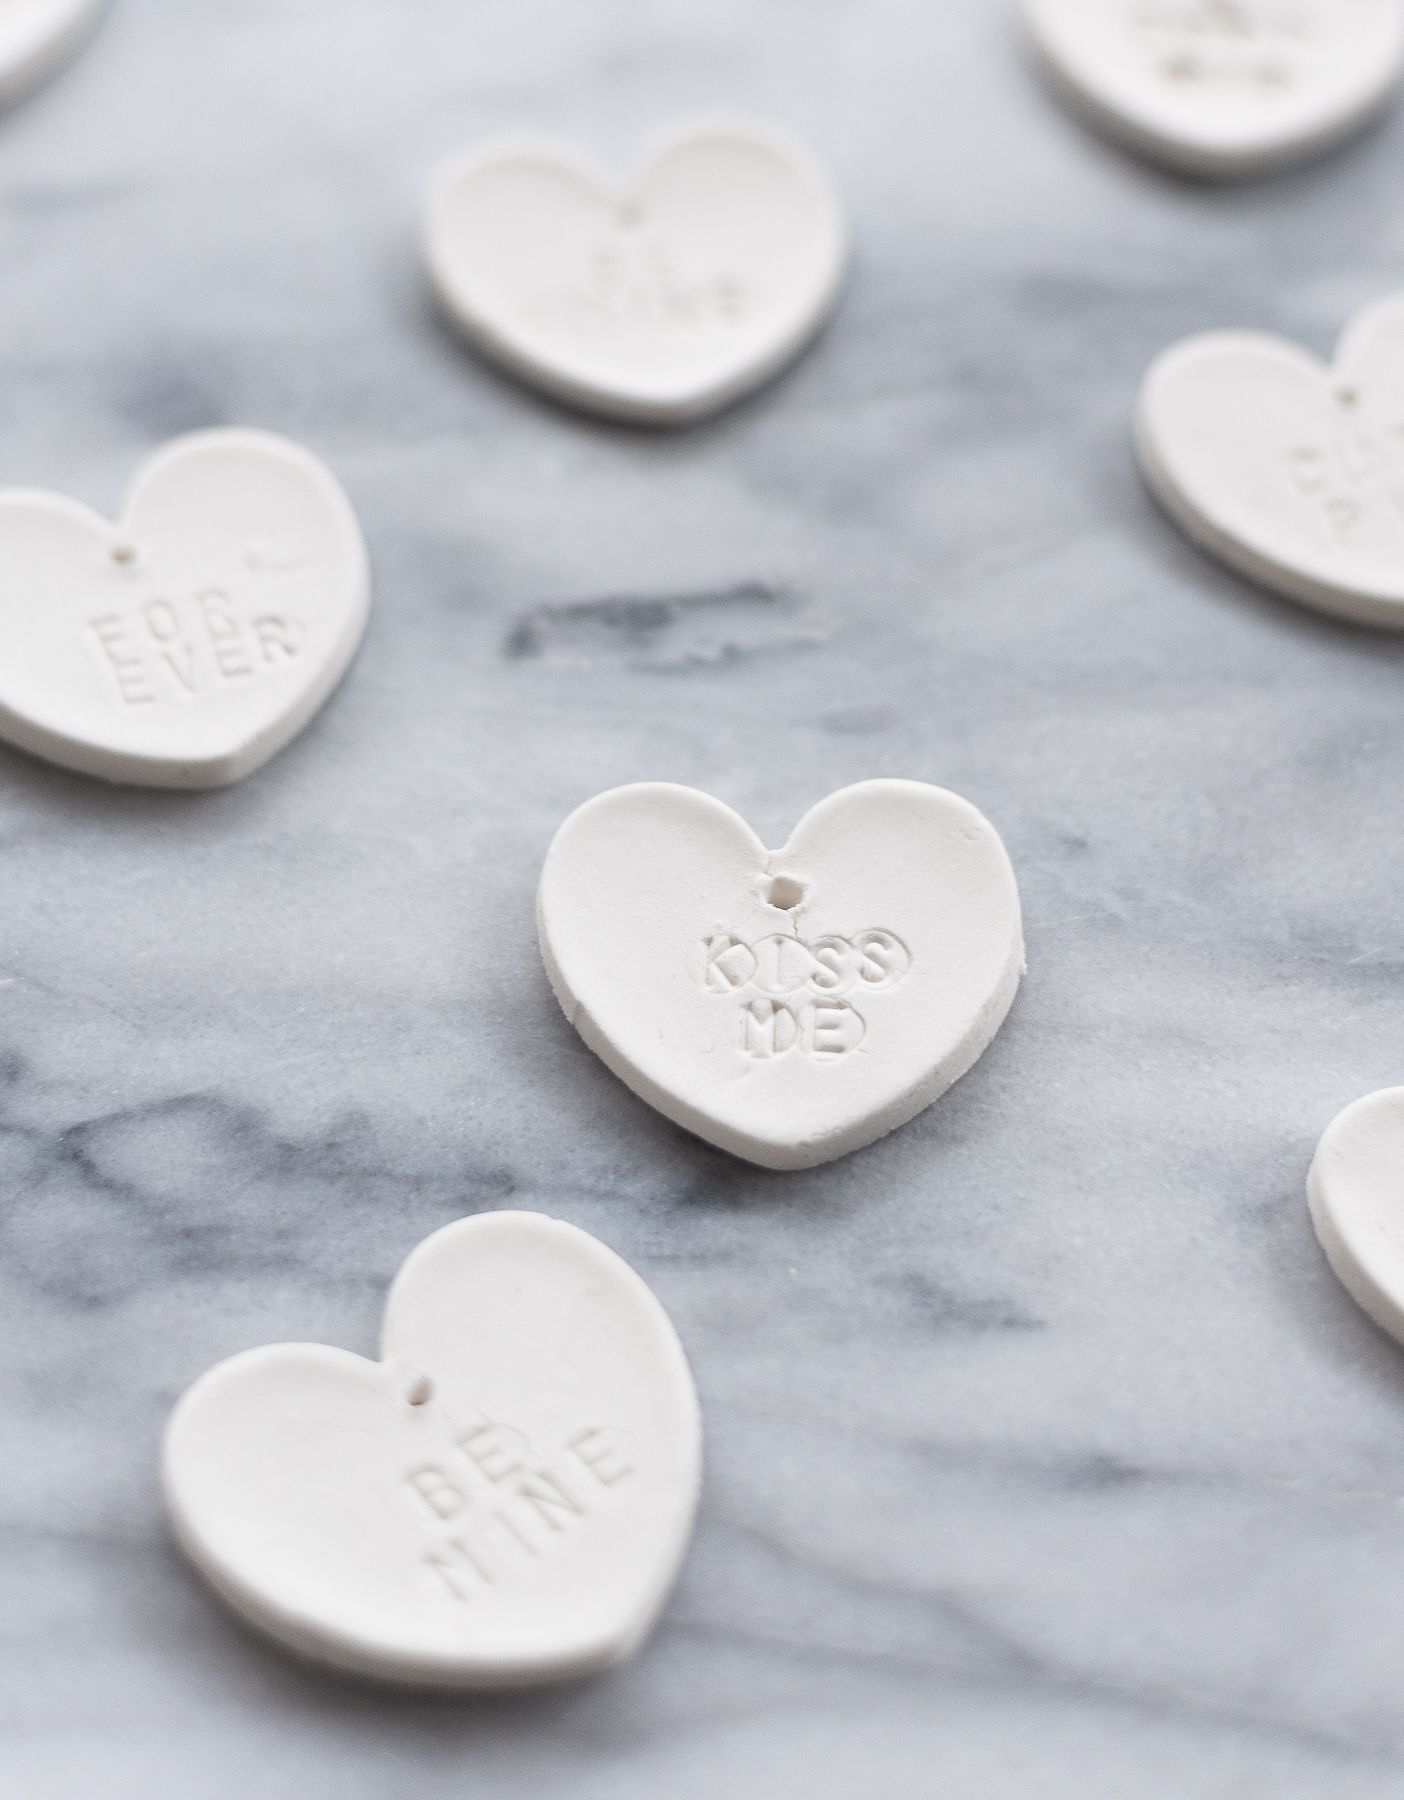
Cut out heart shapes using cookie cutter.
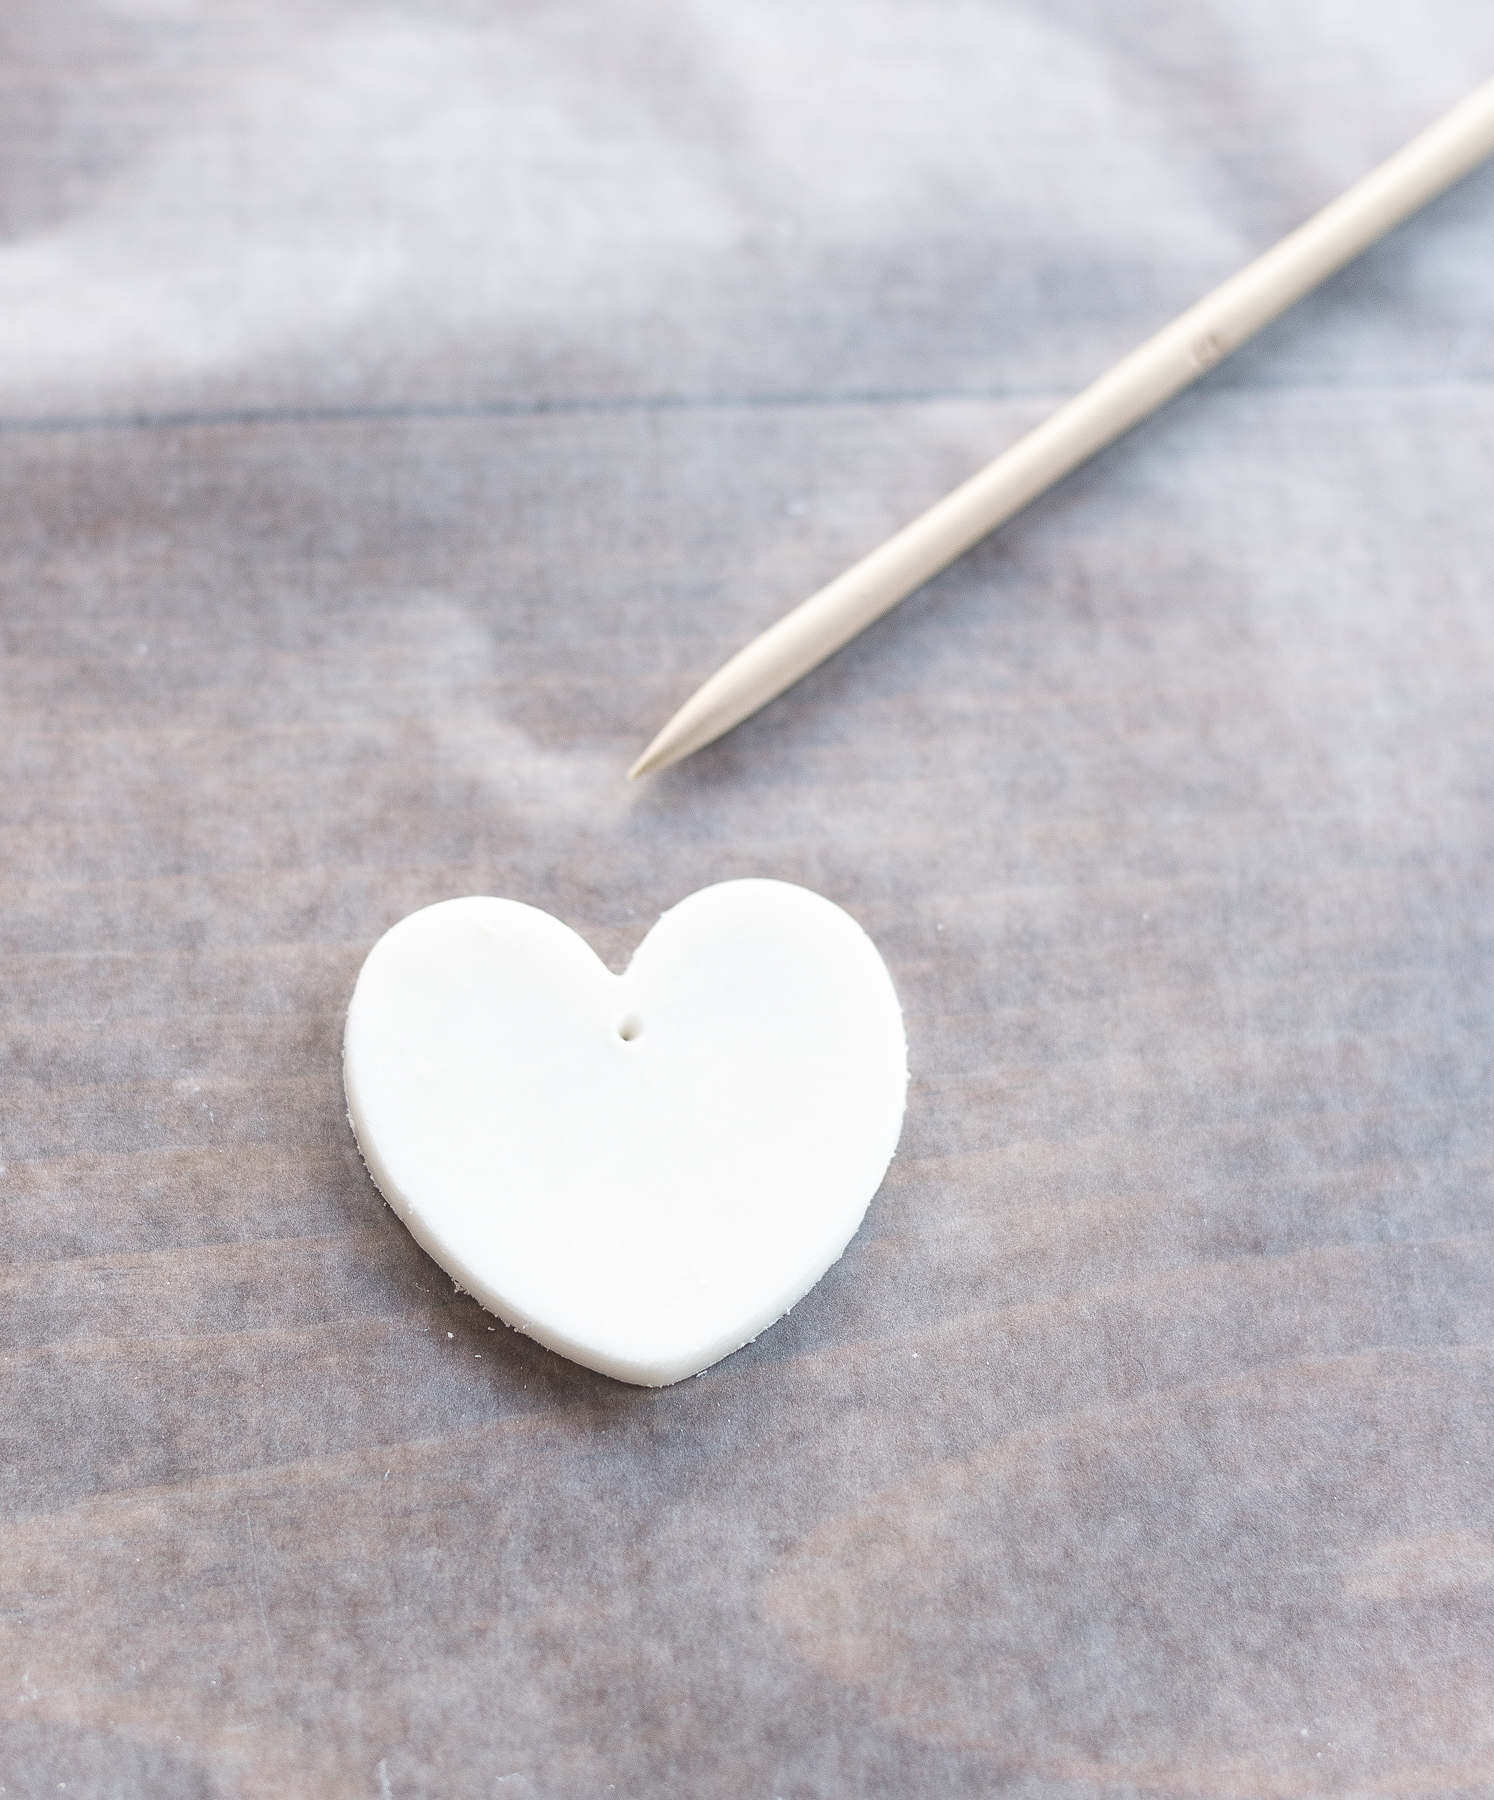
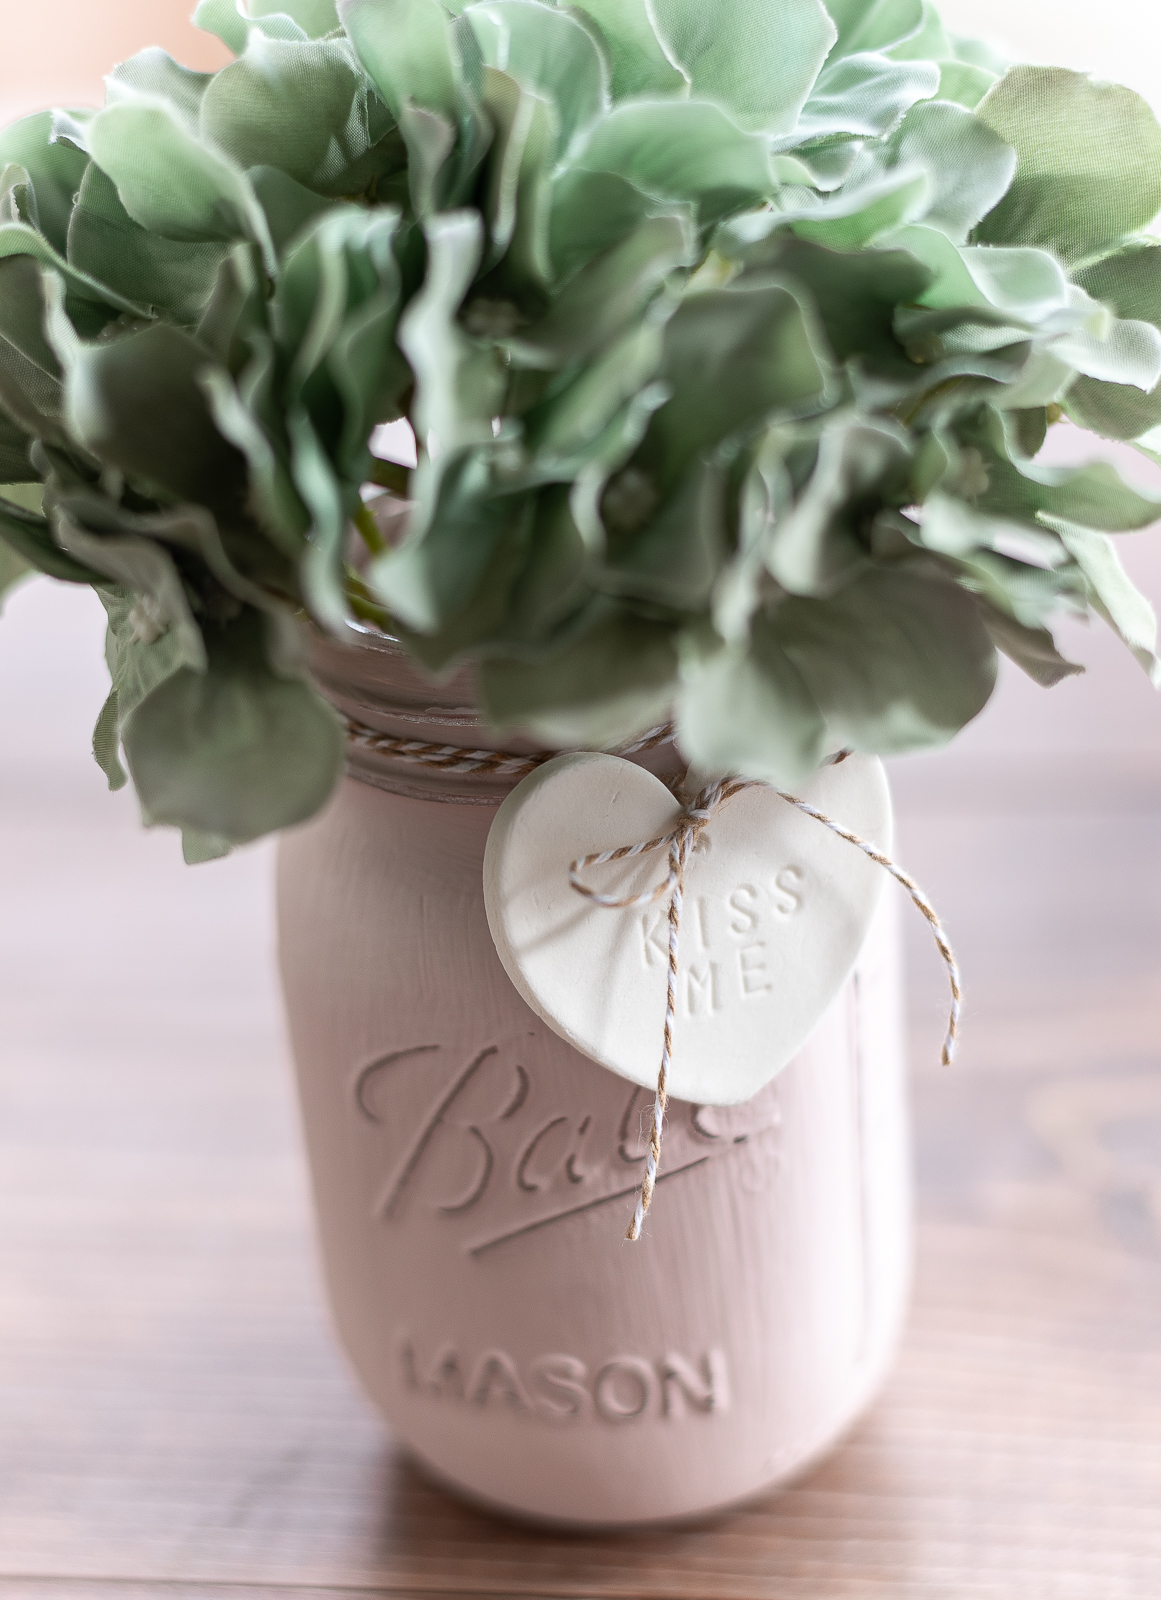
Add a hole to the tag (I suggest making it a little larger and a bit farther from the edge; a few of mine cracked when drying)
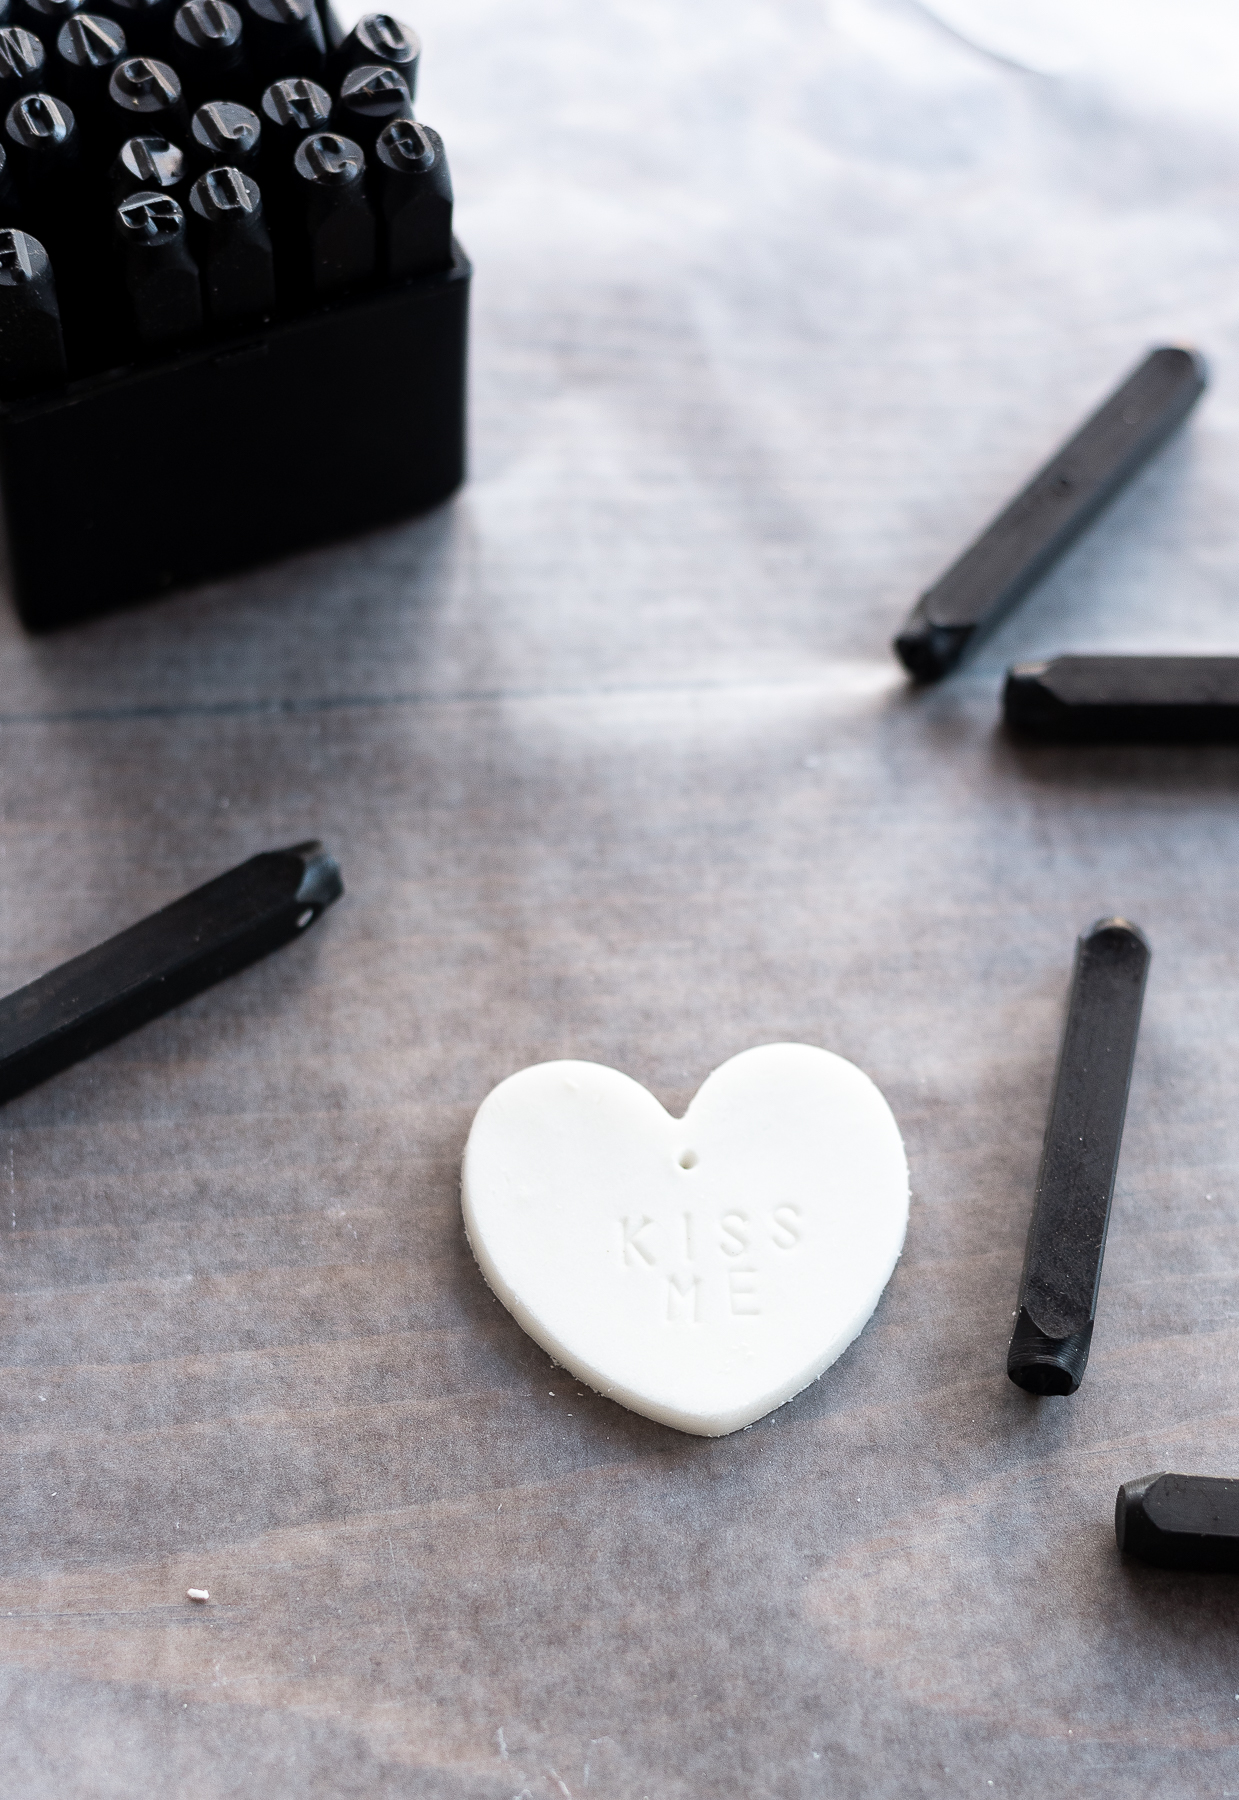
Use cookie cutter stamps to create your message. I went with classic conversation heart messages. (I also used some metal work stamps I had on hand; I suggest you use stamps designed for cookie dough like these 1/4″ alphabet stamps.)
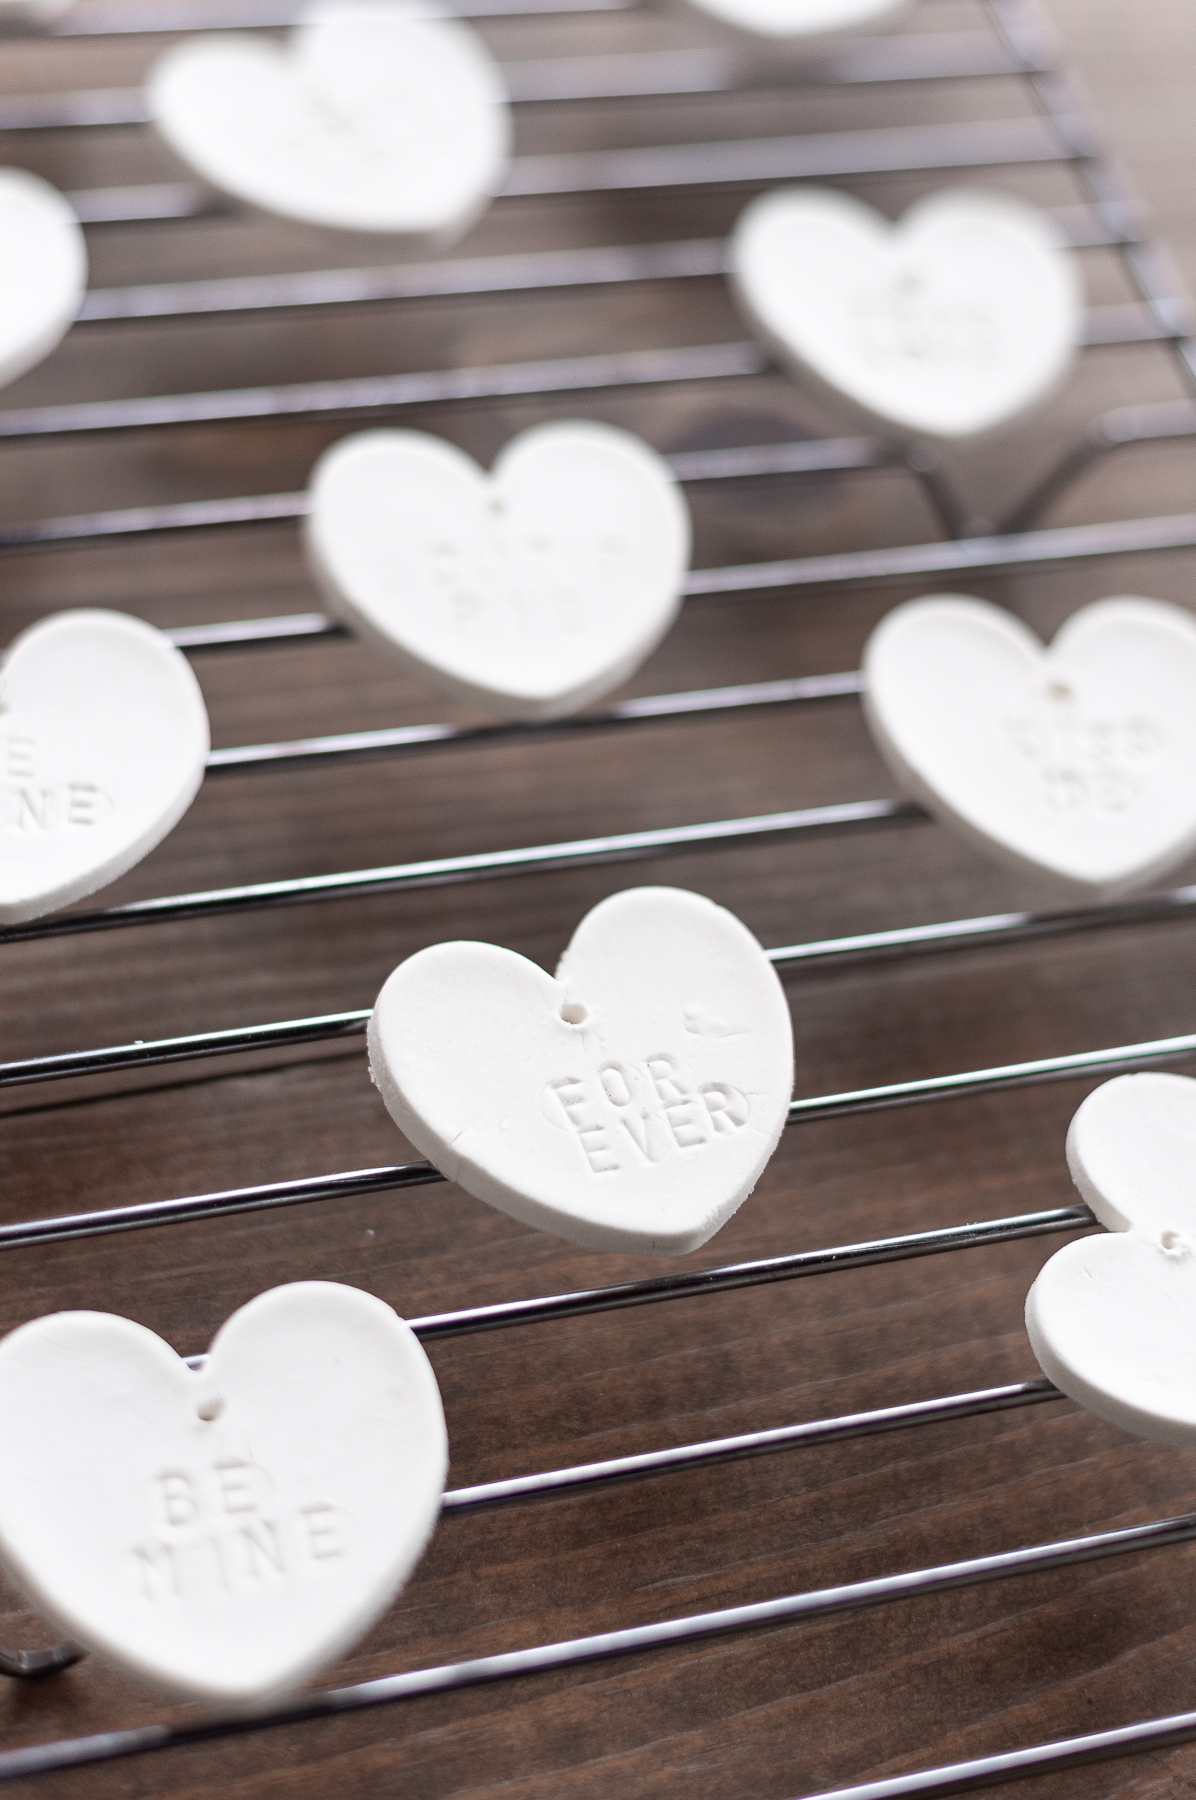
Let your tags dry flat for one day before transferring to a cooling rack. Let air dry. Heat or drying to fast can cause them to crack. They can take anywhere from 3-5 days.
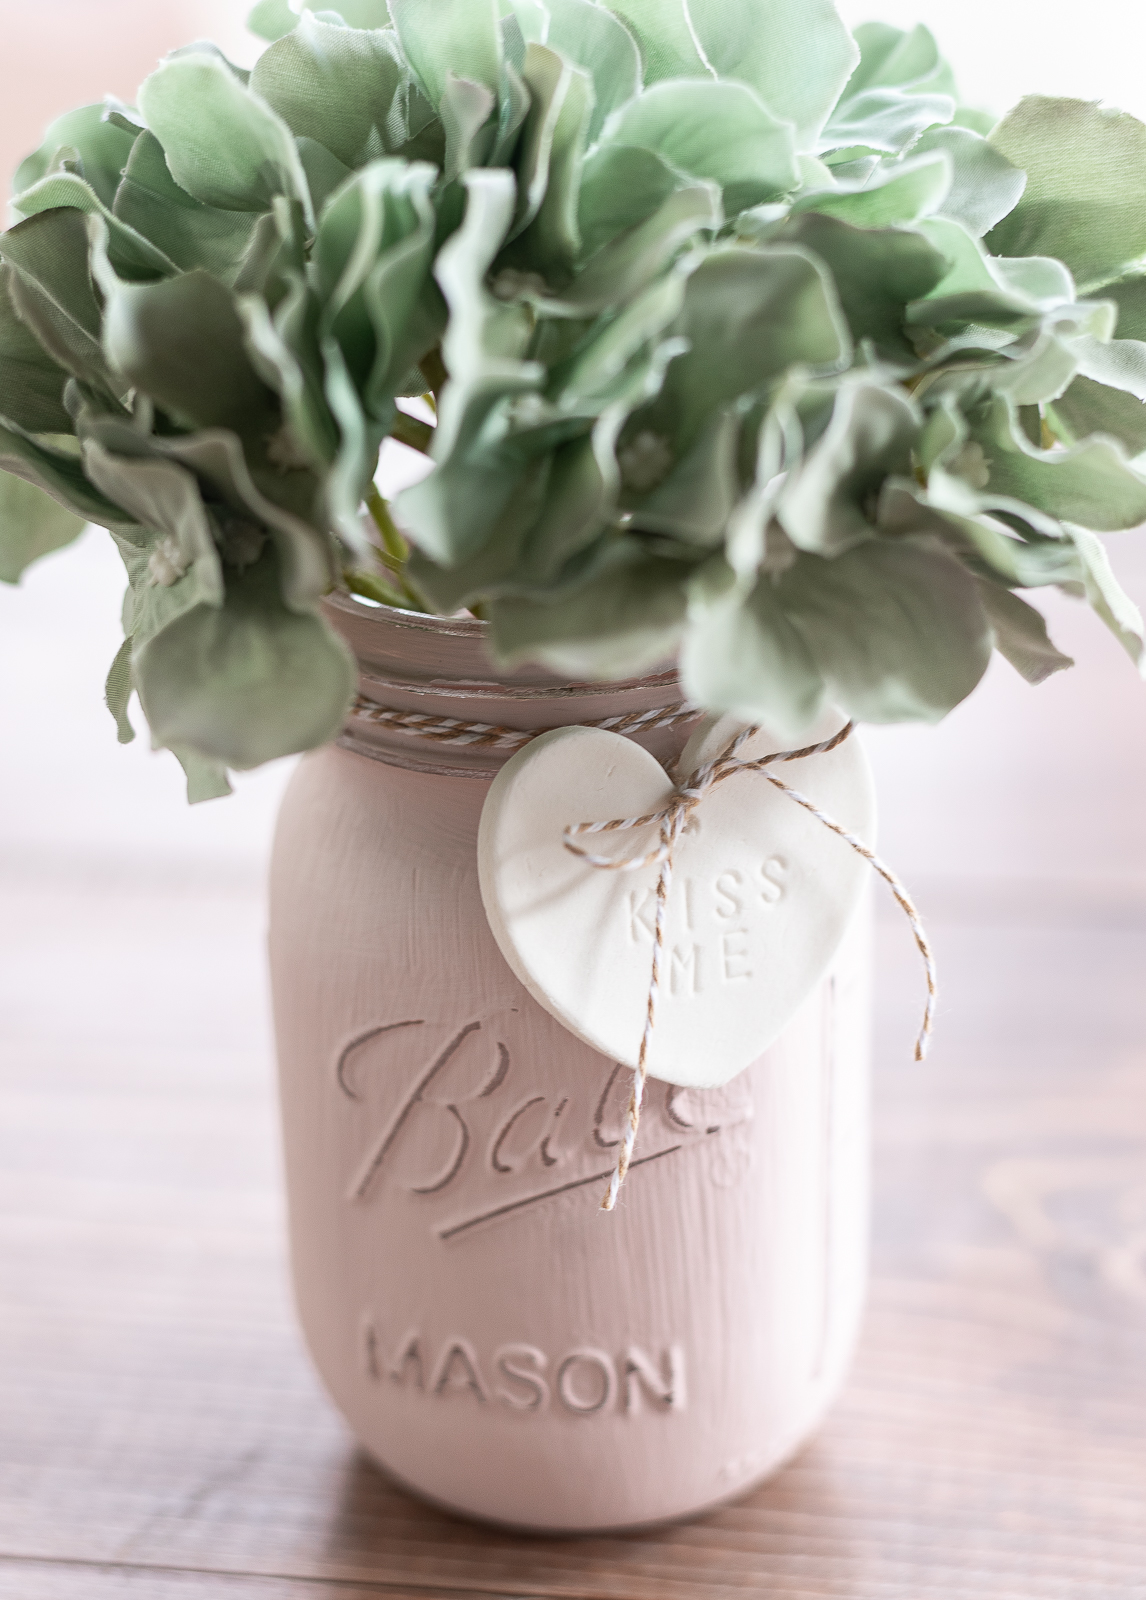
I added some baker’s twine to tie the heart tag onto the mason jar and finished it with a faux hydrangea.
Pin It!

You Might Also Like:

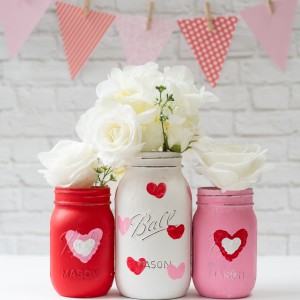
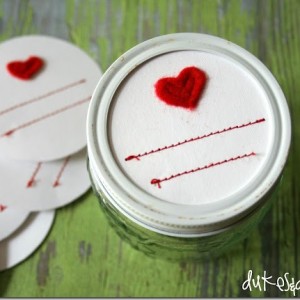
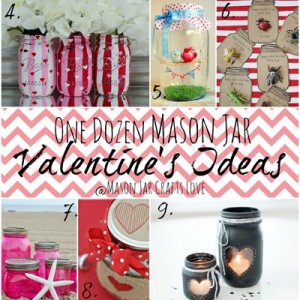
40+ Valentine’s Mason Jar Ideas


Welcome back! It turned out great!
Thank you! Feels good to be back. 🙂