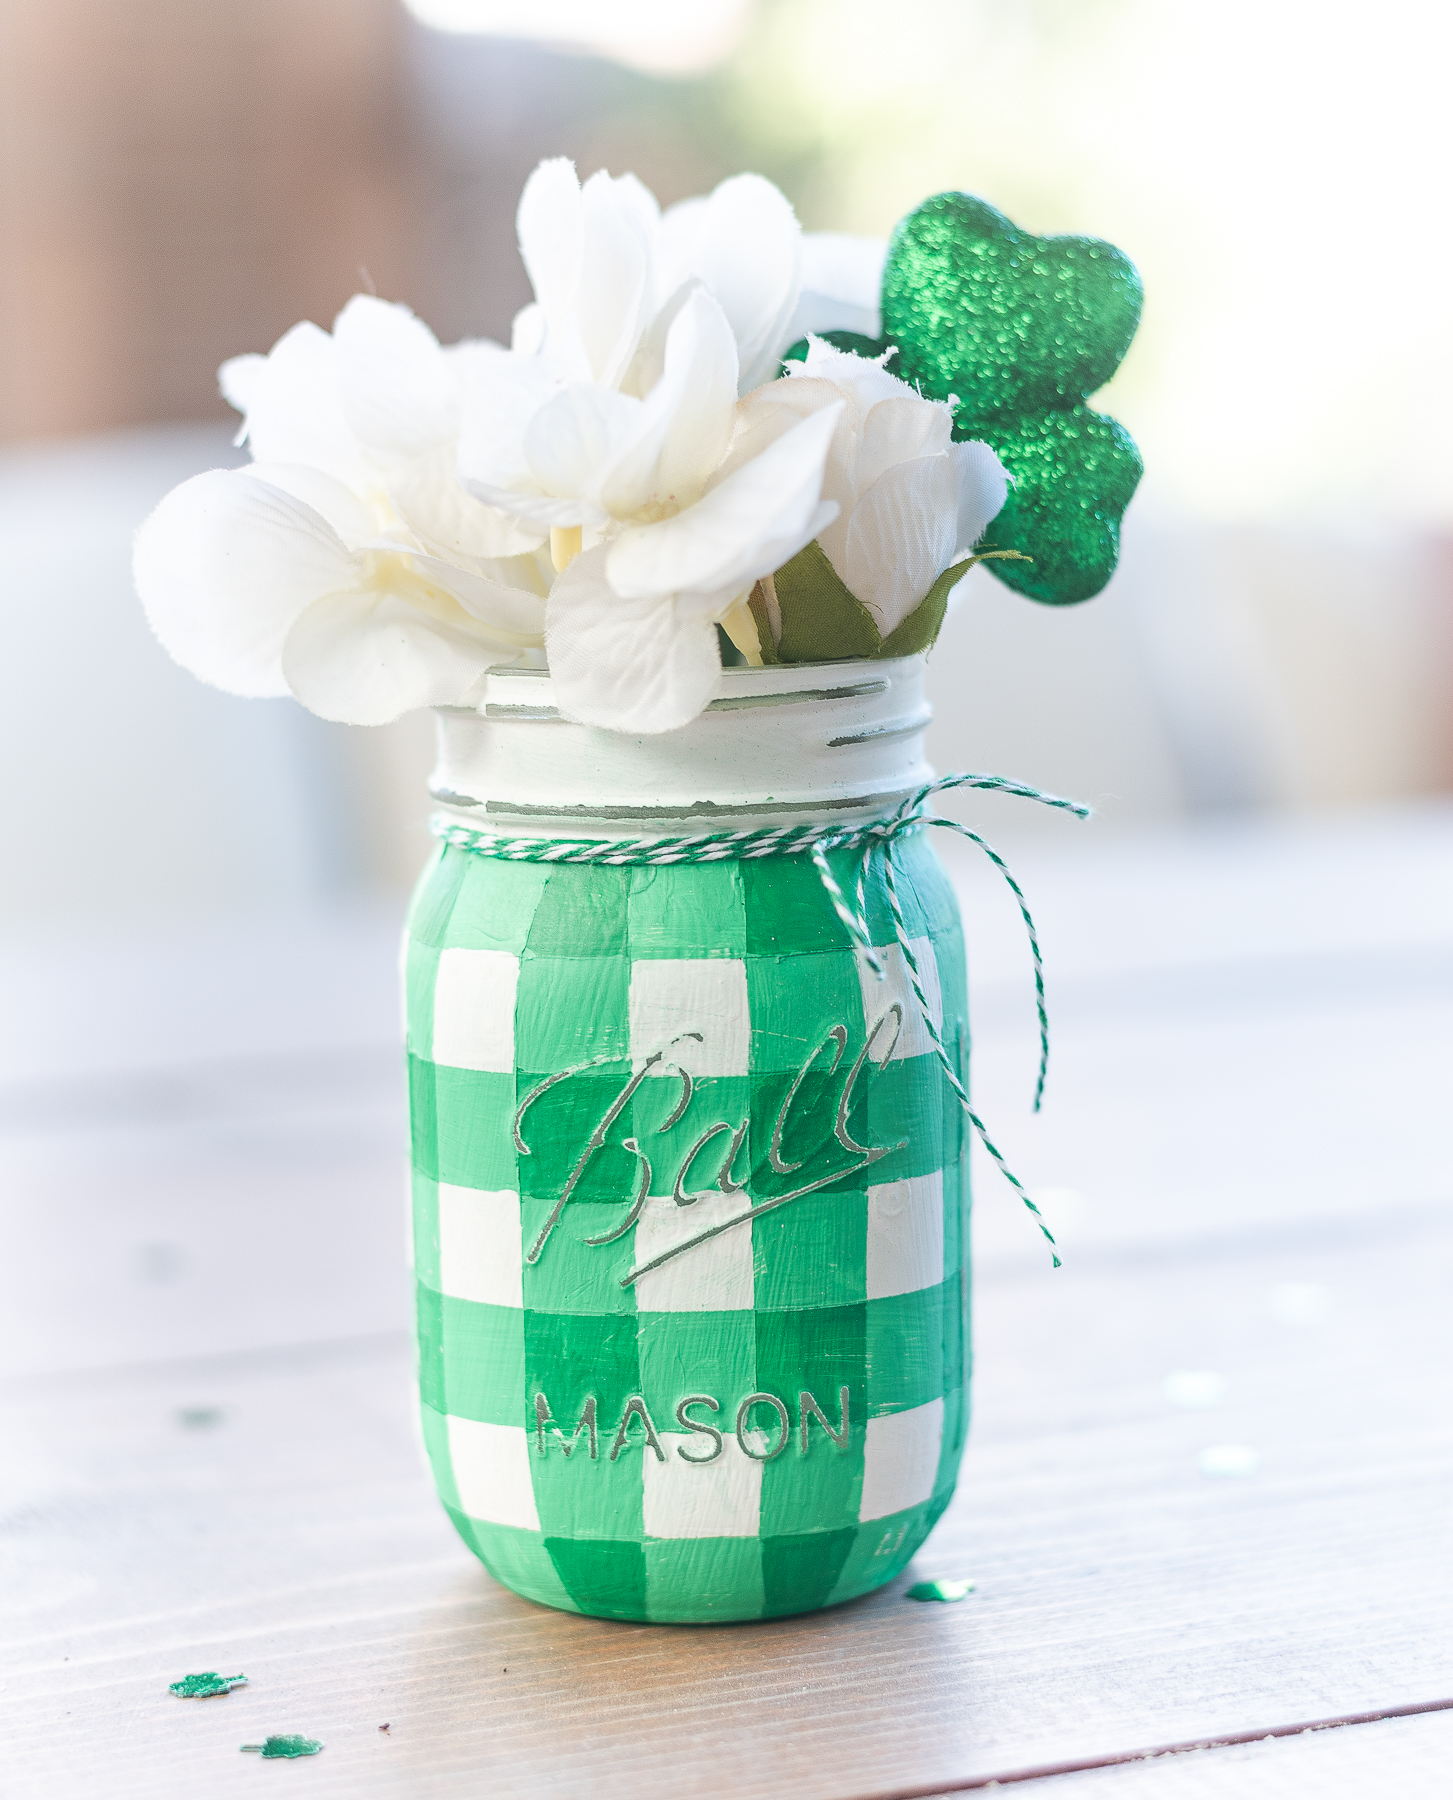
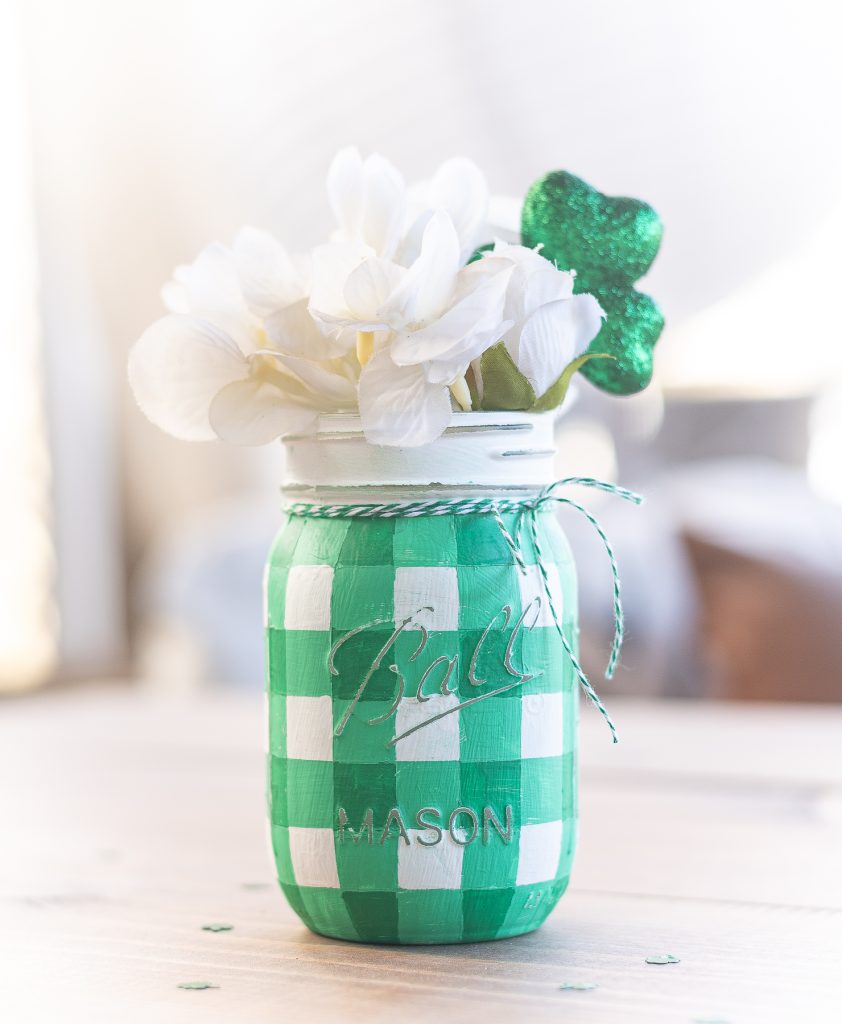
Plaid Buffalo Check Mason Jar DIY – How To Paint Buffalo Checks – St. Patrick’s Day Mason Jar Craft Ideas
I’m not gonna lie.
This craft is a bit tedious.
This craft takes some patience.
And this craft takes some serious time.
And during this tedious, patience-testing, serious-time taking time you may start to question, “Why? Why am I doing this?”
You may start to question, “Am I doing this right? Because so far it’s looking really, really terrible.“
Because, admittedly, each individual step doesn’t turn out that great. And when you paint and remove tape you’ll see all those glaring errors of bled paint starting at you. Glaringly.
And you’ll question, “Should I continue? Or should I cut bait and toss this half-finished jar in the recycle bin?“

And all I can say is, “Trust me.”
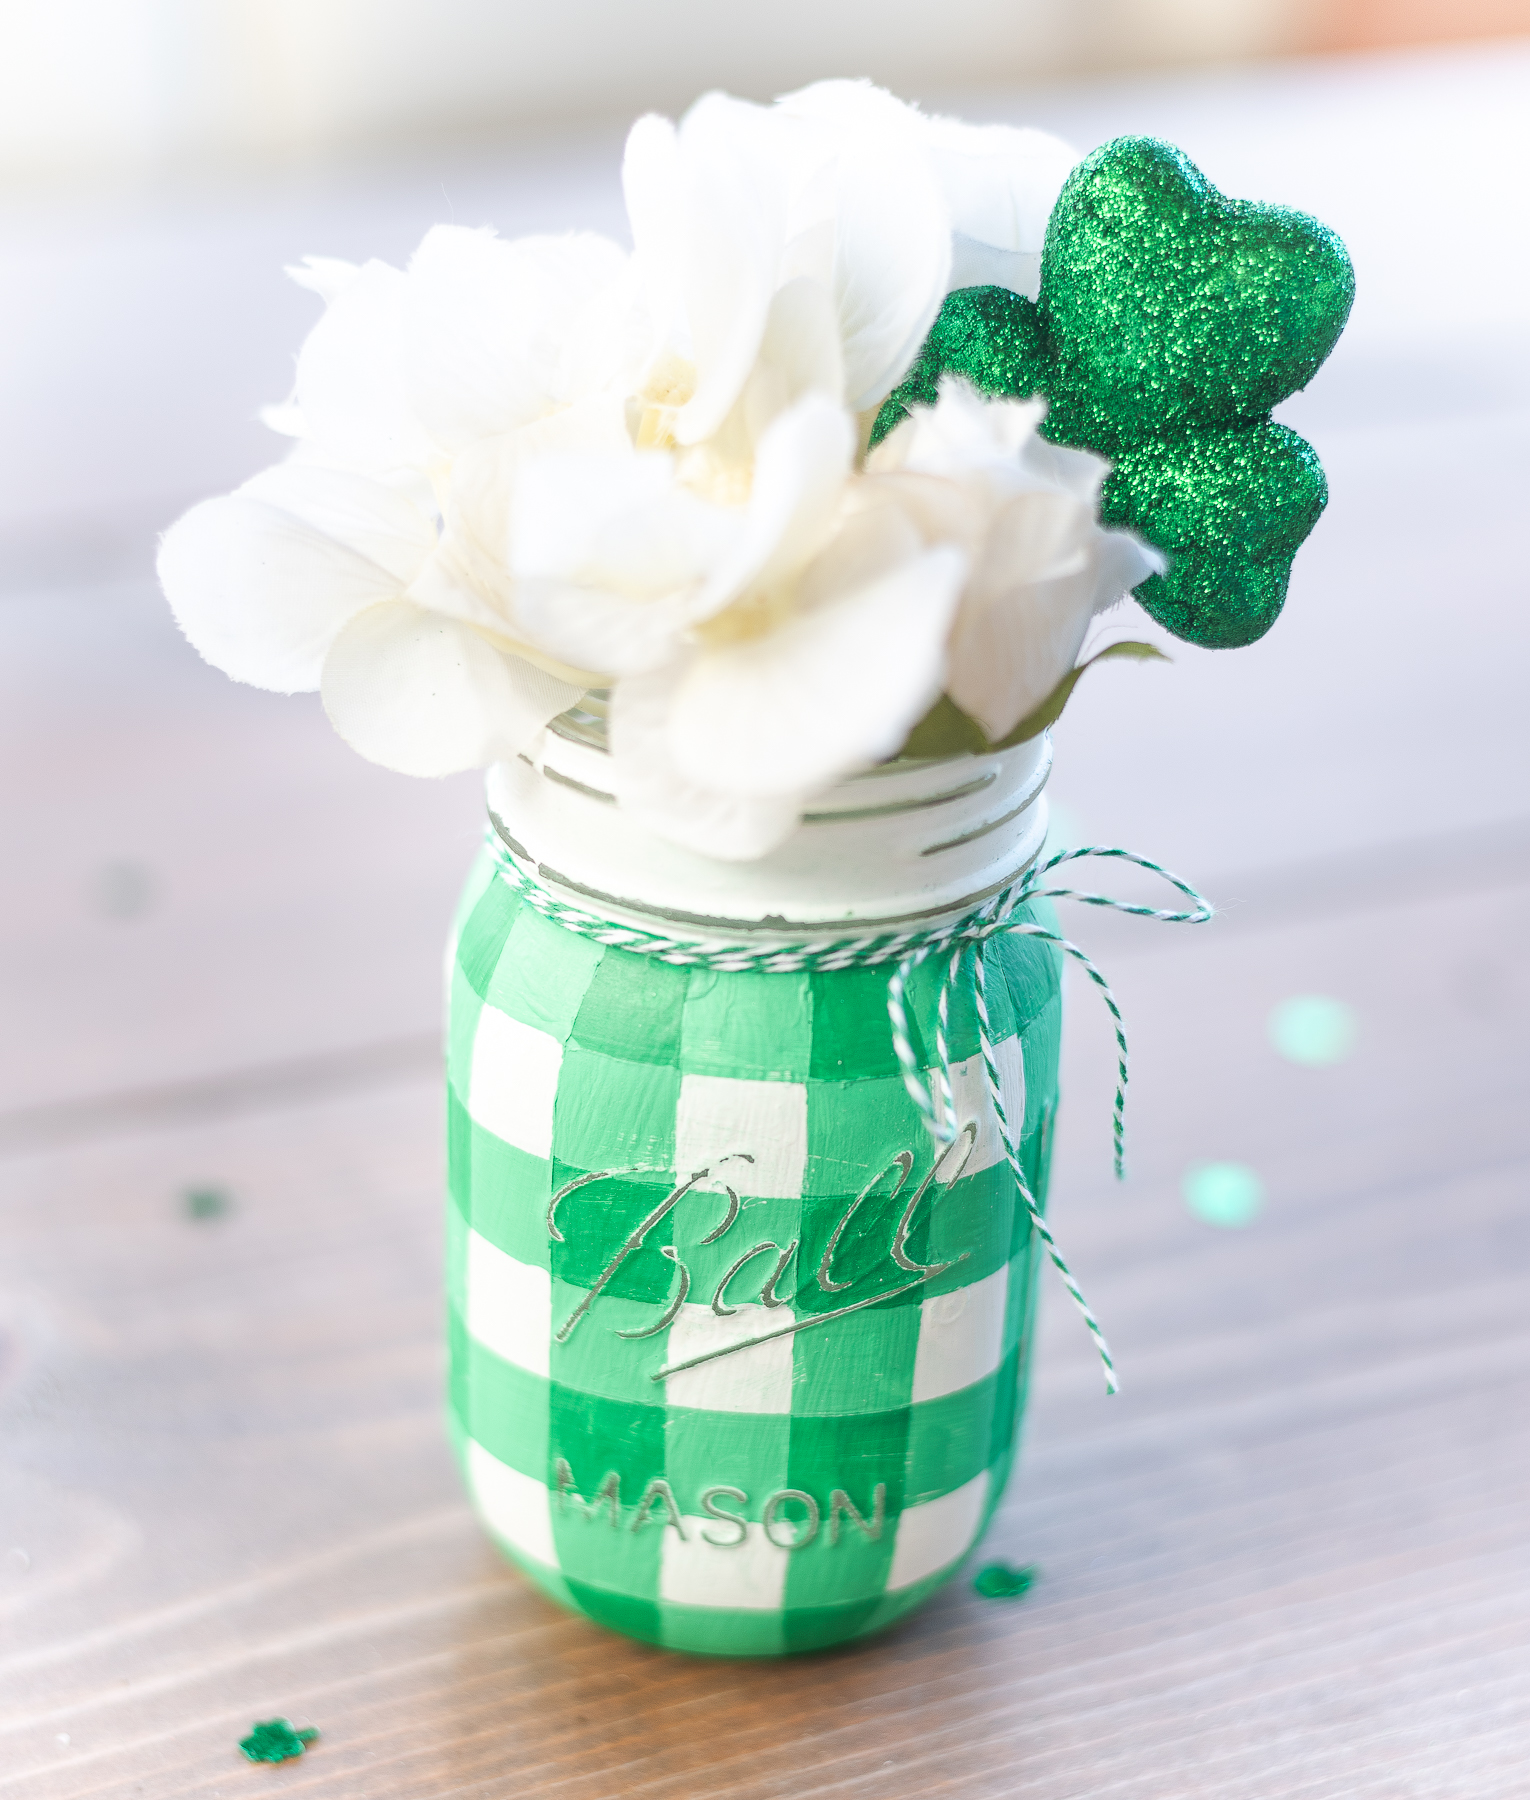
Because all your tedious-tolerating and patience-testing and time-taking time is so worth it in the end!
Trust me.
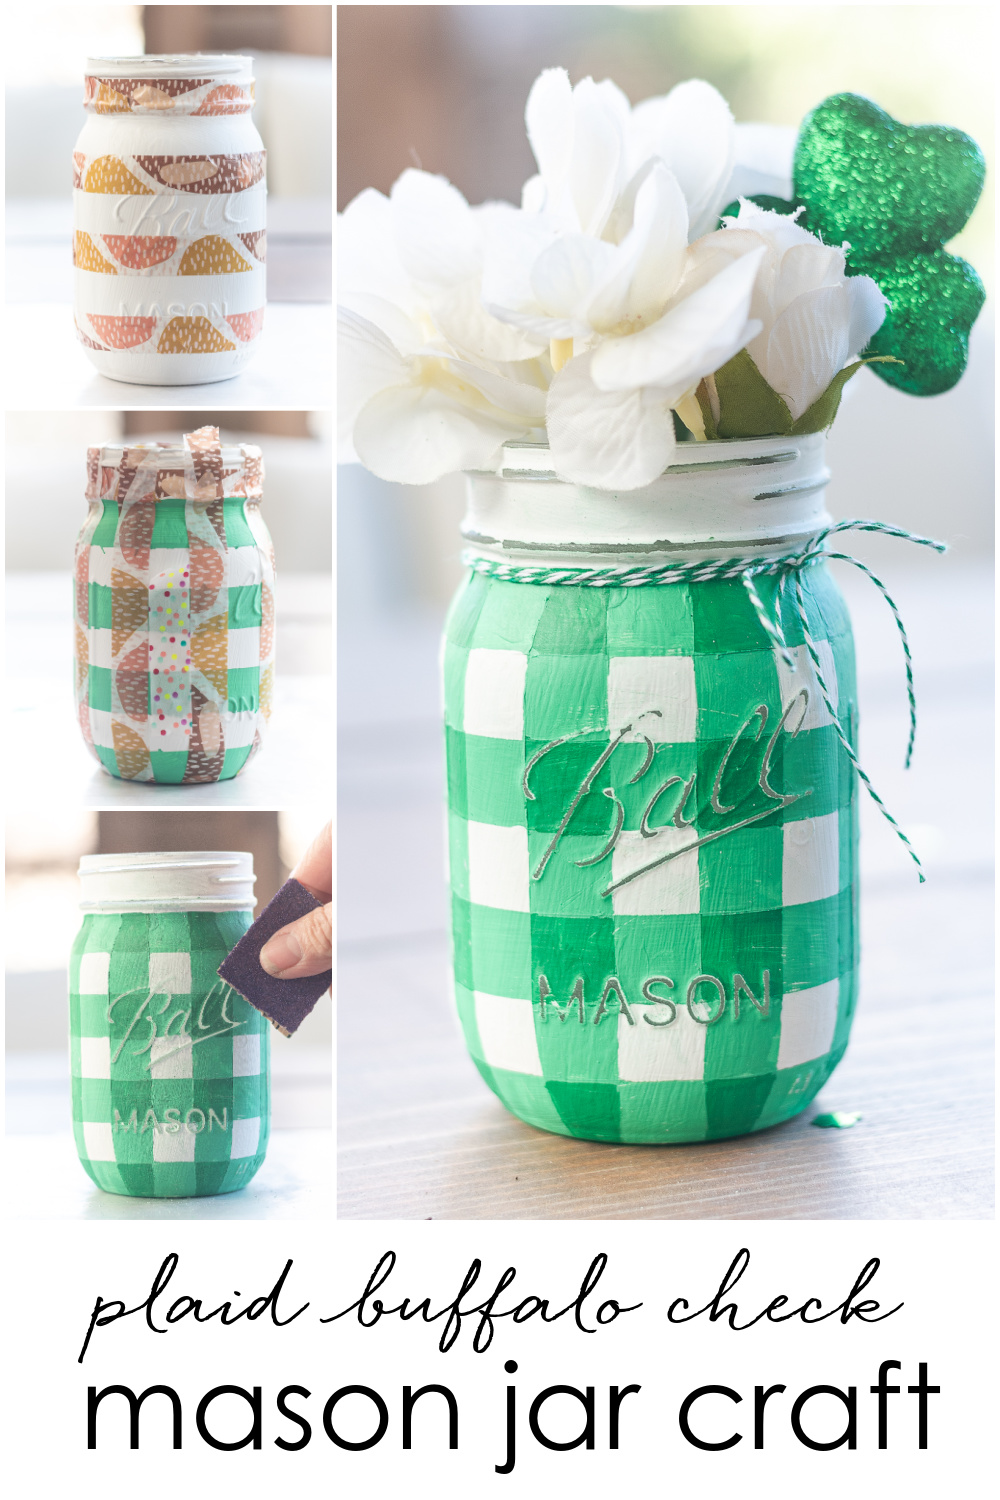
How To Make Plaid Buffalo Check Mason Jar DIY
Materials*
Pint size (16 oz.) Ball mason jars
Primer paint (this is my current go-to primer)
Americana Deco Art kelly green acrylic paint
Matte spray sealant (this is my current favorite)
Paint brushes
*includes Amazon affiliate links.
Instructions
Start with two coats of primer. Let dry overnight between coats.
Use washi tape to add horizontal stripes, spacing them out evenly. Use a pice of washi tape as a spacer in between the stripes.
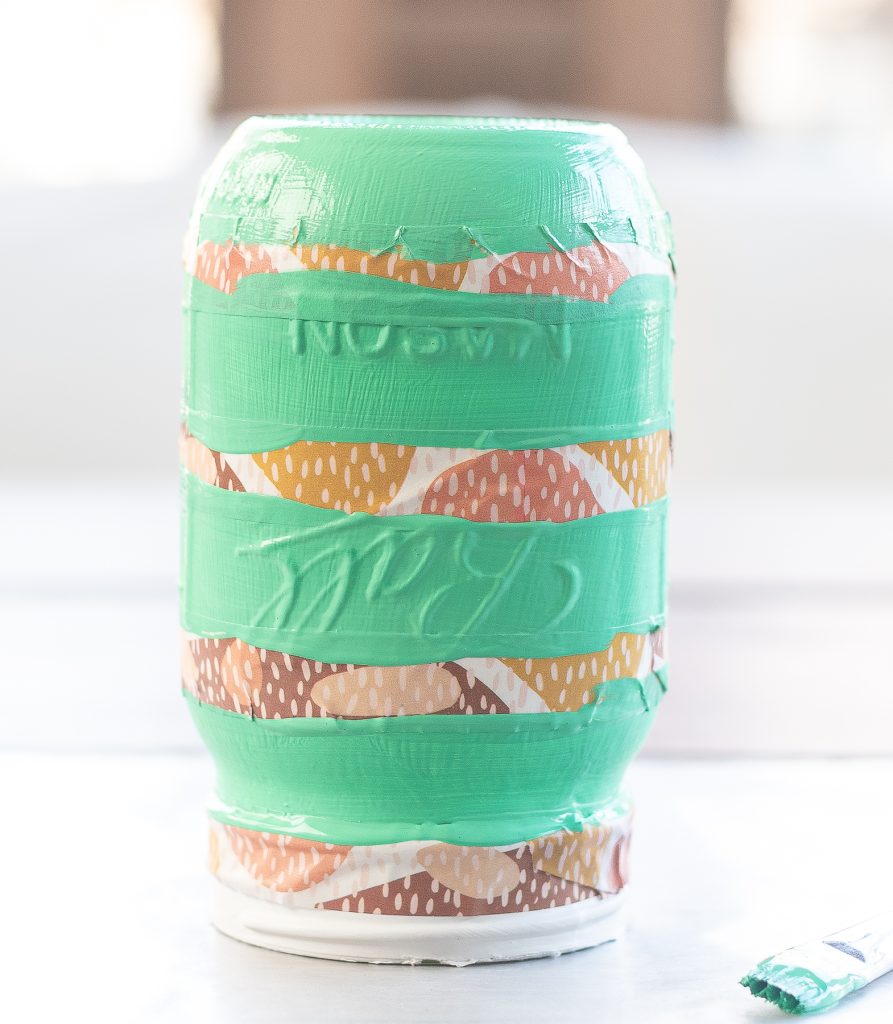
Paint horizontal stripes with lighter green paint (I lightened up the kelly green paint by mixing in some white paint).
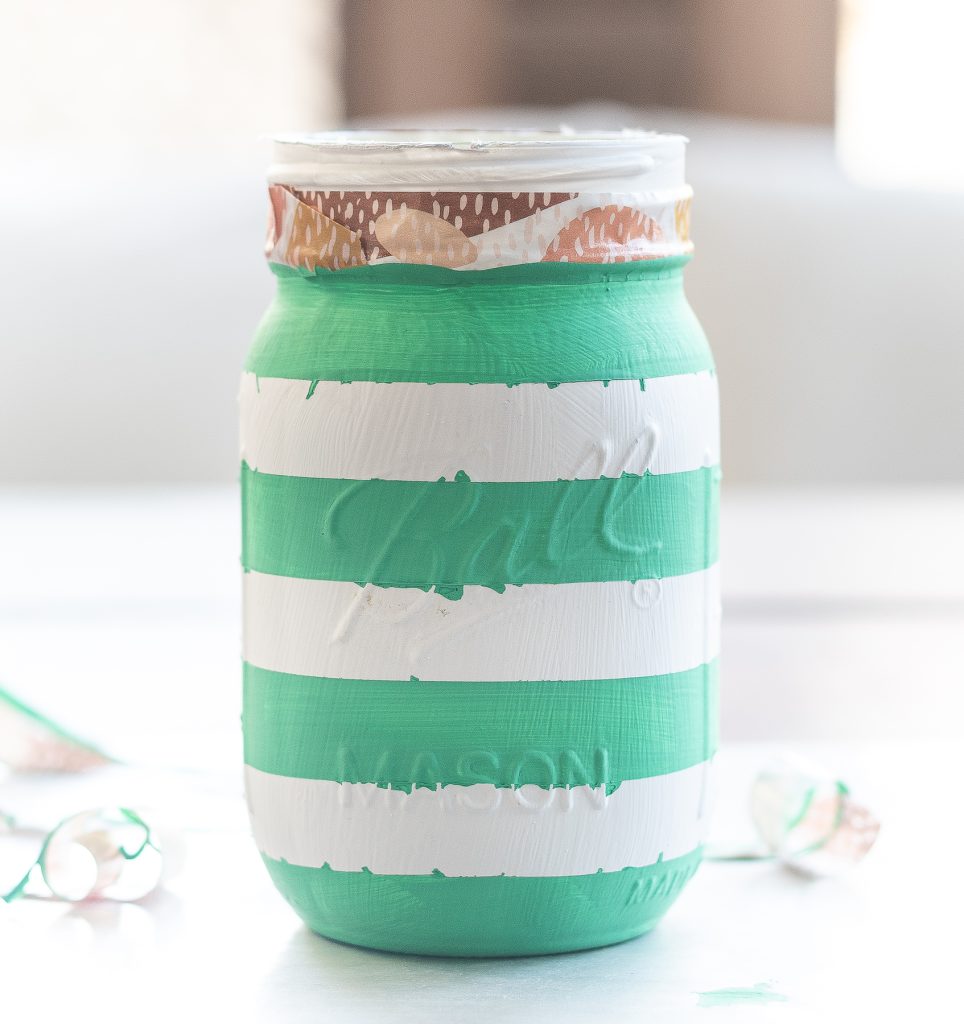
Remove tape once dry (except leave tape along the top band of the jar).
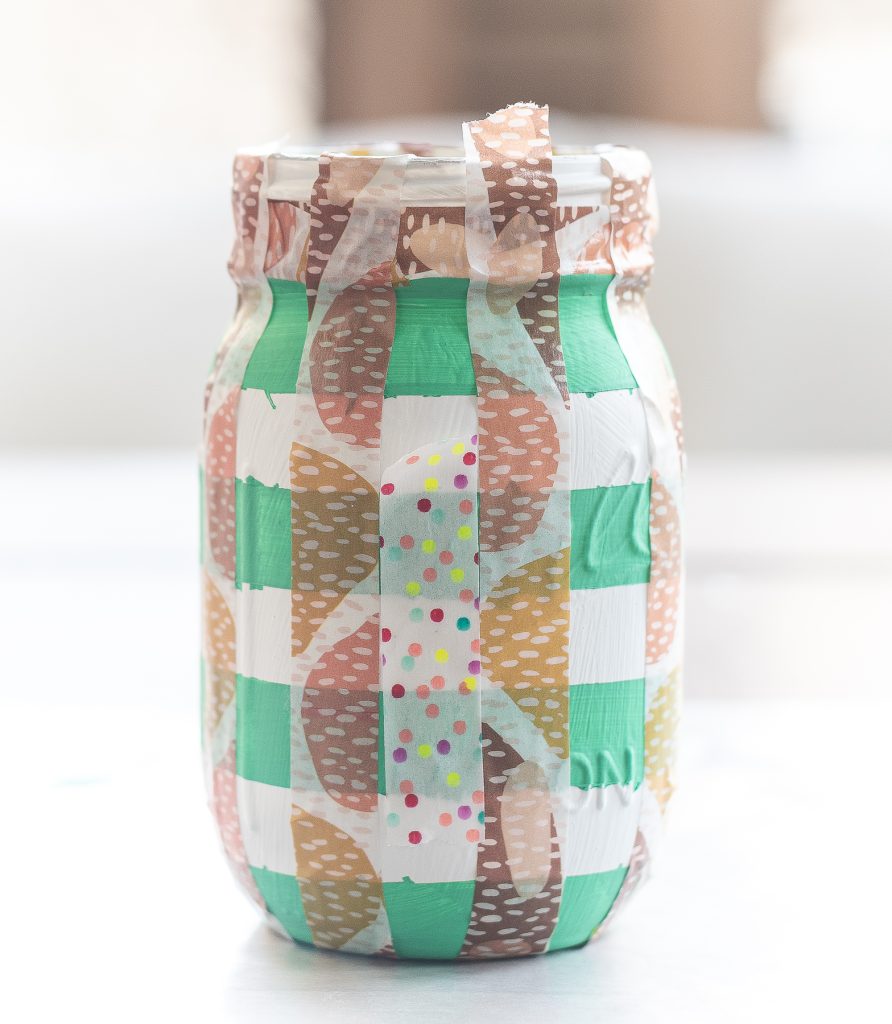
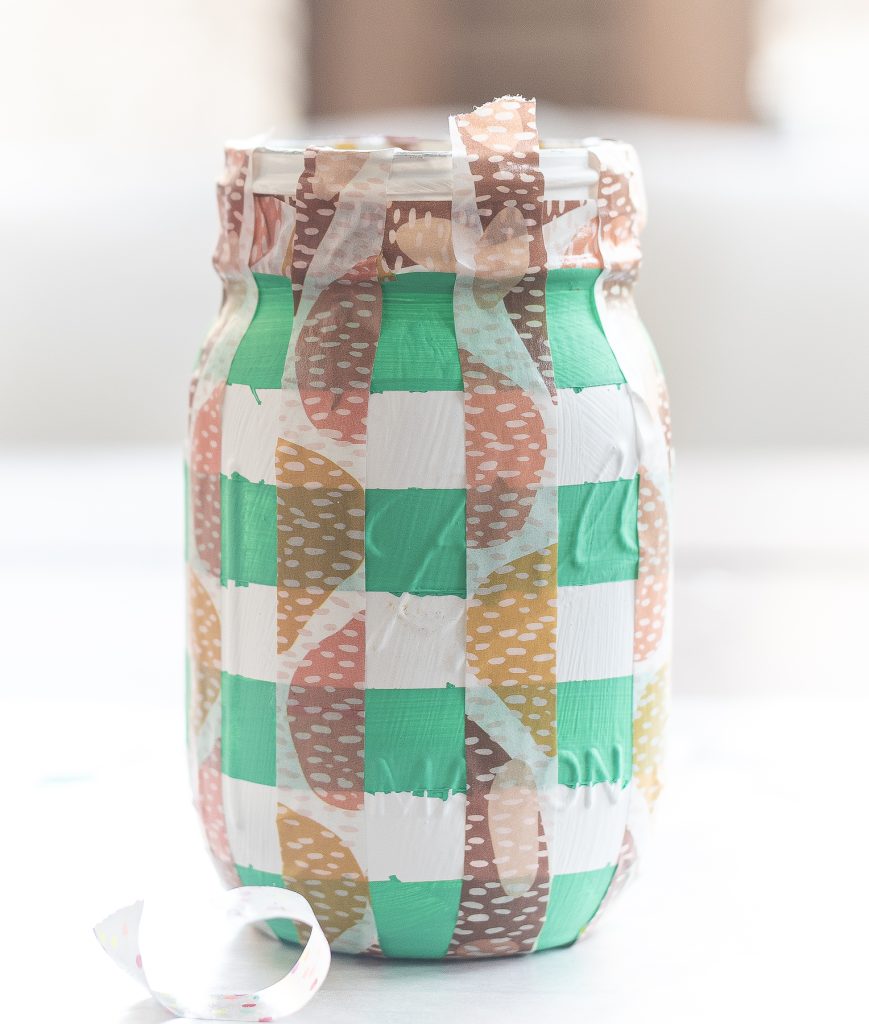
Use washi to add vertical stripes. Evenly space out stripes using a piece of washi as a spacer.
Paint vertical stripes the same light green color (lightening the kelly green with white) as the horizontal stripes.
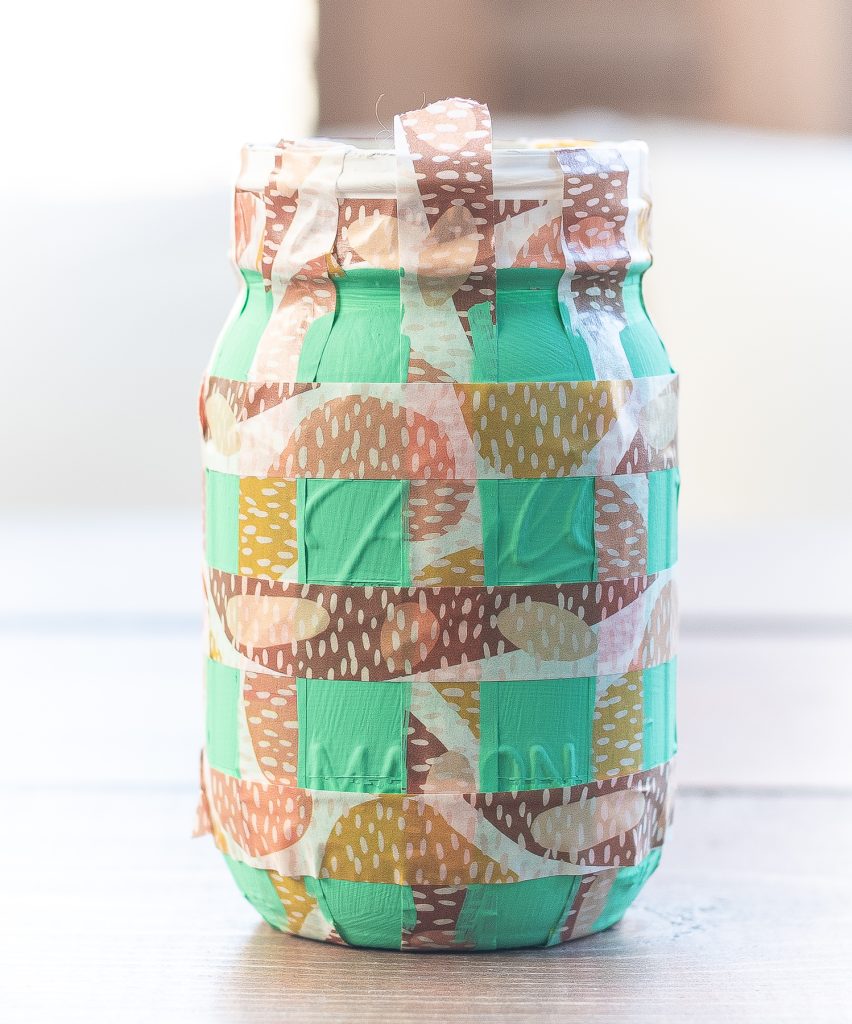
Once vertical painted stripes have dried overnight, use washi tape to tape over the previously white horizontal stripes (by looking at the previous picture, you can see the washi tape was used to cover the the lighter color horizontal stripes). This creates a grid of squares.
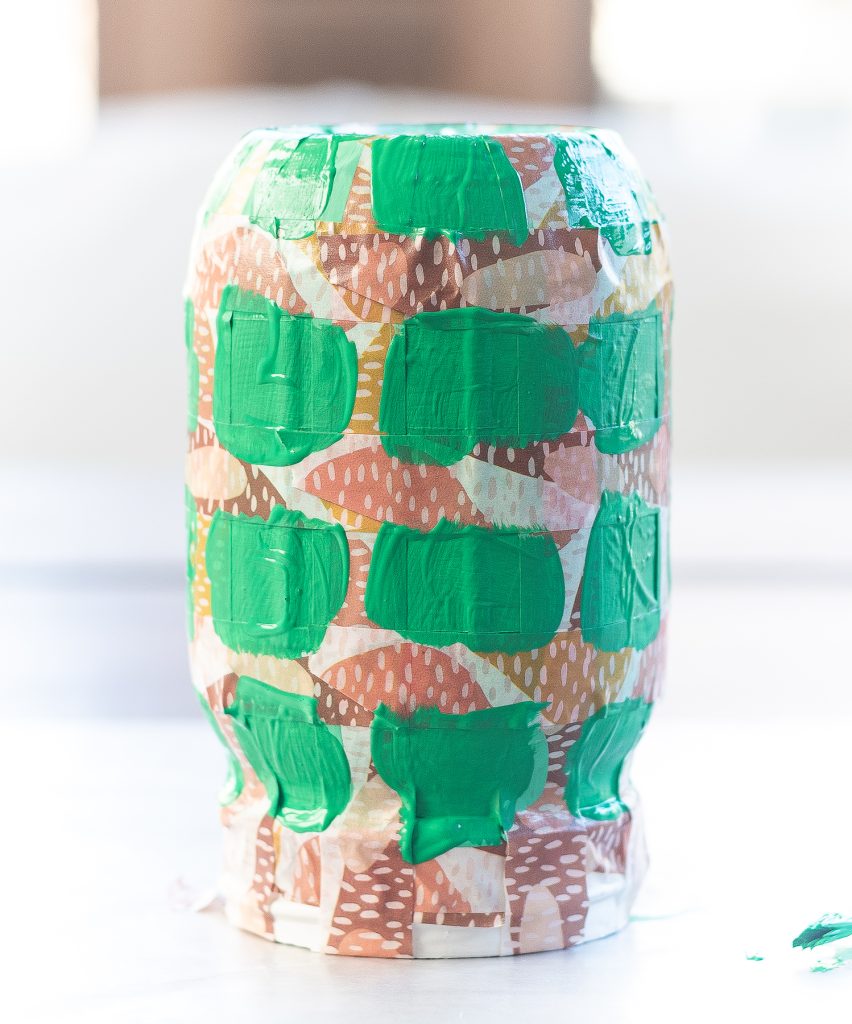
Paint squares with kelly green paint (DO NOT mix with white).
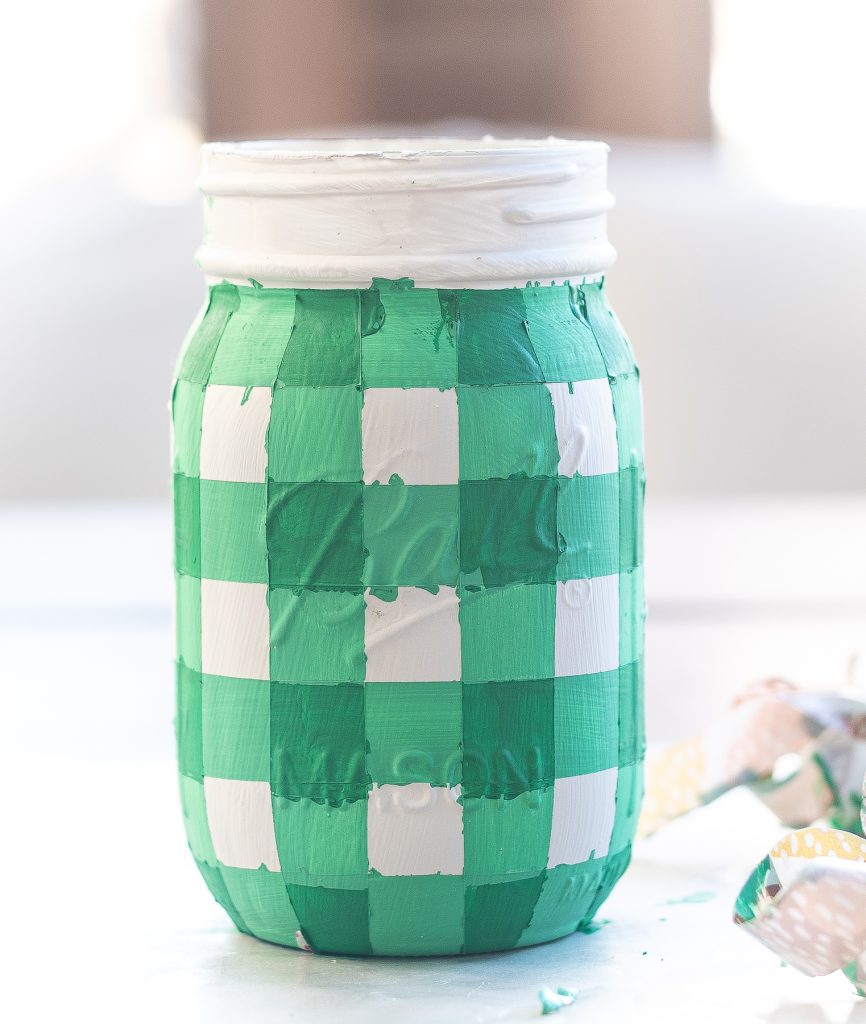
Remove tape once dry.
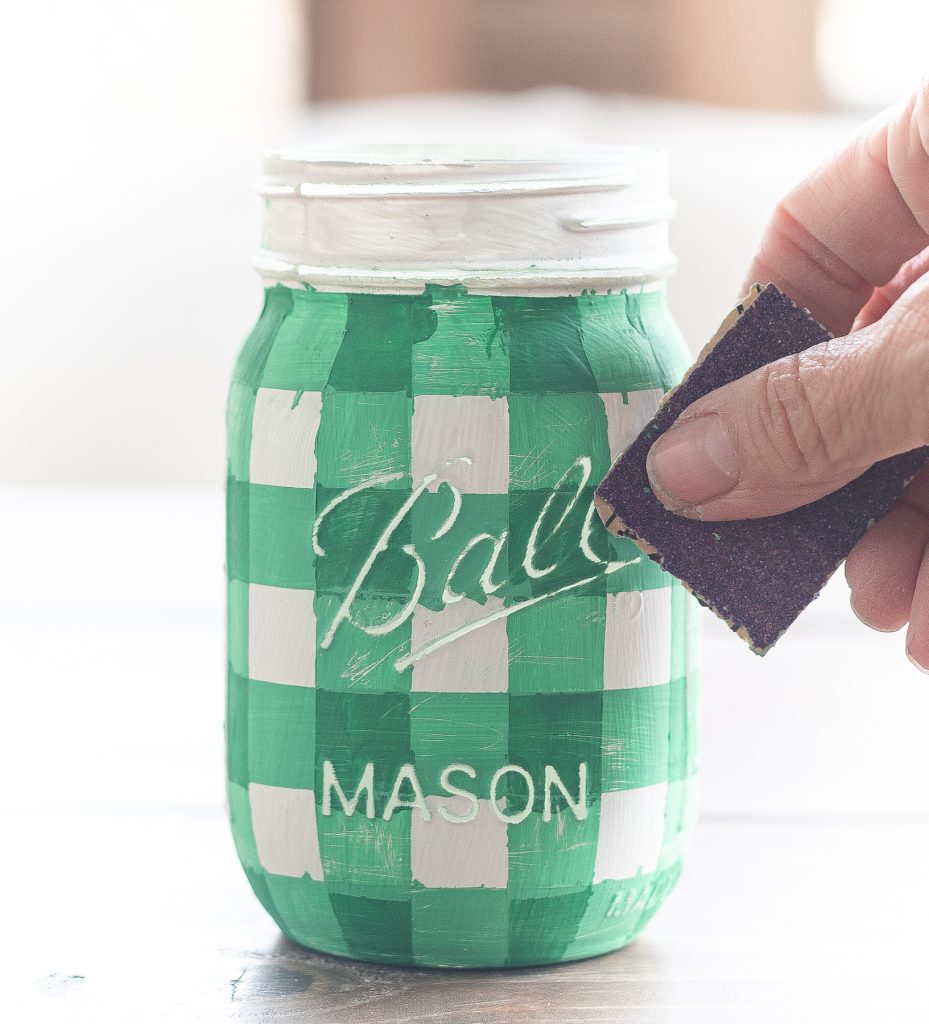
Use 80 grit sandpaper on raised edges and to smooth down any paint that bled through the tape and created rough bumps and raised areas of paint.
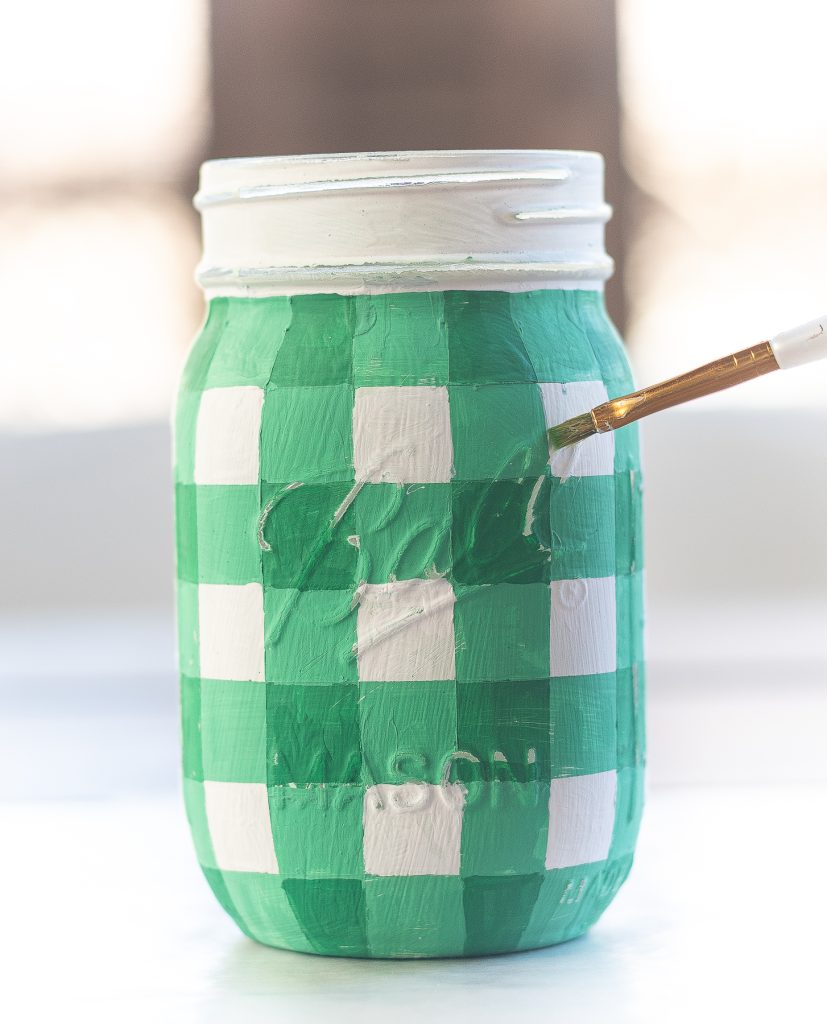
Use a small paint brush to touch up areas where the paint bled through the tape on both the green and white squares.
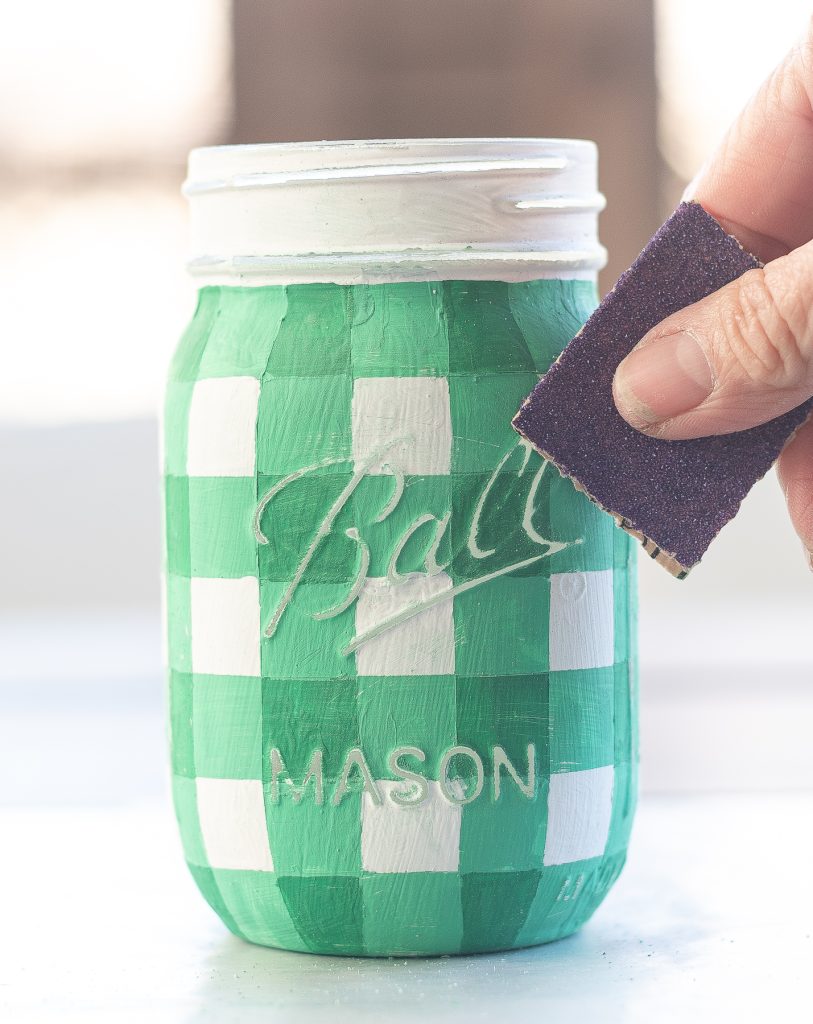
Use 80 grit sandpaper to distress.
Finish with matte spray sealant.
That’s it (she says after walking you through a million steps that take days and days to complete)!
Pin It!
You Might Also Like:
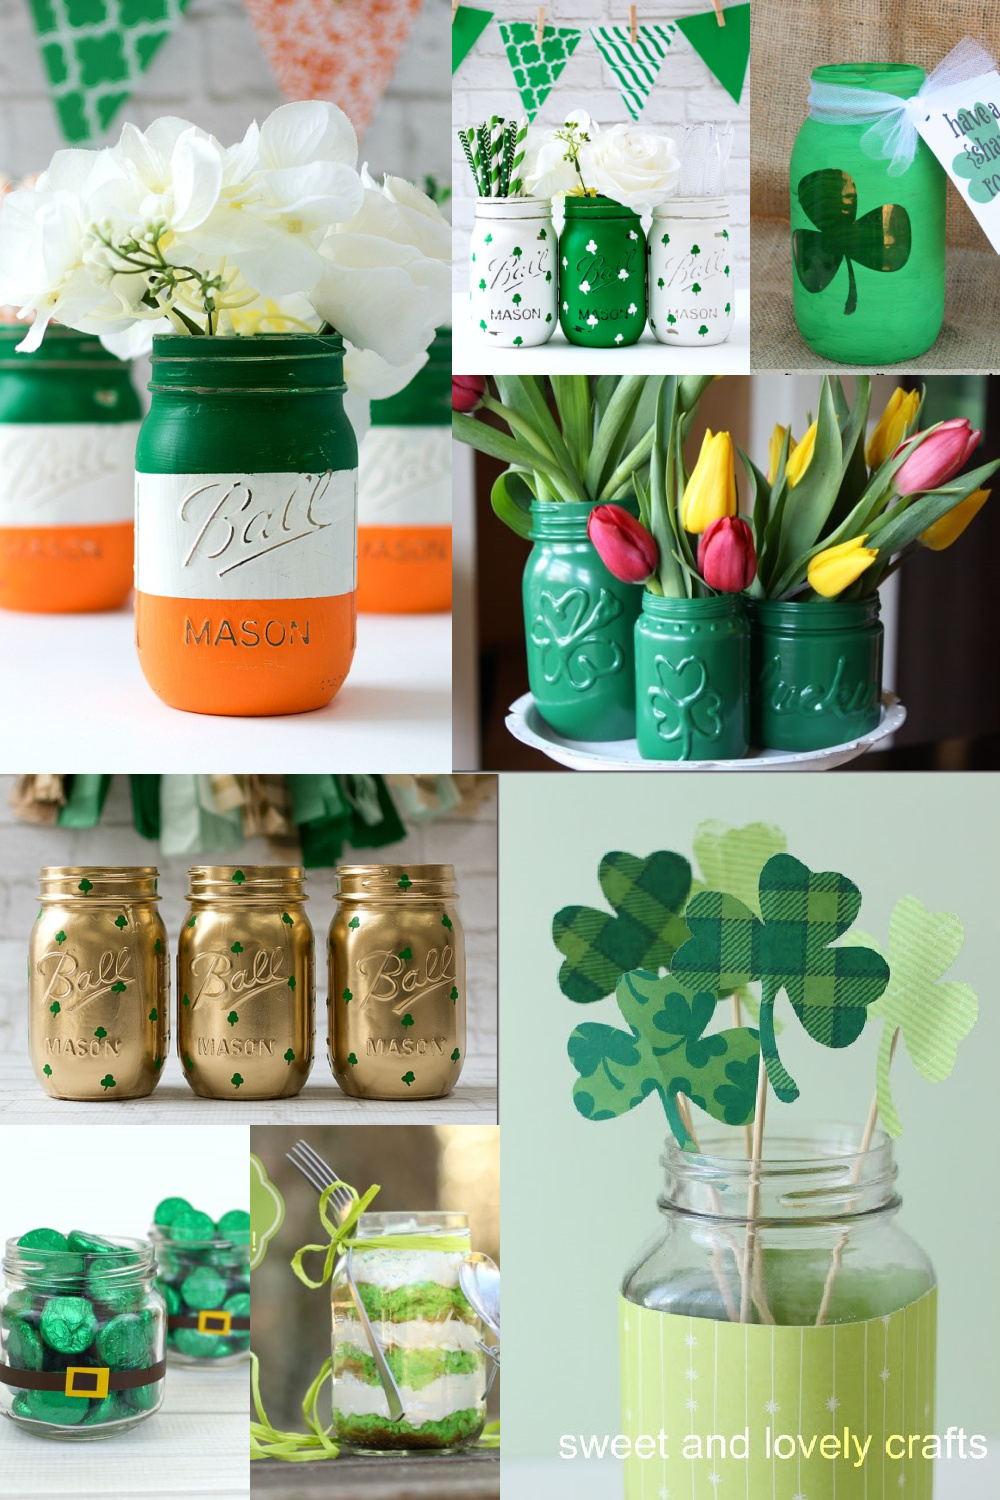
St. Patrick’s Day Mason Jar Crafts & Project Ideas


But it’s so cute and probably worth all the tedium. 🙂