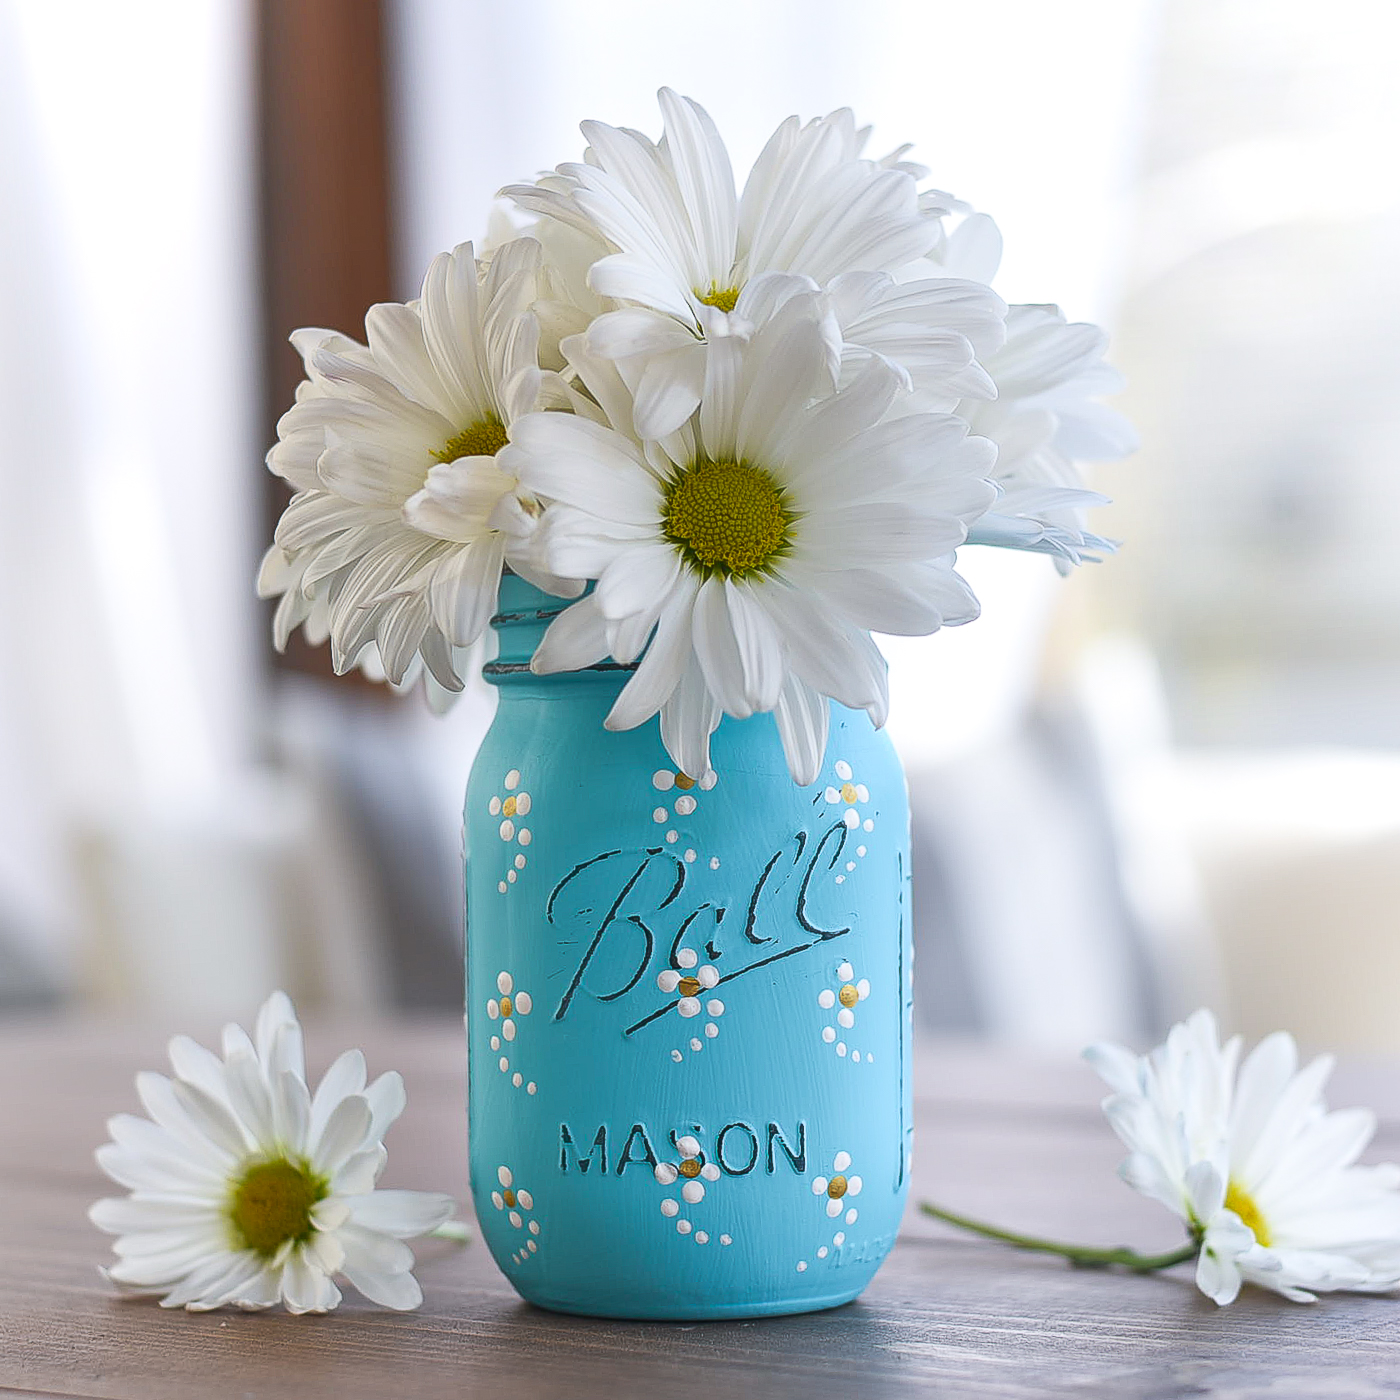
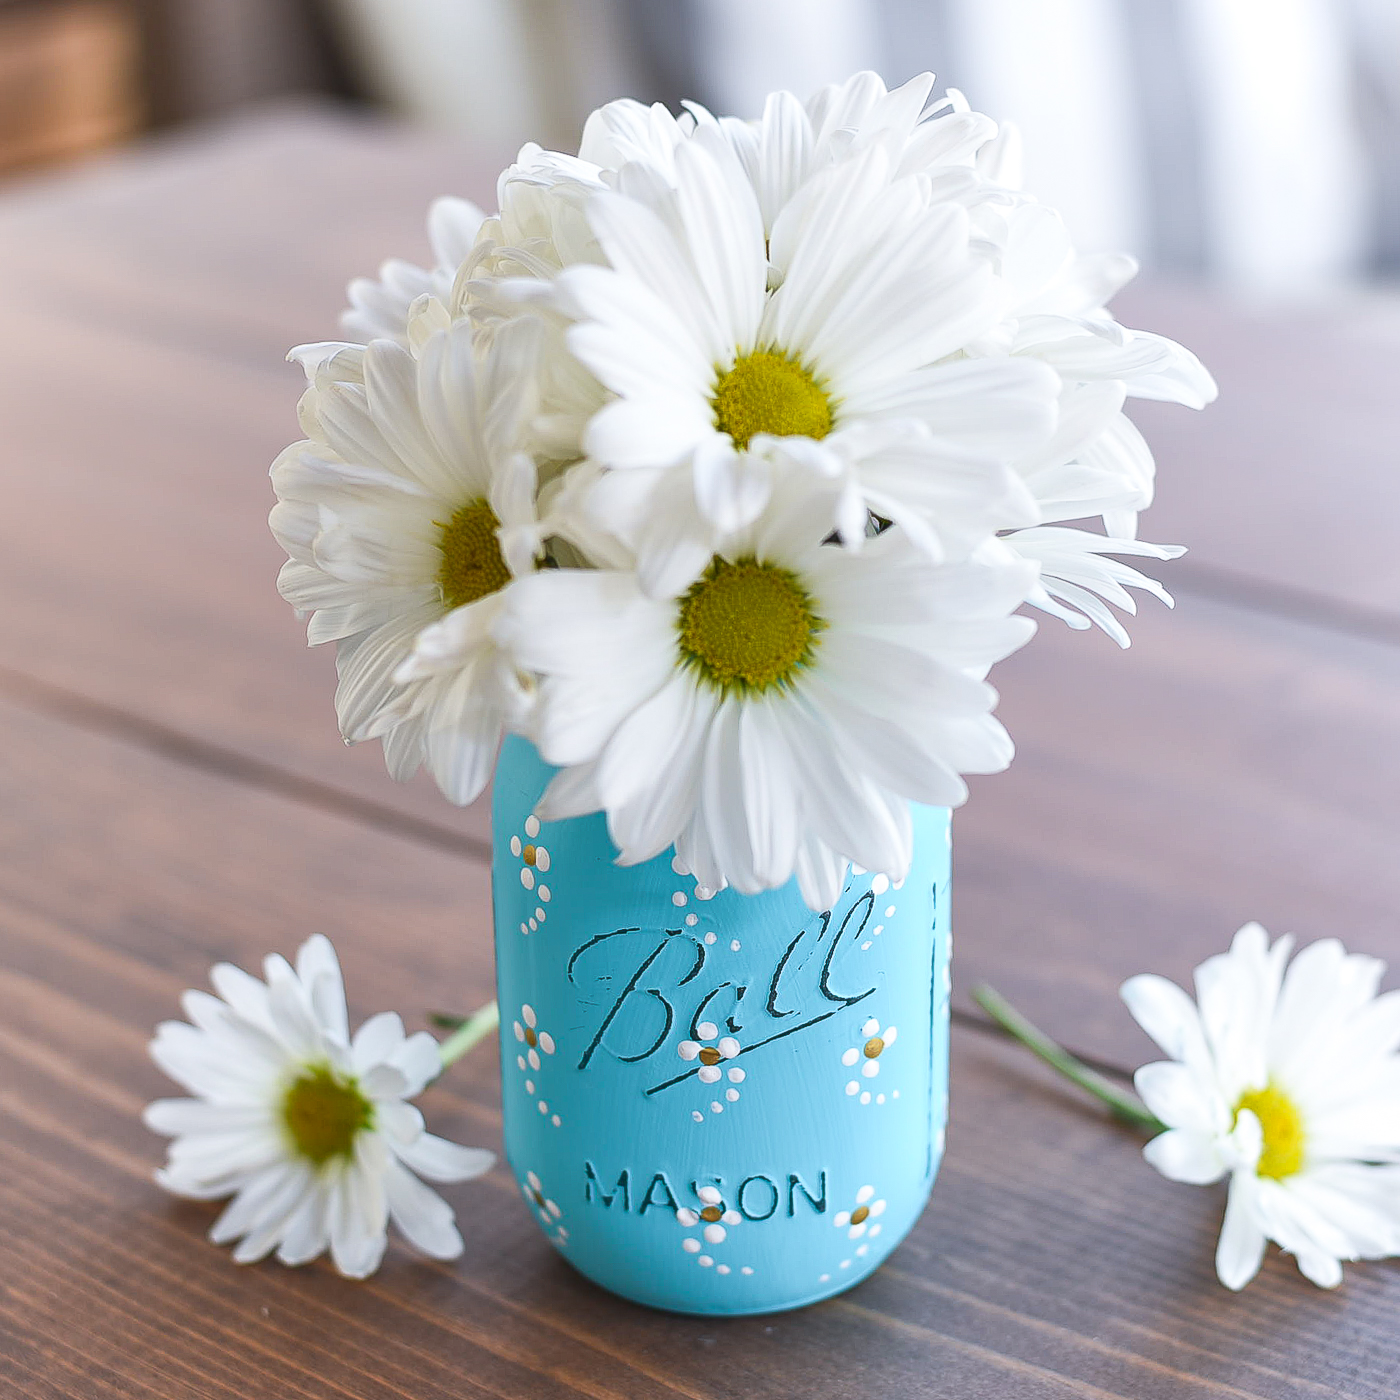
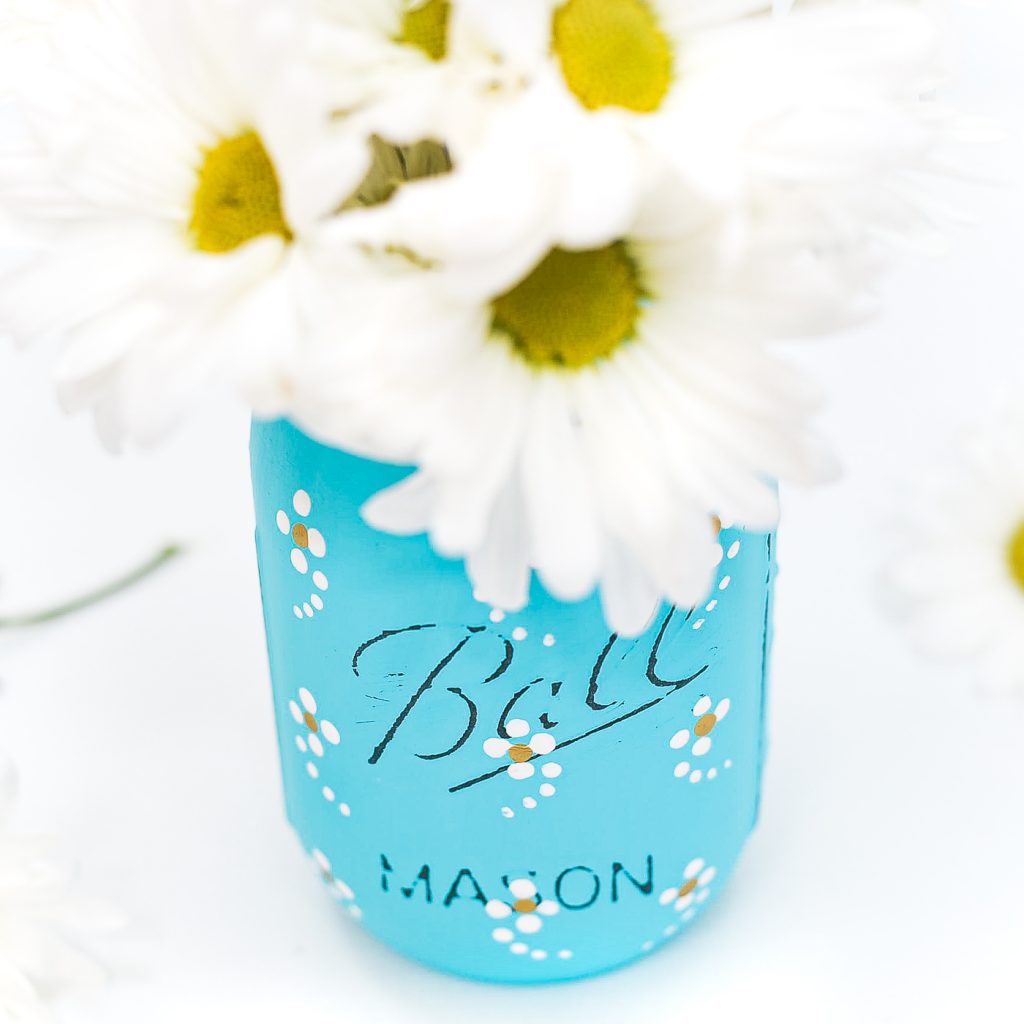
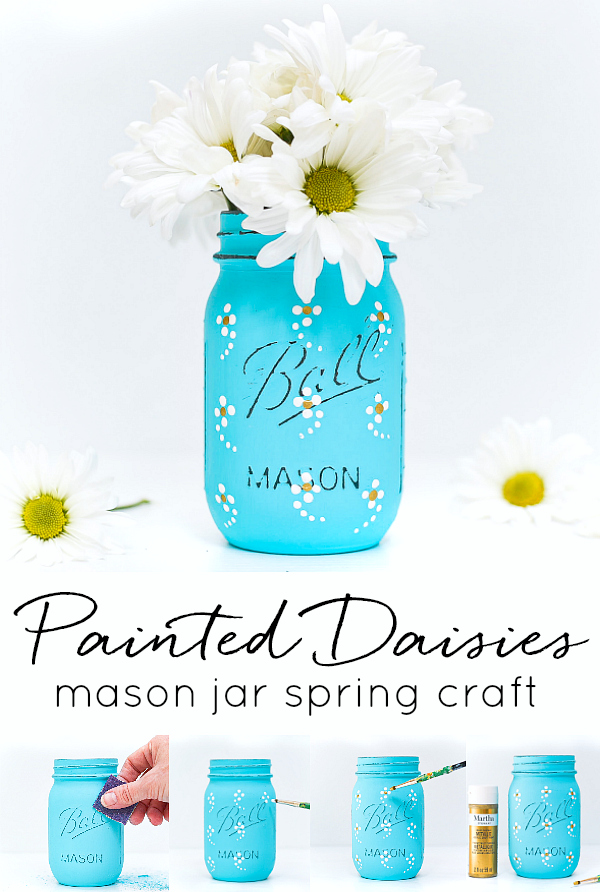
Painted Daisy Mason Jar – How To Paint Daisies.
I can’t take credit for this painted daisy art design.
To be honest, I often find inspiration for painted mason jars designs from nail art. The surface shape is very similar, so they often translate well on the front of a mason jar.
From time to time, Google nail art to see what’s out there. Last week, Googled flower nail art and this design popped up:

Upon closer inspection I noticed a creator stamp: 20nailstudio. They’re in Thailand. And here’s the Instagram link 20 Nail Studio.
And here’s the Facebook page link.
I wanted to make sure to give credit where credit is due!
How to Make a Painted Daisy Mason Jar
Materials*
Pint Size (16oz) Regular Mouth Mason Jar
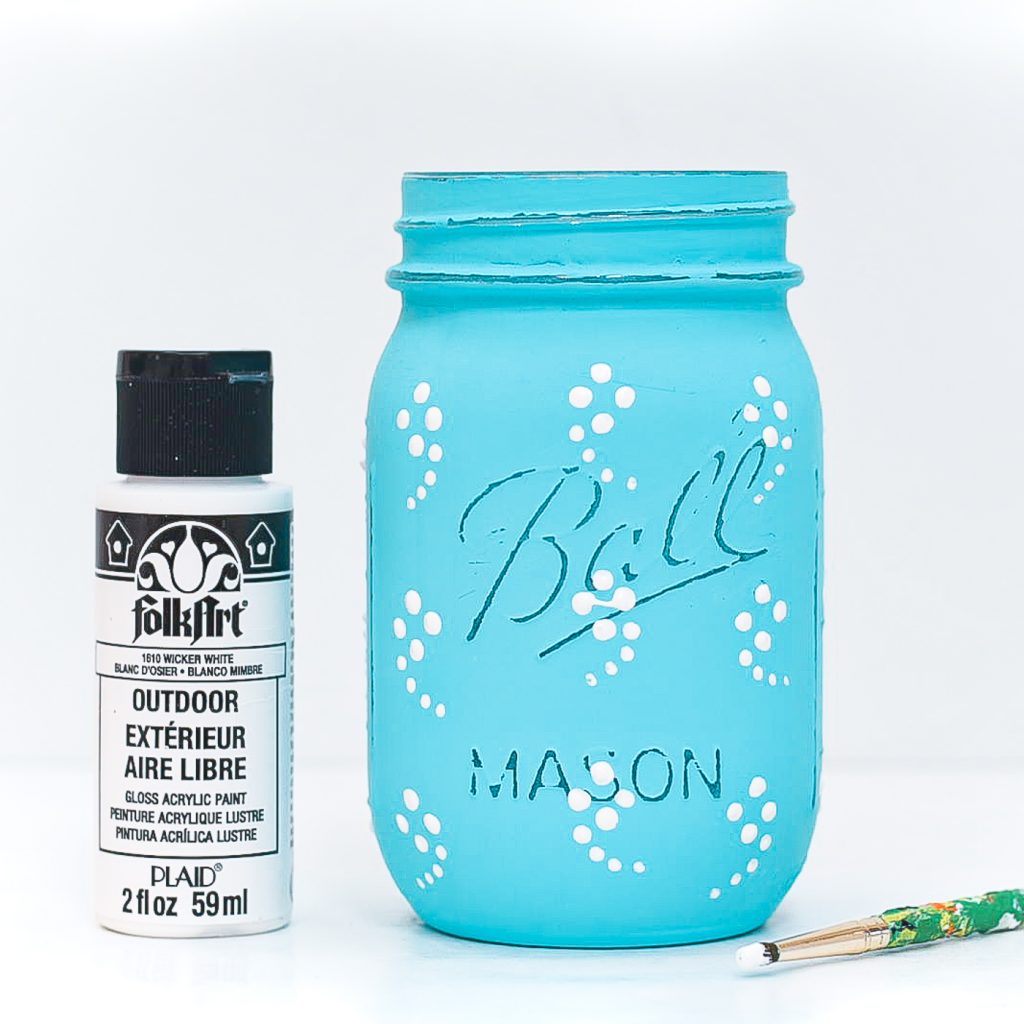
FolkArt Acrylic Paint in Cayman Blue & White Acrylic Paint
FolkArt Multi-Surface Paint in Wicker White
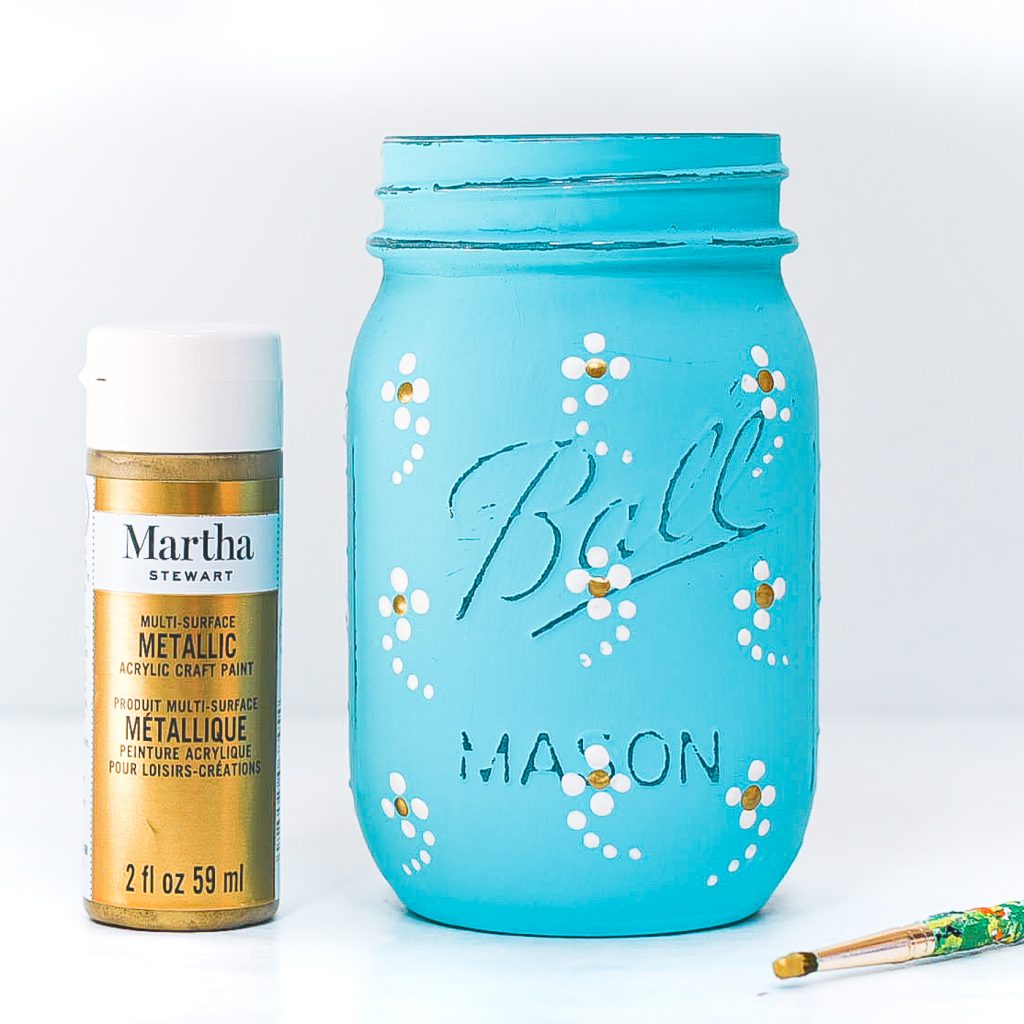
Martha Stewart Multi-Surface Metallic Gold Paint
80 Grit Sandpaper
Paint Brushes
*includes affiliate links.
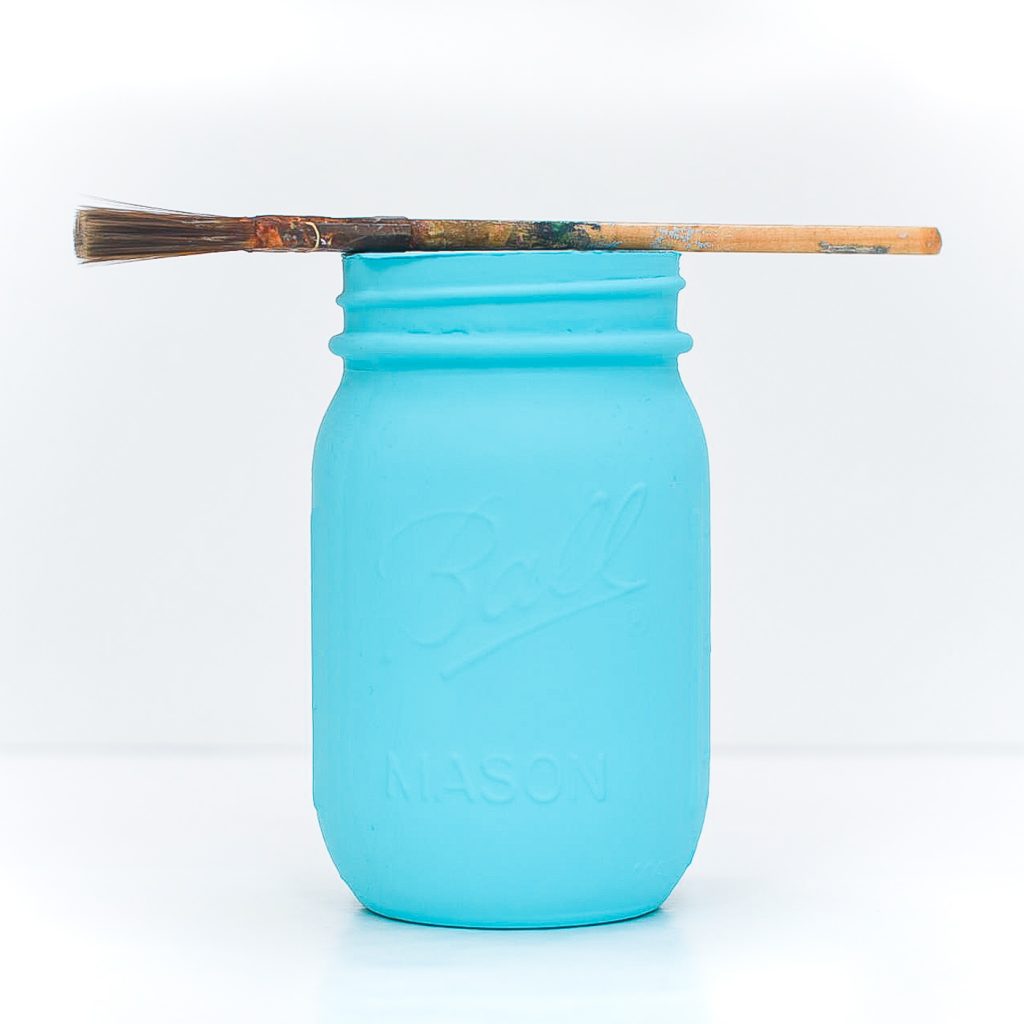
For this shade of blue, I mixed the acrylic white paint with the Cayman Blue.
Give your jar two coats of paint. Let dry overnight between coats.
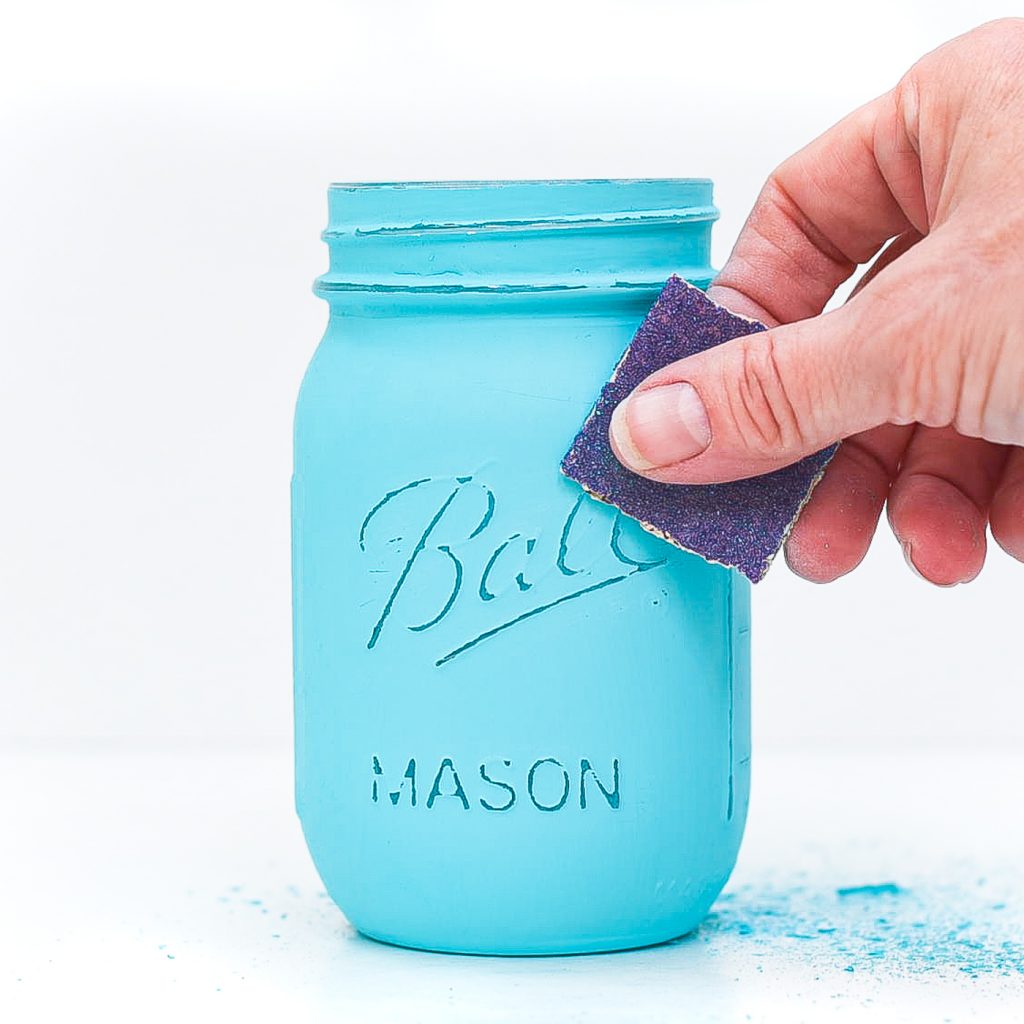
Once completely dry, distress with 80 grit sandpaper.
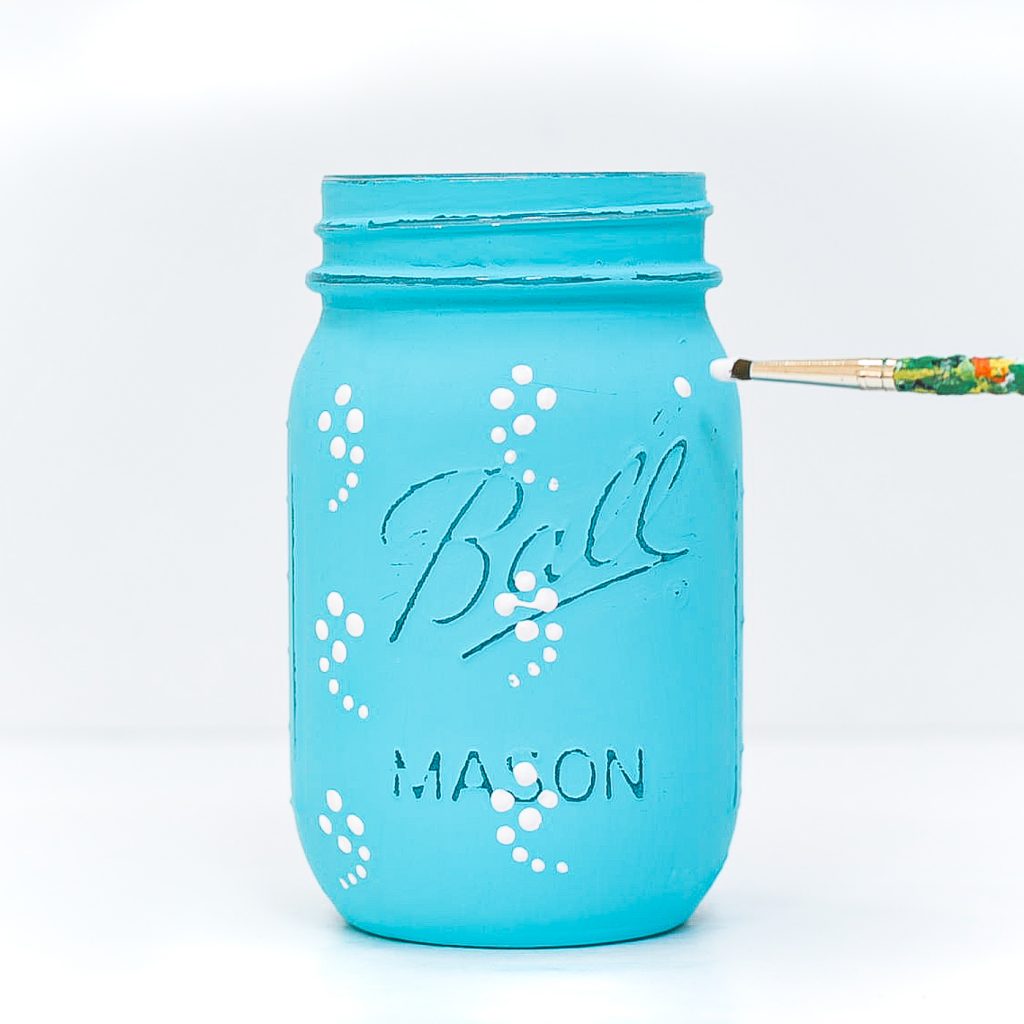
Using the FolkArt Wicker White Multi-Surface paint, add a white dot.
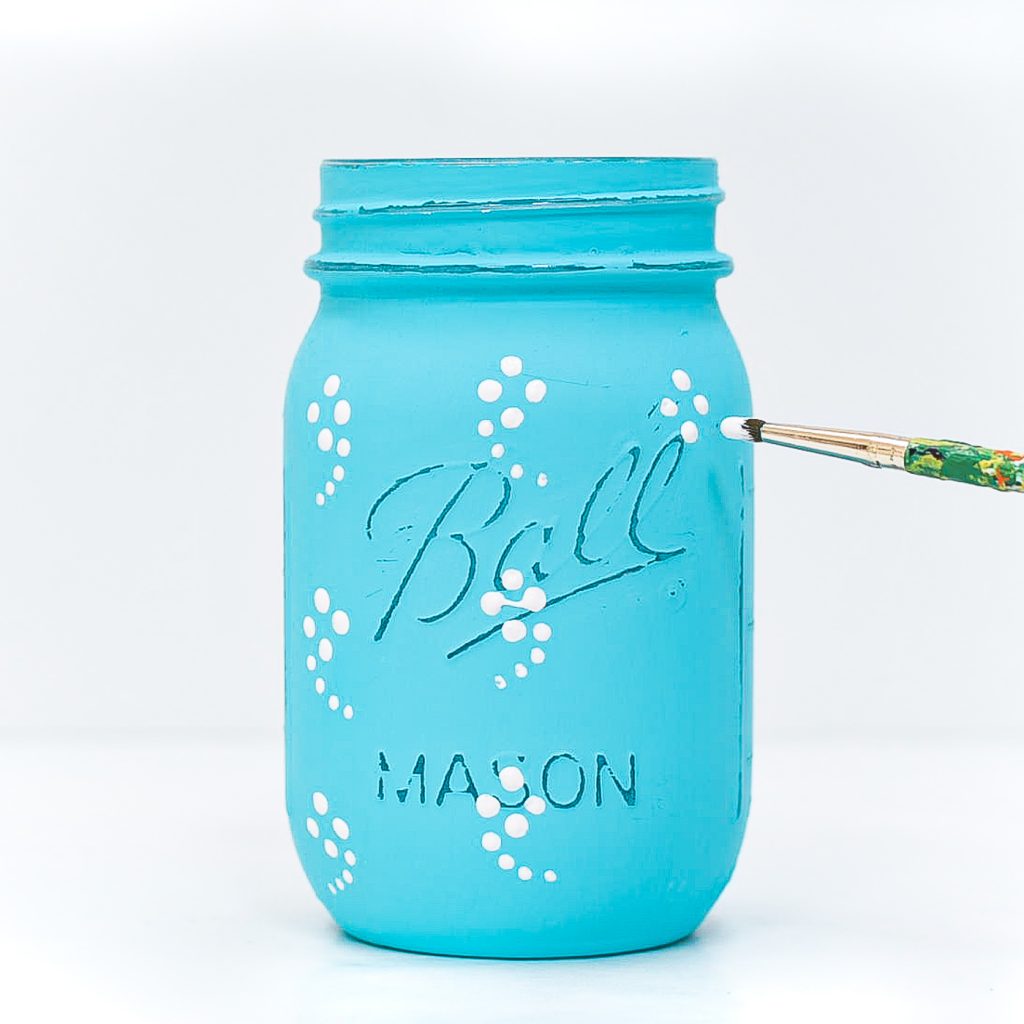
Add three more to form the daisy petals.
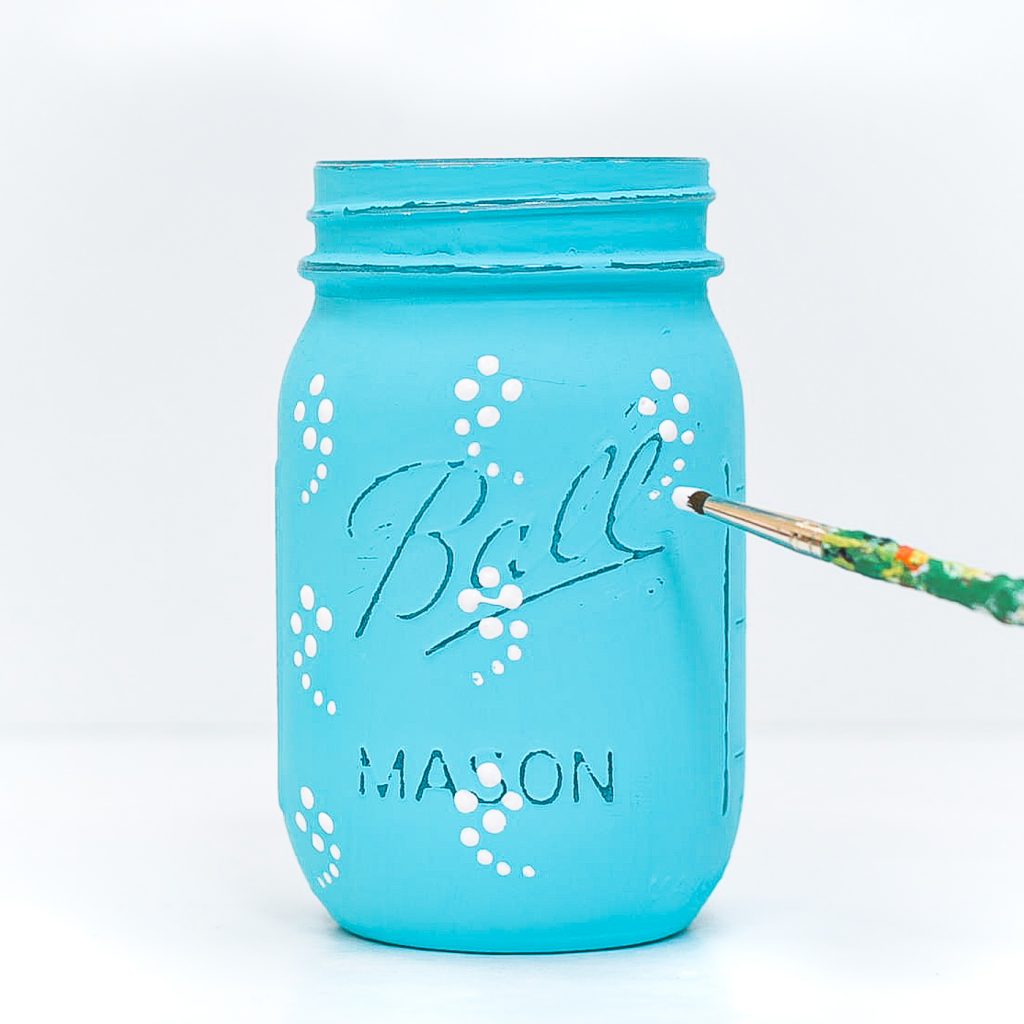
Add four smaller dots to form the stems.
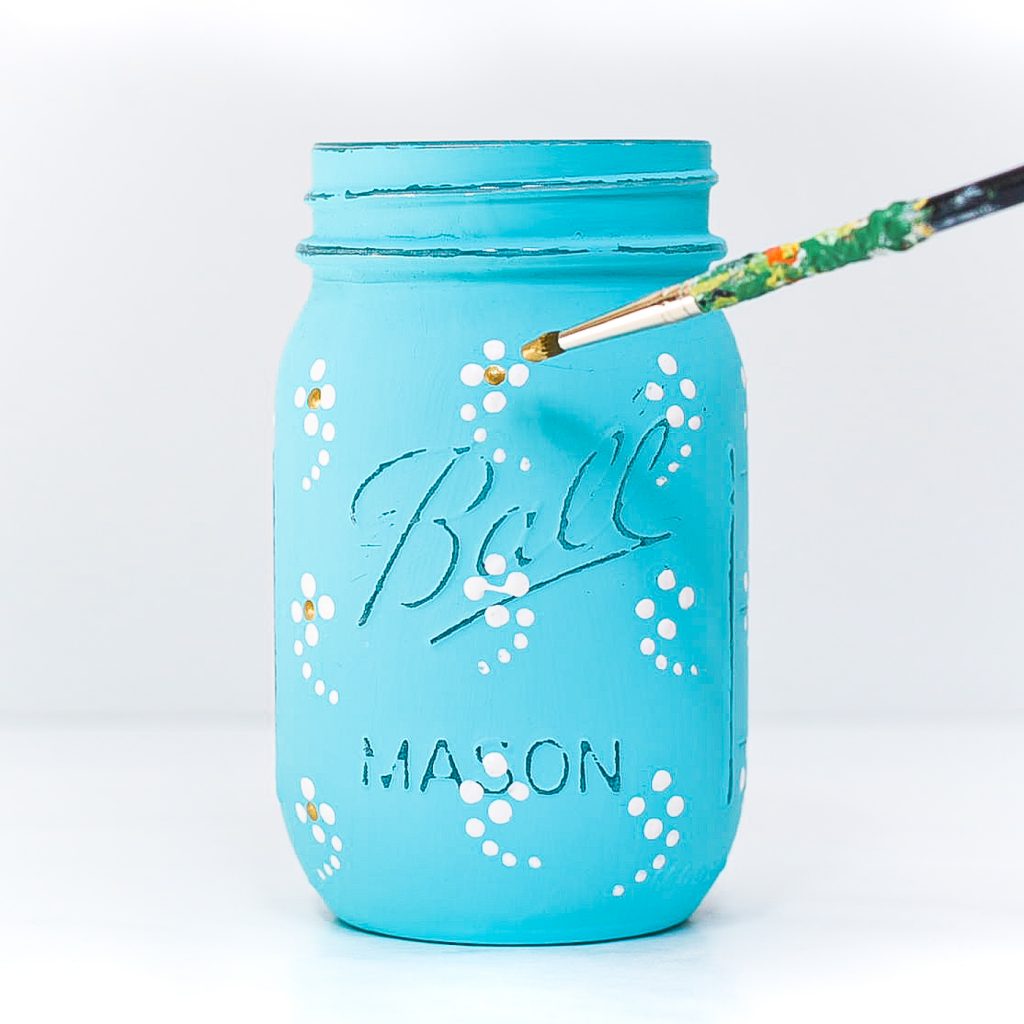
Add gold dots to the centers of each daisy.
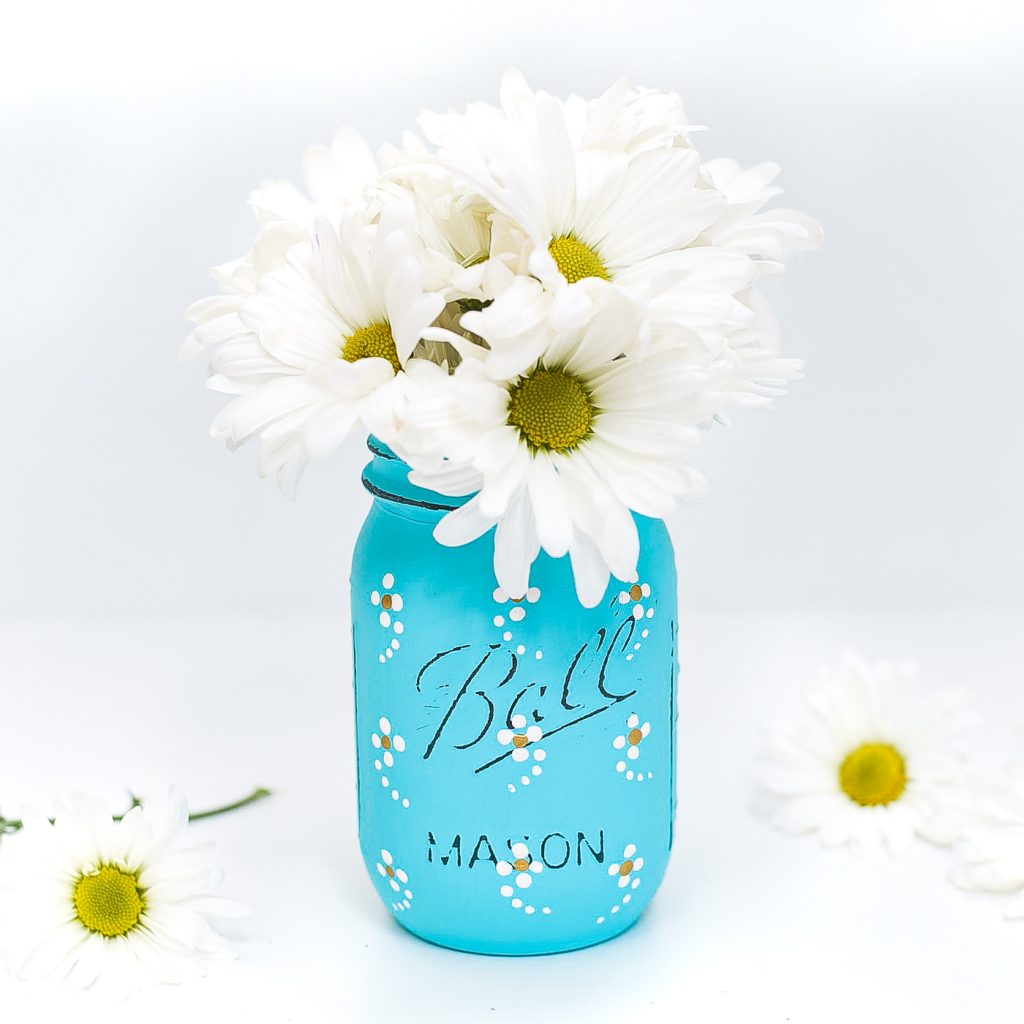
Once completely dry (I give it an overnight dry time), spray with a matte sealant.
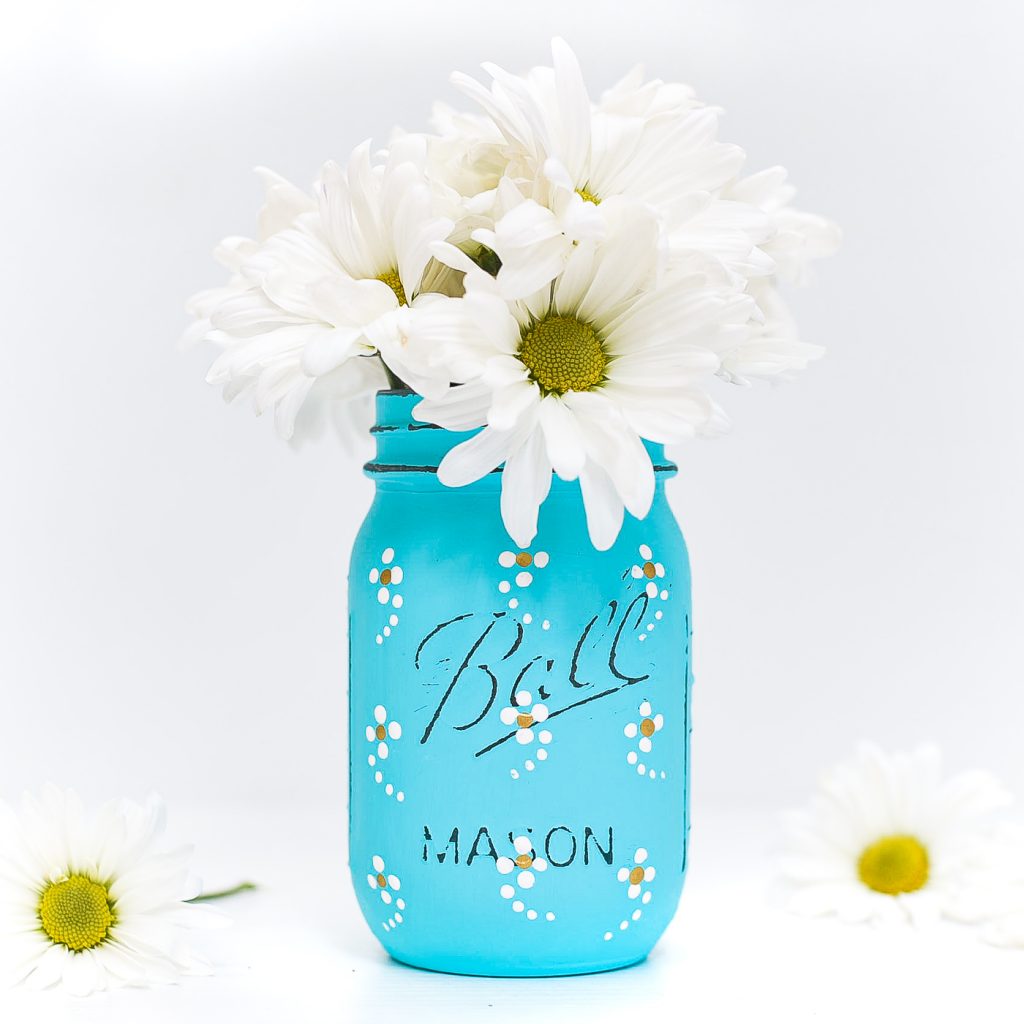
Add daisies.
They came out so cute that I think I’ll have to list at my Etsy shop!
Pin It!
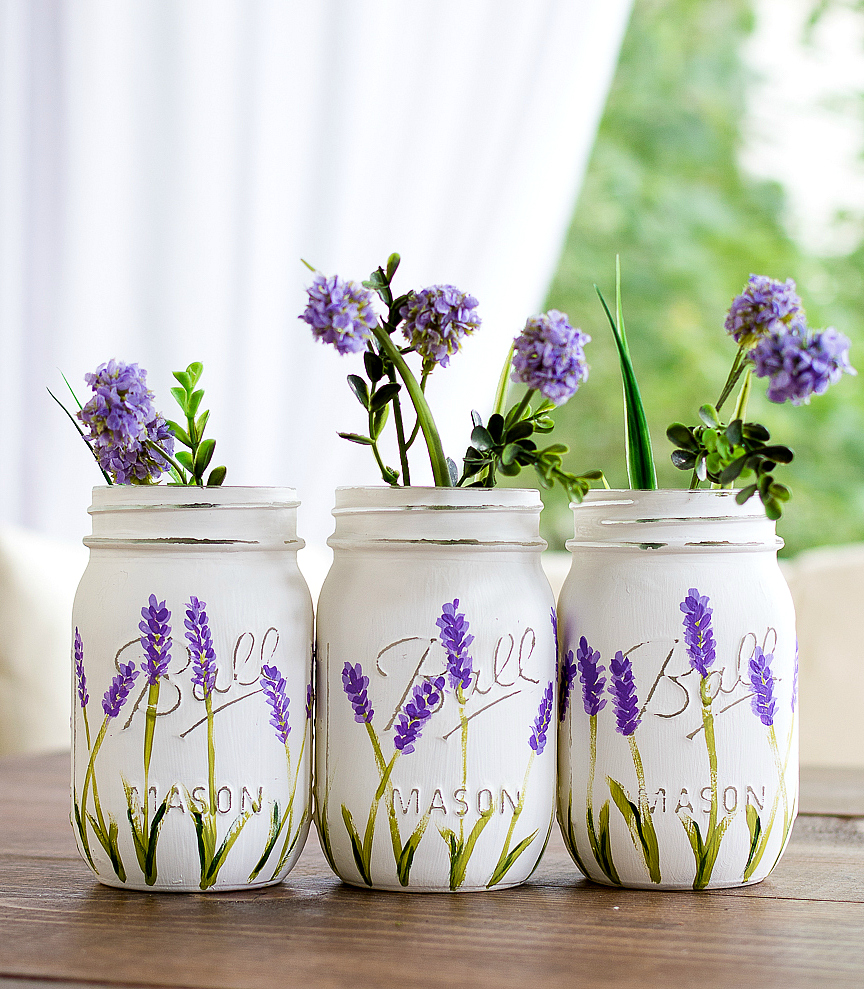
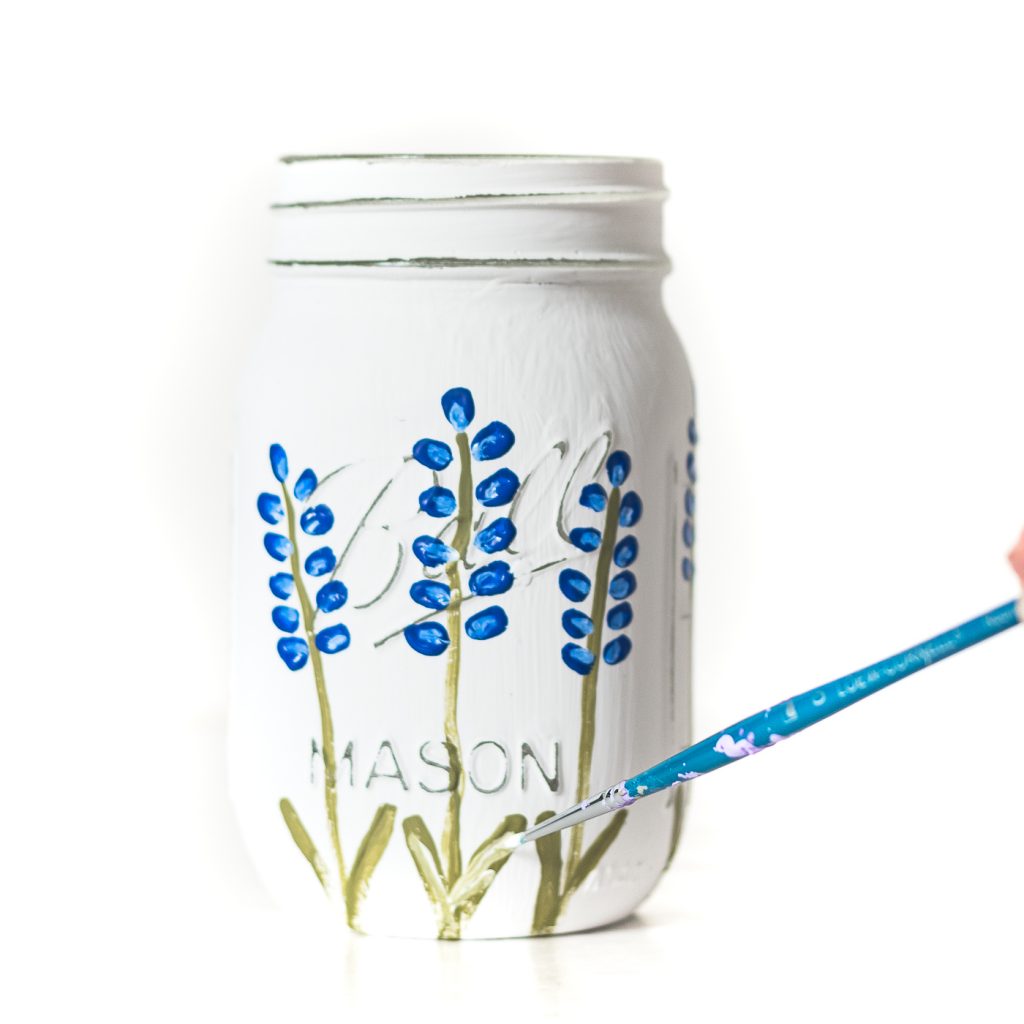
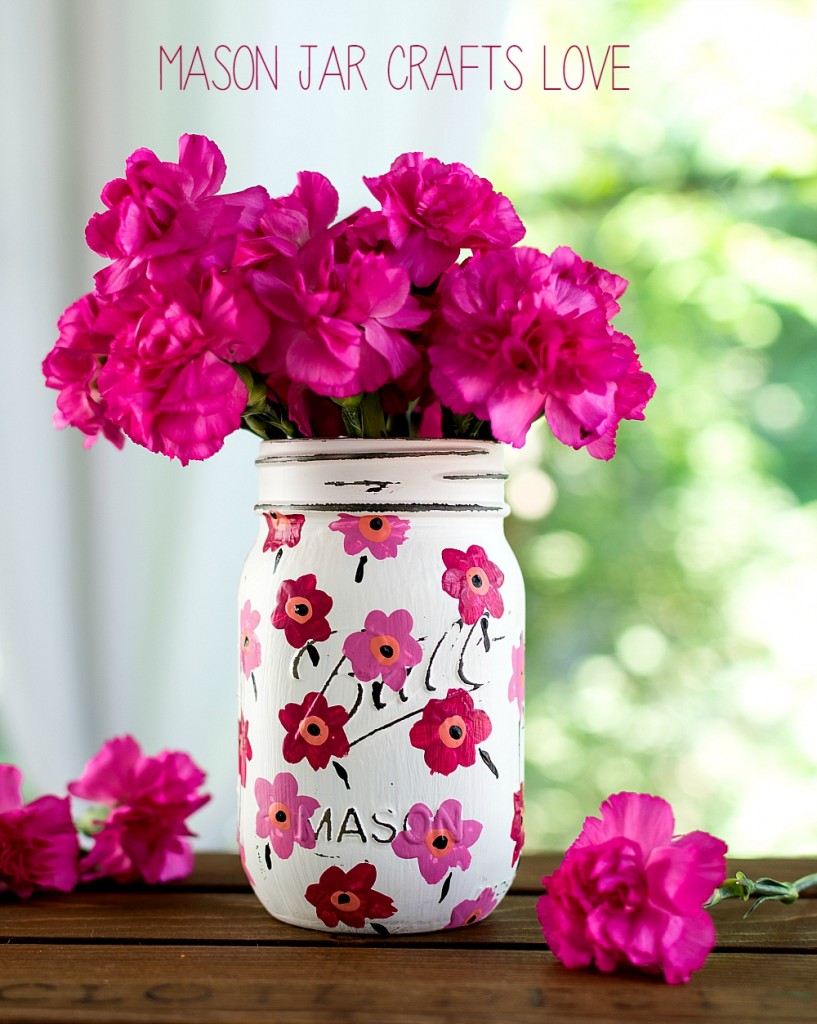
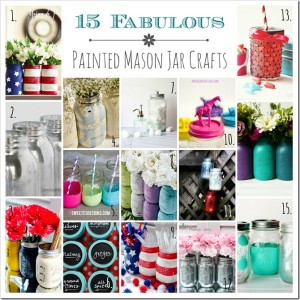
You Might Also Like:


Another beautiful jar! I love how the daisies pop against that bright blue background. Pinned.
Lovely!
So adorable! Pinned.
Gorgeous as always. Just curious, what do you do with all the mason jar crafts? thanks so much for sharing on craft schooling Sunday!
What a find to come my way. Besides wreaths. My next favorite is Mason jars. Looking forward to poking in your blog. Love it.
Thank you!!! 🙂